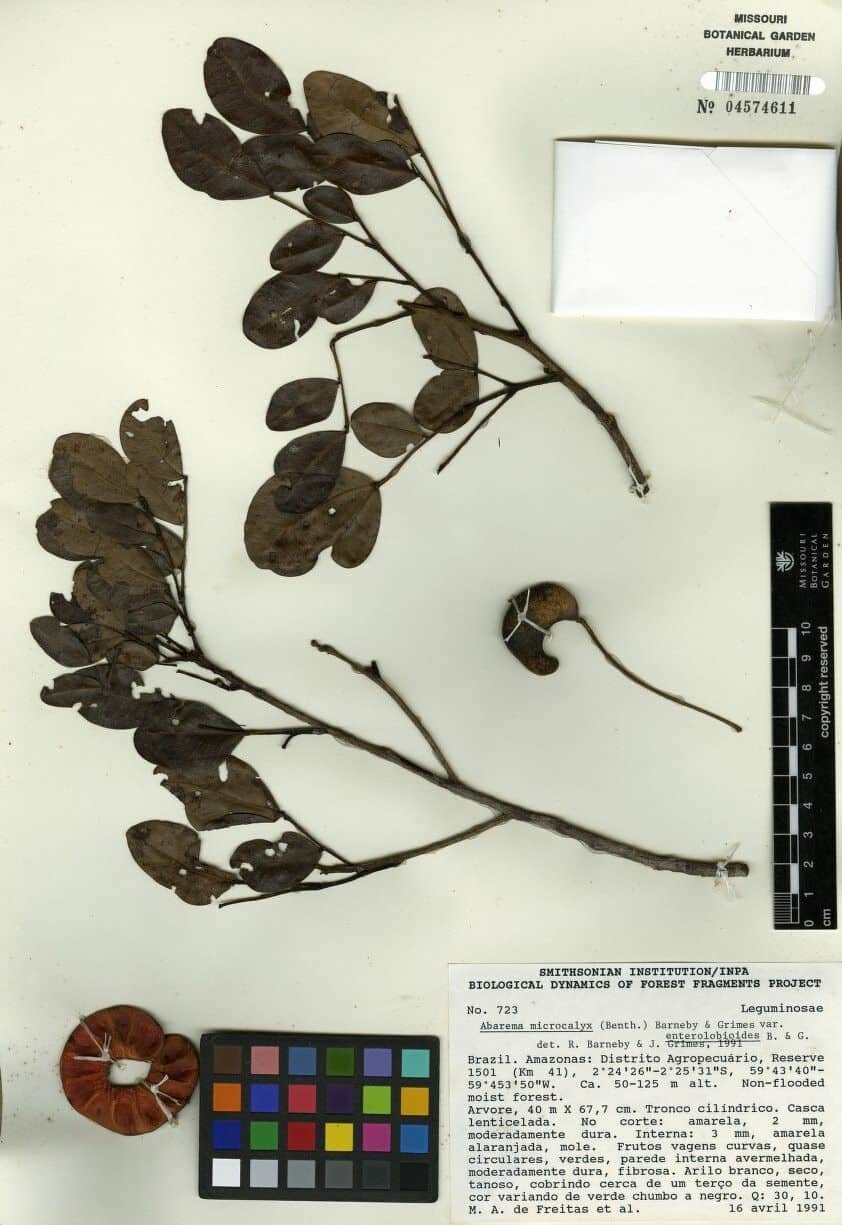
Unveiling the Secrets of Jupunba Microcalyx Propagation: A Guide for Plant Lovers
Jupunba microcalyx, with its delicate white flowers and lush green foliage, is a captivating addition to any plant collection. This Brazilian native, also known as the "Fairy Petticoats," captivates with its graceful beauty. While caring for a mature Jupunba microcalyx is relatively straightforward, many plant enthusiasts find propagation to be a rewarding challenge.
Fear not, fellow plant lovers! This guide will demystify the process and provide you with the knowledge to successfully propagate your own Jupunba microcalyx.
Two Paths to Propagation:
There are two primary methods for propagating Jupunba microcalyx:
1. Stem Cuttings:
- Timing is Key: Spring and early summer, when the plant is actively growing, offer the highest chances of success.
- Making the Cut: Select a healthy, non-flowering stem and make a clean cut just below a node (the point where leaves emerge) using sterilized scissors or a sharp knife. The cutting should be about 4-6 inches long.
- Promoting Root Development: Remove the lower leaves to prevent them from rotting in the rooting medium. You can dip the cut end in rooting hormone powder (optional but recommended) to encourage faster root development.
- Planting the Cutting: Insert the cutting into a well-draining rooting medium, such as a mixture of perlite and peat moss. Ensure the cut end is submerged but the leaves are above the soil line.
- Creating Ideal Conditions: Place the pot in a warm and humid environment with bright, indirect light. Covering the pot with a plastic bag can help maintain humidity.
- Patience is a Virtue: Keep the soil consistently moist but not soggy. Rooting can take several weeks. Once new growth appears, you’ll know your cutting has successfully rooted!
2. Air Layering:
While slightly more advanced, air layering offers a higher success rate, especially for those new to propagation.
- Choosing a Branch: Select a healthy, mature branch.
- Wounding the Branch: Carefully make a shallow, upward cut about 1 inch long through the bark and cambium layer (the green layer beneath the bark) of the selected branch.
- Encouraging Root Formation: Dust the wound with rooting hormone (optional but beneficial) and wrap the area with moist sphagnum moss. Secure the moss tightly with plastic wrap, aluminum foil, or a specialized air layering pod.
- Maintaining Moisture: Ensure the moss remains consistently moist throughout the rooting process. You can use a syringe to inject water into the moss if needed.
- Separation after Rooting: After several weeks, roots should start to appear within the moss. Once a robust root system develops, carefully cut the branch below the new roots and pot it in a well-draining potting mix.
Nurturing Your New Plants:
- Gradual Acclimatization: Once your new Jupunba microcalyx plants are established, gradually acclimatize them to their new environment. Avoid exposing them to direct sunlight immediately after propagation, as this can stress the young plants.
- Ongoing Care: These enchanting plants thrive in bright, indirect light and prefer moist, well-draining soil. Water when the top inch of soil feels dry to the touch. Regular fertilization during the growing season will encourage healthy growth.
Propagating your own Jupunba microcalyx is an incredibly rewarding experience for any plant enthusiast. By following these tips, you can increase your chances of success and enjoy the satisfaction of expanding your plant family with these exquisite beauties.