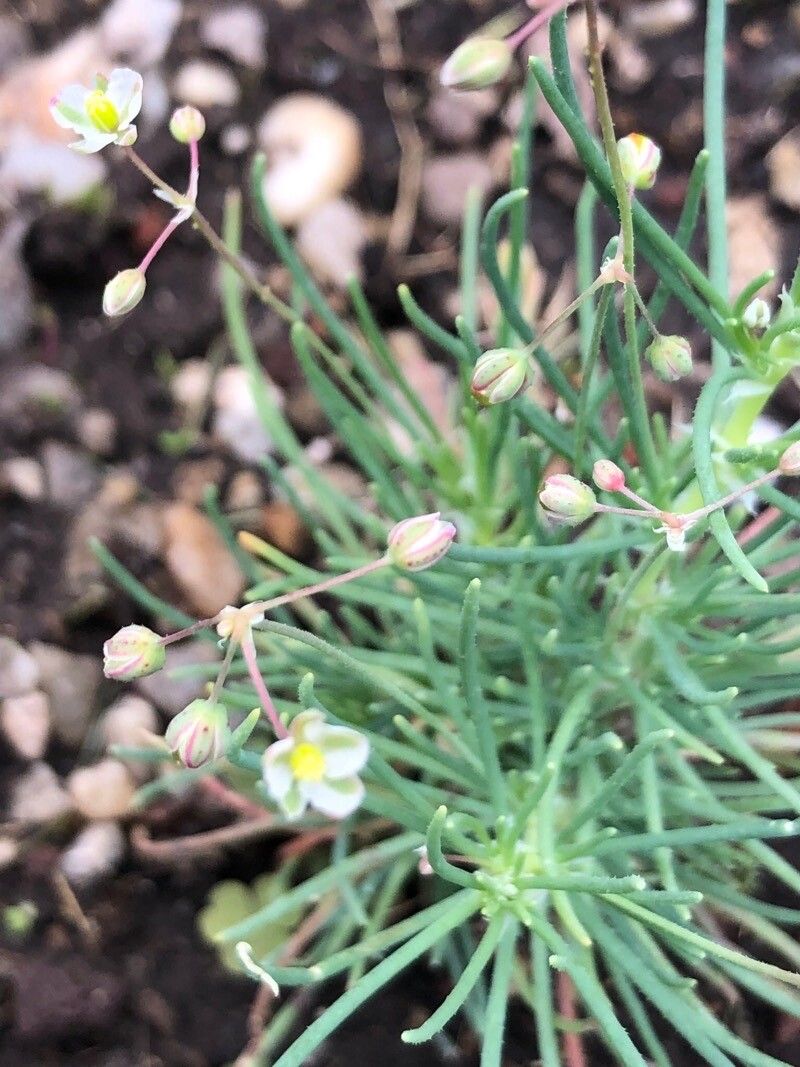
Spreading the Love: How to Propagate Your Stunning Kewa Bowkeriana
The Kewa Bowkeriana, with its bold, textured leaves and vibrant blooms, is a plant that demands attention. But what if you could share its beauty with others, or simply expand your own collection? Fear not, fellow plant enthusiasts! Propagating your Kewa Bowkeriana is surprisingly simple and rewarding.
Why Propagate?
Before diving into the how-to, let’s take a moment to understand why you might want to propagate your Kewa Bowkeriana. Here are just a few reasons:
- Free plants! Propagation allows you to create new plants from cuttings or divisions, essentially expanding your collection for free.
- Sharing is caring. Give the gift of a beautiful Kewa Bowkeriana to friends and family, spreading the plant love.
- Preserve your favorites. If you have a specific Kewa Bowkeriana variety with unique features, propagation ensures its longevity.
- Experimentation. You can try different propagation techniques and see what works best for your Kewa Bowkeriana and your own preferences.
Ready to Propagate? Here’s how:
1. Choose your method:
There are two main ways to propagate a Kewa Bowkeriana:
- Cuttings: Take a 4-6 inch stem cutting from healthy, mature growth. Choose a stem with at least two leaves and a node (the bump where leaves grow).
- Division: This method works best with plants that form clumps. Gently separate a section of the plant, ensuring each division has roots and healthy foliage.
2. Prepare your cuttings or division:
- Cuttings: Use a sharp, clean knife or pruning shears to make a clean cut just below a node. Remove the lower leaves from the cutting, leaving the top two or three.
- Divisions: Carefully separate a section of the plant, ensuring each division has roots and healthy foliage. You may need to gently tug the sections apart or use a sharp knife to cut through the roots.
3. Root the cuttings or divisions:
- Cuttings: Dip the cut end of the cutting into rooting hormone powder (optional but encouraged). Place the cutting in a pot filled with sterile potting mix. Ensure the node is buried in the mix, providing a good foundation for new roots. Water generously.
- Divisions: Plant the divisions in new pots with potting mix, making sure they’re planted at the same depth they were in the original pot. Water thoroughly.
4. Provide the right environment:
- Cuttings: A warm, moist environment is crucial for rooting cuttings. Cover the pot with a plastic dome or wrap the pot in a clear plastic bag to create a miniature greenhouse effect. Place the cuttings in bright, indirect light and keep the potting mix consistently moist.
- Divisions: Place your divisions in a well-lit area, away from direct sunlight. Water regularly to keep the soil moist, but avoid overwatering.
5. Patience is key:
Rooting can take anywhere from a few weeks to a couple of months, so don’t get discouraged. Keep the potting mix moist and monitor your cuttings or divisions for signs of new growth.
6. Transition to your garden:
Once your cuttings or divisions have established roots, they can be transferred to larger pots or even planted directly in your garden.
Tips for Success:
- Timing is everything: The best time to propagate Kewa Bowkeriana is in spring or early summer when the plant is actively growing.
- Cleanliness is crucial: Sterilize your tools before and after use to prevent the spread of disease.
- Proper potting mix: Use a well-draining potting mix designed for succulents or cacti.
- Watering wisely: Allow the potting mix to dry out slightly before watering again. Avoid overwatering, which can lead to root rot.
Remember, propagating your Kewa Bowkeriana is a journey, not a race. With patience and proper care, you’ll be rewarded with beautiful new plants, ready to bring color and texture to your home or garden. Happy propagating!