From Tiny Seed to Lush Growth: Propagating the Beautiful Koenigia rumicifolia
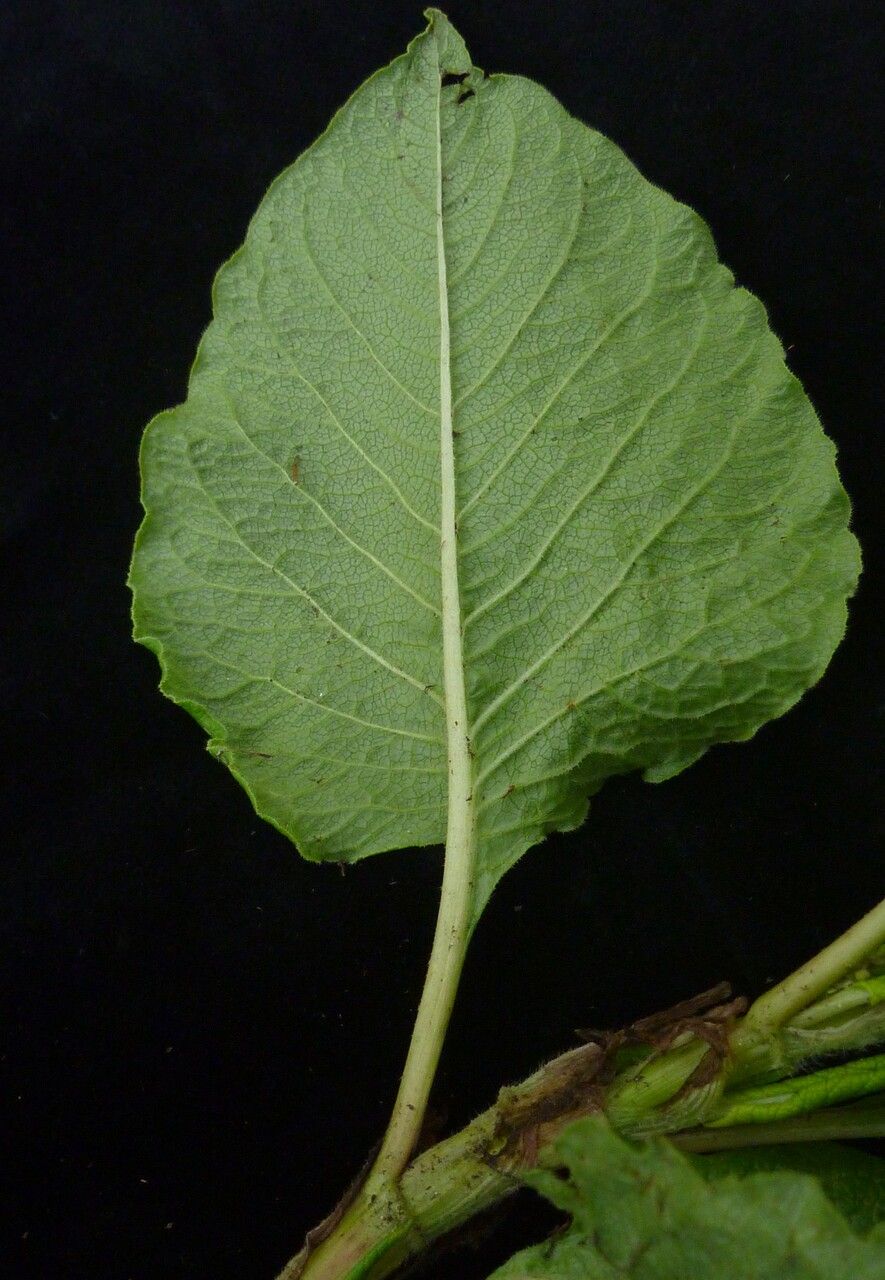
Koenigia rumicifolia, with its charming delicate foliage and sprawling habit, is a delight to any gardener’s eye. This striking plant, often referred to as Himalayan Knotweed or Nepal Knotweed, adds a touch of elegance to borders and containers alike. But what if you could share this beauty with others?
The good news is, propagating Koenigia rumicifolia is a rewarding experience that can be done with a few simple techniques. Whether you’re a seasoned gardener or just starting your green thumb journey, you can easily multiply your Koenigia plants and enjoy their charm in more than one spot.
A Tale of Two Methods: Seeds and Cuttings
There are two primary ways to propagate Koenigia rumicifolia: from seed and from cuttings. Let’s dive into each method:
1. Seed Propagation: A Journey of Patience
- Harvesting the Seeds: Patience is key here! The tiny seeds ripen in the fall, hidden within the plant’s burgundy-red seed pods. Allow these pods to fully mature, turning brown and dry before carefully extracting the seeds.
- Sowing the Seeds: Sow the seeds in a seed tray filled with a well-draining seed-starting mix. Gently pat the soil, sprinkle the seeds on top, and cover them lightly with a thin layer of soil.
- Germination: Keep the tray moist and in a well-lit location, away from direct sunlight. If you have access to a heated propagator, this can speed up the germination process. Be patient – Koenigia seeds can take several weeks to germinate.
2. Cutting Propagation: A Quicker Route to New Plants
- Taking Cuttings: During the spring or early summer, select healthy, non-flowering stems from your Koenigia plant. Cut these stems into 3-4 inch lengths, making sure each cutting has several nodes (the points where leaves emerge).
- Preparing the Cuttings: Remove the leaves from the bottom inch of the cutting and dip the cut end into a rooting hormone (optional). Prepare a small pot filled with a well-draining potting mix.
- Planting the Cuttings: Make a small hole in the potting mix and insert the cutting. Gently firm the soil around the base. Keep the cuttings consistently moist and in a warm, bright location (avoid direct sunlight).
Tips for Success:
- Proper Soil: Both seeds and cuttings require a well-draining soil to prevent root rot.
- Moisture Control: Maintain consistent moisture but avoid overwatering.
- Light and Temperature: Provide bright, indirect light and keep the seedlings/cuttings at a temperature between 65-75°F (18-24°C).
- Patience: While cuttings will root faster than seeds, be patient and allow both propagation methods time to develop.
Enjoying Your New Koenigia Plants
Once your seedlings or cuttings are established with healthy root systems, you can transplant them to individual pots or directly into your garden bed. Koenigia rumicifolia appreciates well-drained soil and a location with partial shade to full sun.
Propagating Koenigia rumicifolia, whether from seed or cuttings, is a journey that brings you closer to the plant’s beauty and rewards you with new life. With a little care, you can enjoy the delicate charm of this Himalayan native in multiple locations, sharing the wonder of Koenigia with friends, family, and your own garden oasis.