Unlock the Secrets of Kopsia fruticosa Propagation: From Seed to Stunning Blooms
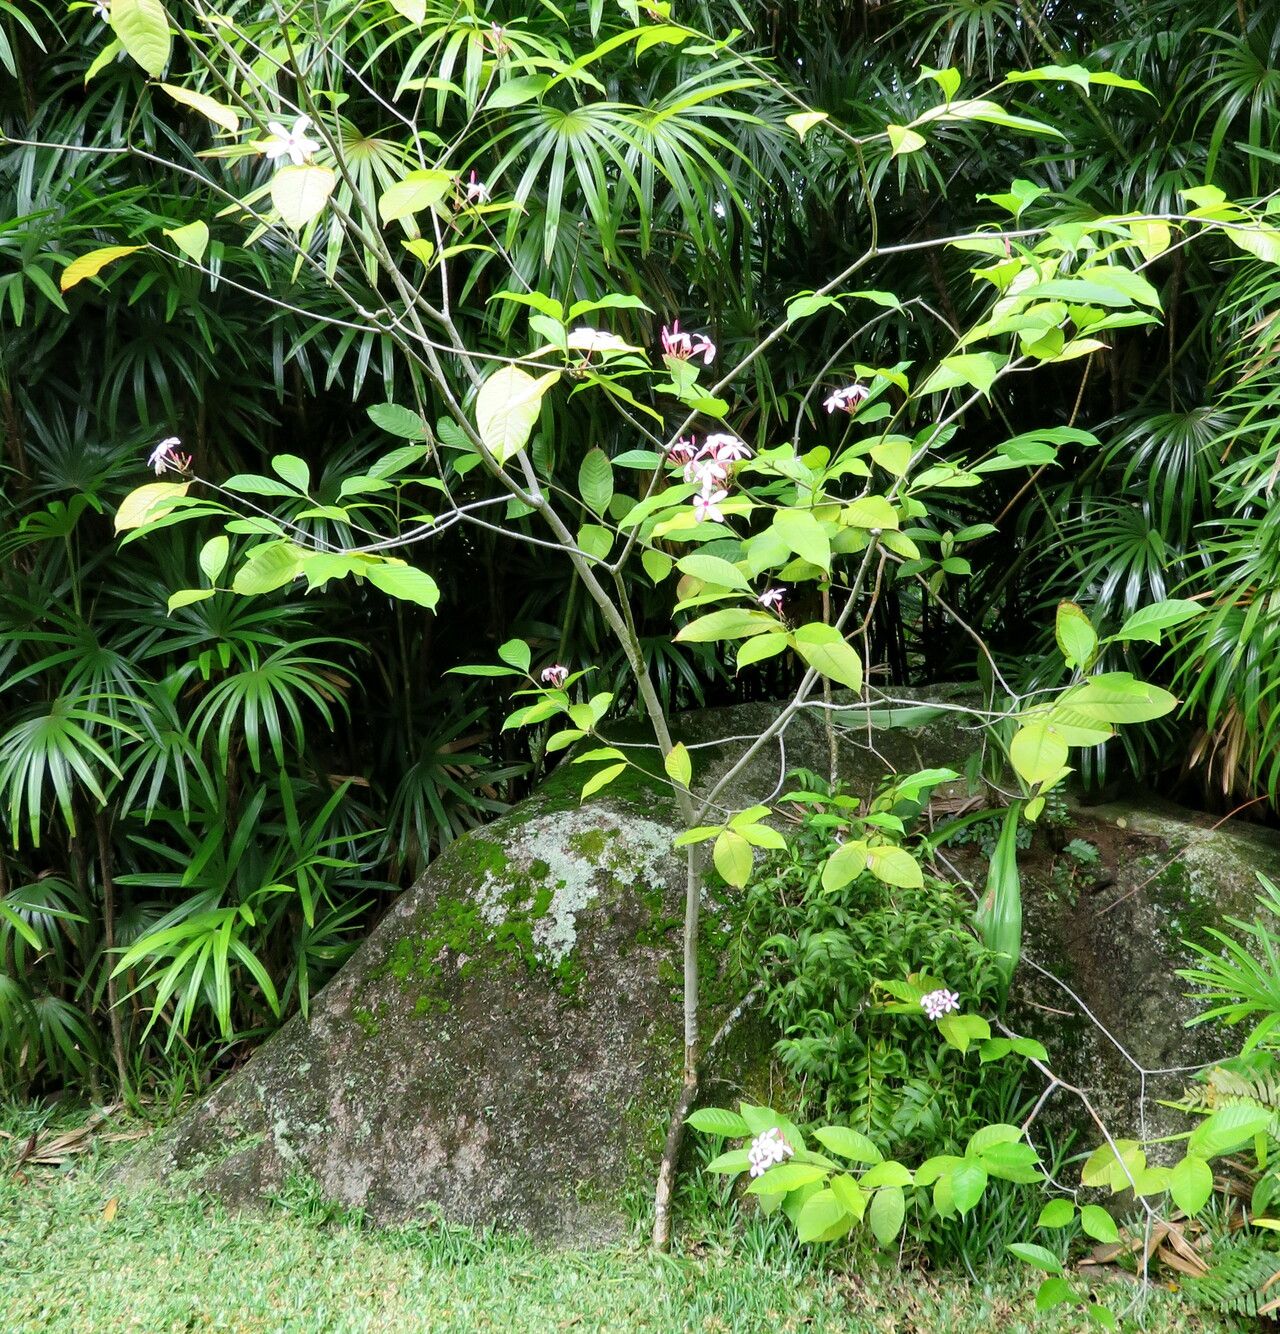
Kopsia fruticosa, also known as the “Dwarf Kopsia,” is a captivating plant with vibrant, fragrant flowers and glossy foliage. Its beauty has made it a popular choice for gardens and homes, but have you ever considered growing your own Kopsia from scratch? The good news is that propagating this tropical treasure is achievable, even for novice gardeners.
This blog post will delve into the world of Kopsia fruticosa propagation, explaining the different methods to choose from and providing you with tips for success.
Let’s start with the basics: understanding the reproductive cycle.
Kopsia fruticosa can be propagated through both seed and cuttings. Let’s explore each method in detail:
1. Propagation Through Seeds: A Journey From Seed to Sapling
- Harvesting Seeds: The first step is obtaining fresh, viable seeds. Look for ripe, red berries on mature Kopsia plants. Once you have your seeds, remove them from the fleshy fruit and allow them to dry in a warm, airy location.
- Sowing: Once dried, seeds can be sown in a well-draining seed-starting mix. Use a small pot or seed tray filled with the mix. Gently press the seeds into the surface of the soil, but don’t cover them completely.
- Germination: Kopsia fruticosa seeds require warm temperatures for germination, ideally between 70-75°F (21-24°C). Keep the soil evenly moist and provide bright, indirect light. Germination should take 2-4 weeks.
- Transplanting: Once your seedlings have developed a few true leaves, carefully transplant them into individual pots filled with a well-draining potting mix.
2. Propagation Through Cuttings: Unlocking the Power of Vegetative Reproduction
- Taking Cuttings: The best time to take cuttings is during the spring or early summer when the plant is actively growing. Select healthy stems, ideally 4-6 inches long, that have developed a few nodes (leaf junctions).
- Preparing Cuttings: Using a sharp knife or pruning shears, make a clean cut just below a node. Remove the lower leaves, leaving 2-3 leaves at the top.
- Rooting Process: There are two primary methods for rooting cuttings:
- Water Propagation: Place the cuttings in a glass of water, ensuring the base is submerged. Change the water every 2-3 days to prevent bacterial growth.
- Soil Propagation: Dip the cut end of the cutting in rooting hormone powder and plant it in a pot filled with a rooting mix (a mix of perlite and peat moss). Keep the soil moist and provide bright, indirect light.
- Rooted Cuttings: With proper care, cuttings should root within 4-6 weeks. Once rooted, you can transplant them into larger containers.
Final Steps: Patience, Patience, Patience
Whether you choose to propagate from seeds or cuttings, success comes with patience. Ensure your plants have the right conditions for growth – ample sunlight, well-draining soil, and regular watering. Over time, your propagated Kopsia fruticosa will reward you with beautiful blooms and lush foliage.
Conclusion:
By following these detailed steps, you can bring the joy of Kopsia fruticosa into your home or garden. Whether you choose the seed method or the cutting method, both promise a fulfilling and rewarding experience. Remember, propagation is an adventure for the plant enthusiast, so embrace the journey and enjoy the beauty that unfolds.