Unleash the Magic of Lapeirousia silenoides: Your Guide to Propagation
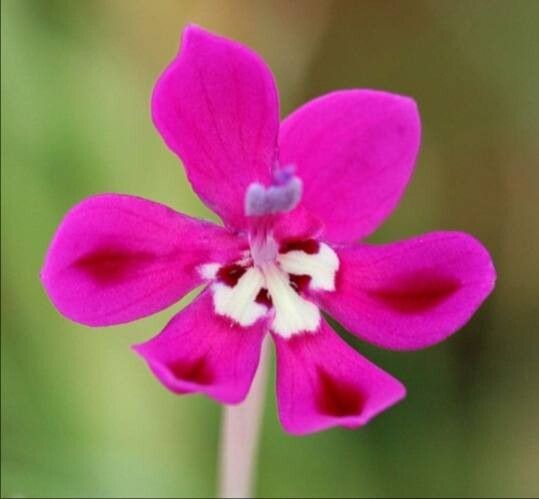
Lapeirousia silenoides, with its vibrant purple flowers, shimmering like scattered sapphires against a green backdrop, is a stunning addition to any garden. But the joy of this South African beauty can be further amplified by propagating your own plants! This guide will equip you with the knowledge and techniques for multiplying your Lapeirousia silenoides, ensuring a vibrant tapestry of flowers for years to come.
1. Seeding: Embracing the New Generation
Lapeirousia silenoides is known to readily propagate from seeds. This method, while time-consuming, is rewarding as it allows you to cultivate numerous plants and witness their growth from the very beginning.
- Time is Key: Sow the seeds in spring, as this is the most favorable season.
- Preparing the Bed: Choose a well-drained pot or a raised bed filled with a light and airy seed-starting mix.
- Planting Depth: Gently press the seeds into the surface of the soil. Lapeirousia seeds are tiny, and they need light to germinate, so do not bury them.
- Moisture Matters: Mist the soil lightly, keeping it consistently moist. A cloche or humidity dome can help maintain the ideal humidity levels.
- Awaiting Sprouting: Seedlings usually emerge within a few weeks, but patience is key, as germination can take anywhere from two to six weeks.
2. Division: A Quick and Efficient Way to Multiply
For established plants, division allows for quicker propagation than starting from seed. This method takes advantage of the plant’s natural clumping growth habit.
- Timing is Everything: Divide your Lapeirousia silenoides in the spring, after the last frost.
- Gentle Separation: Carefully dig up the plant and gently separate it into smaller divisions, each with a healthy root system and leafy foliage. Ensure each division has at least 2-3 shoots.
- Repotting for Renewal: Repot each division into its own pot or bed, providing ample drainage to prevent root rot.
3. Bulb Offsets: A Natural Means of Expansion
Like other members of the iris family, Lapeirousia silenoides produces bulb offsets, or baby bulbs, that can be separated and grown into independent plants.
- Timing: The best time to harvest offsets is during the dormant period (late summer or early fall).
- The Process: Gently remove the offsets from the mother bulb, making sure each one has a few roots attached.
- Planting for Growth: Plant the offsets in pots or the garden, using a well-draining potting mix. Place them in a sunny location and water regularly.
Cultivating Success: Tips for a Thriving Lapeirousia
- Light and Location: Choose a partially shaded or sunny spot with well-drained soil for your Lapeirousia silenoides.
- Water Wisdom: Keep the soil consistently moist, but avoid overwatering, as this can lead to root rot.
- Nutrients for Growth: Fertilize your plants with a balanced liquid fertilizer every few weeks during the growing season.
By following these simple steps, you can enjoy a breathtaking display of Lapeirousia silenoides in your garden, year after year. The joy of creating a new generation of these lovely plants is truly rewarding. So go ahead, get your hands dirty, and experience the magic of propagation!