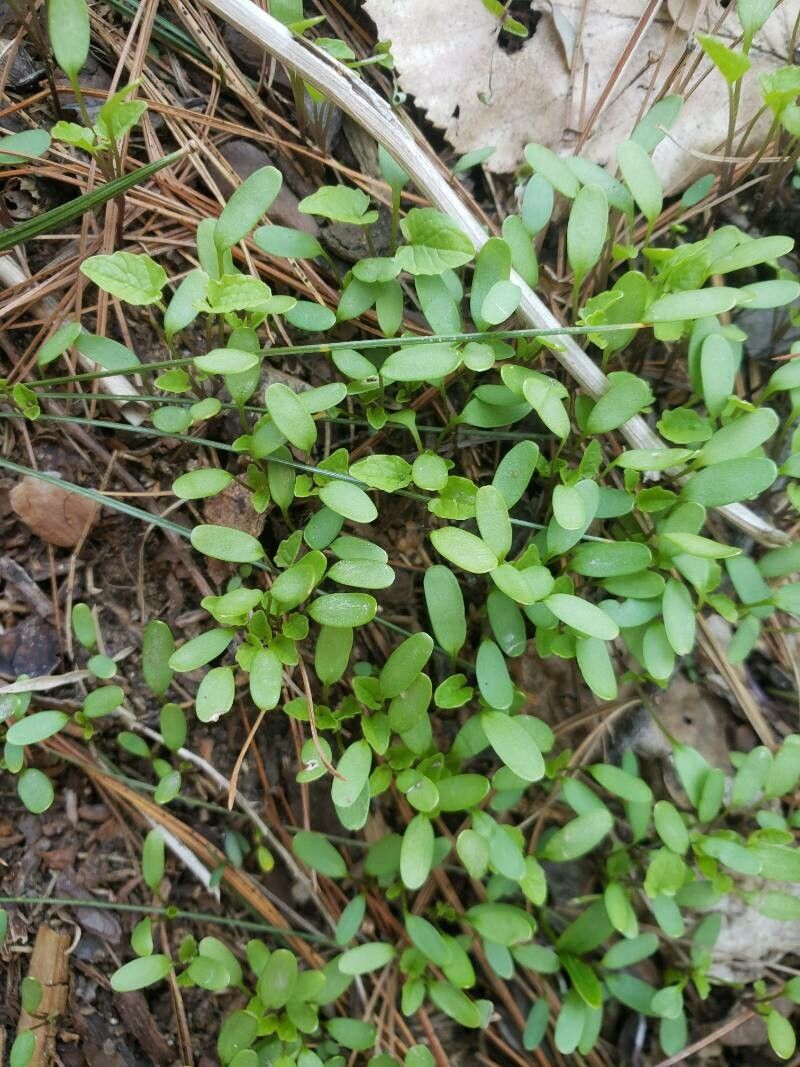
Grow Your Own Microgreen Powerhouse: A Guide to Propagating Garden Cress (Lepidium sativum)
Garden cress, perhaps better known as the peppery, nutrient-packed microgreen gracing your avocado toast, is surprisingly easy to grow at home. Also known by the names peppergrass and poor man’s pepper, this fast-growing, versatile plant brings a delightful punch of flavor and a boost of nutrition to any meal. Whether you’re a seasoned gardener or a curious beginner, propagating Lepidium sativum is a rewarding and straightforward endeavor.
Why Propagate Garden Cress?
- Speed and Simplicity: Garden cress goes from seed to harvest in a matter of days, making it perfect for impatient gardeners and those short on space.
- Nutritional Powerhouse: These tiny greens pack a punch! They’re a rich source of vitamins A, C, and K, as well as minerals like iron and calcium.
- Culinary Versatility: Add a peppery kick to salads, sandwiches, soups, or use them as a flavorful garnish for various dishes.
Two Ways to Propagate: Soil vs. Hydroponics
1. Soil Propagation:
- Materials:
- Seed starting mix or potting soil
- Shallow tray or container with drainage holes
- Spray bottle
- Instructions:
- Fill your container with moist seed starting mix, leaving about half an inch of space at the top.
- Sprinkle seeds evenly across the surface, ensuring they are not clumped together. You can lightly press them into the soil, but they don’t need to be buried.
- Mist the seeds and soil generously with water using a spray bottle.
- Place the container in a bright, indirect light. Avoid direct sunlight, which can be too harsh for these delicate seedlings.
- Keep the soil consistently moist by misting twice a day.
- Your garden cress will be ready to harvest in 7-10 days, once the leaves reach about 2 inches in height.
2. Hydroponic Propagation (without soil):
- Materials:
- Shallow tray or container
- Paper towels or germination paper
- Spray bottle
- Instructions:
- Line your container with a few layers of damp paper towel or germination paper.
- Scatter seeds evenly over the damp paper, ensuring they are not overcrowded.
- Mist the seeds thoroughly.
- Place the container in a bright, indirect location, away from direct sunlight.
- Keep the paper consistently moist by misting several times a day. Do not allow it to dry out.
- Garden cress grown hydroponically will be ready to harvest in 7-10 days, or when the leaves reach about 2 inches tall.
Harvesting and Enjoying Your Garden Cress
To harvest, simply snip the leaves above the soil line using sharp scissors. Cress is best enjoyed fresh, so harvest only what you plan to use immediately. For continuous harvest, sow new seeds every week.
Tips for Success:
- Use fresh, high-quality seeds for optimal germination rates.
- Maintain a consistent temperature of around 70°F (21°C) for best results.
- Avoid overwatering, which can lead to fungal diseases.
- Don’t let your cress get too tall; harvest it while it’s young and tender for the best flavor and texture.
Ready to add some zest to your life? Get started with propagating garden cress today. It’s quick, easy, and oh-so-rewarding!