Unlocking the Secrets of Leptochilus macrophyllus Propagation: A Guide to Multiplying Your Fern
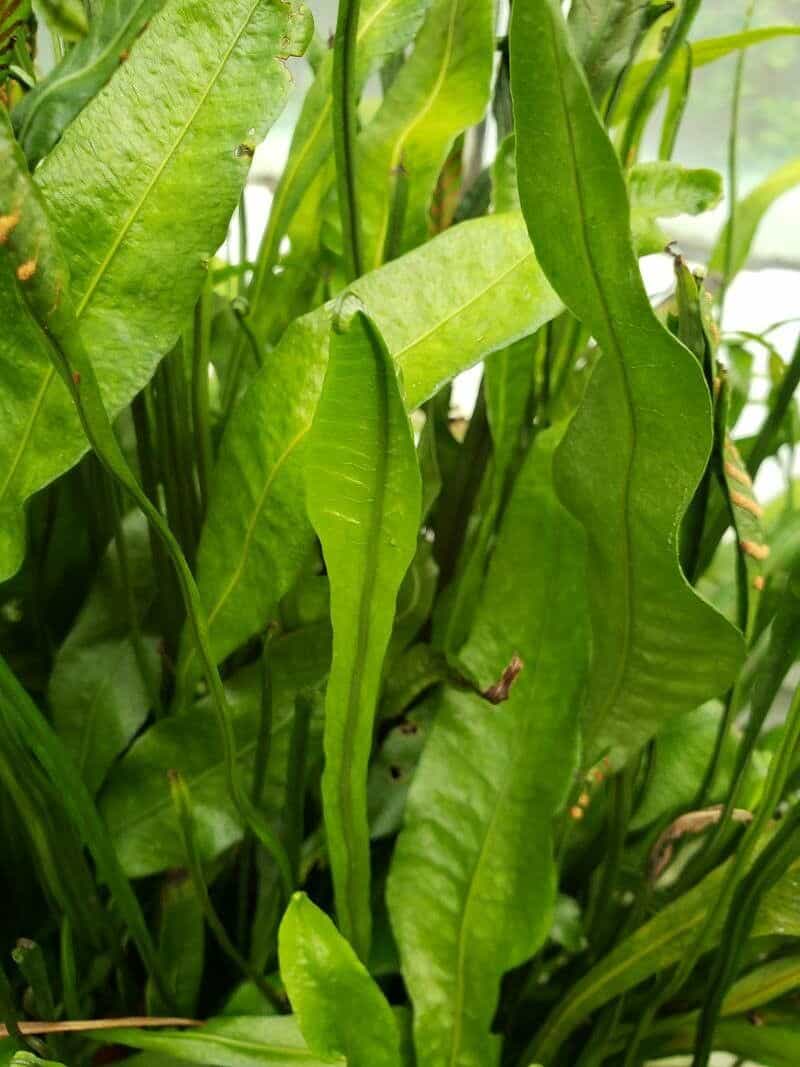
Leptochilus macrophyllus, with its distinctive, elongated fronds, adds a touch of prehistoric charm to any garden space. But have you ever wondered how to multiply this beautiful fern and share its unique appeal? While it might sound intimidating, propagating Leptochilus macrophyllus, also known as the Strap Water Fern, is easier than you think. This guide will delve into the fascinating world of fern propagation, equipping you with the knowledge to expand your collection and impress your fellow plant enthusiasts.
Understanding the Basics
Unlike many plants that propagate through seeds or cuttings, ferns reproduce via spores. These tiny, dust-like structures are found on the undersides of mature fronds within specialized structures called sori. When the spores are ripe, they are released into the wind, ready to start a new generation.
Method 1: Spore Propagation – Embracing the Fern Life Cycle
While seemingly complex, spore propagation gives you a front-row seat to the incredible life cycle of ferns. Here’s how:
Spore Collection: Look for mature sori on the undersides of the fronds. These often appear as brown or dark lines. Gently scrape the sori onto a white sheet of paper using a sharp knife or blade.
Spore Preparation: The collected spores need a sterile environment to thrive. Prepare a seed-starting mix or a mixture of peat moss and perlite. Moisten the mix and spread it evenly in a shallow tray or pot.
Sowing the Spores: Sprinkle the collected spores thinly and evenly over the prepared medium. Avoid burying them; light is crucial for germination.
Creating a Humid Environment: Cover the tray with a clear plastic wrap or a humidity dome to maintain moisture and warmth. Place it in a brightly lit area, but out of direct sunlight.
Patience is Key: Germination can take several weeks to a couple of months. During this time, ensure the medium stays consistently moist but not waterlogged by misting it regularly.
- Transplanting: Once the spores develop into small plantlets (prothalli), you can carefully separate and transplant them into individual pots with a well-draining potting mix.
Method 2: Division – A Simpler Approach
For those who prefer a quicker and more straightforward approach, division is an excellent option.
Choosing the Right Time: Spring, before new growth begins, is the ideal time to divide your Leptochilus macrophyllus.
Dividing the Rhizome: Carefully remove the fern from its pot and gently shake off excess soil. Identify healthy sections of the rhizome (the fern’s underground stem) with a good root system and at least two to three fronds.
- Potting the Divisions: Plant each division in a well-draining potting mix, ensuring the rhizome sits just below the soil surface. Water thoroughly and place the newly potted ferns in a shaded area until they show signs of new growth.
Caring for Your Propagated Ferns
Provide your newly propagated ferns with bright, indirect light, consistent moisture, and moderate humidity to thrive. Choose a well-draining potting mix and fertilize them lightly during the growing season.
Propagating Leptochilus macrophyllus can be an immensely rewarding experience. Whether you enjoy the journey of spore propagation or prefer the simplicity of division, you’ll be rewarded with stunning new ferns to enhance your indoor or outdoor space. So, roll up your sleeves, get your hands a little dirty, and start multiplying your ferns!