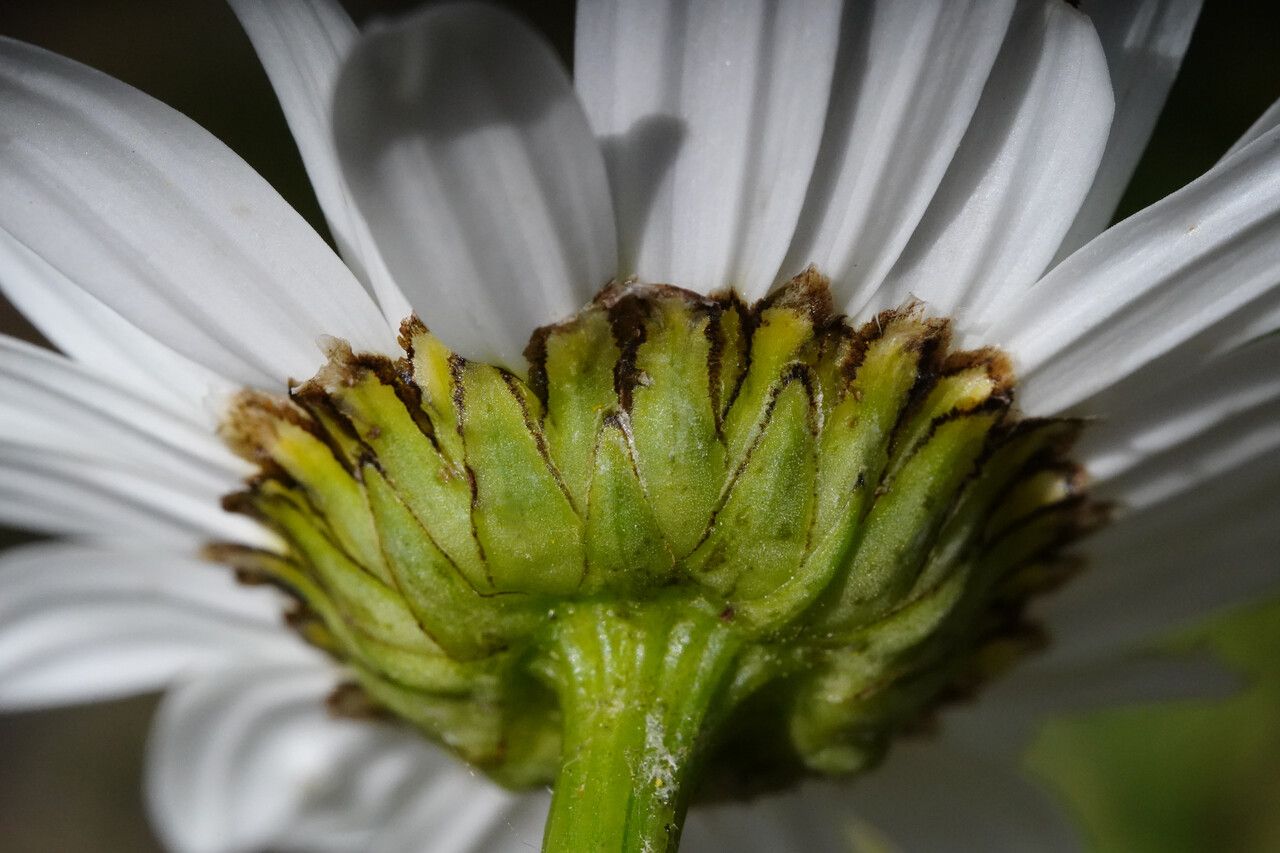
From One to Many: Unlocking the Secret to Leucanthemum subglaucum Propagation
The Leucanthemum subglaucum, with its cheerful daisy-like blooms and silvery-blue foliage, is a true gem amongst the flora world. And for gardeners, there’s an extra layer of joy in knowing you can easily propagate this beauty and create a whole colony of these charming plants.
But how do you get started? Fear not, because propagation isn’t as daunting as it sounds. Let’s explore the simple and effective methods for multiplying your Leucanthemum subglaucum bounty:
1. The Time is Right: A Spring Awakening
Spring is the perfect time for propagation, as the plant awakens from its dormant state and begins its growth journey. You’ll find that spring cuttings are more likely to root successfully.
2. The Cut and Paste of Propagation
- Stem Cuttings: This method is ideal for Leucanthemum subglaucum. Choose healthy, non-flowering stems that are about 6 inches long. Cut just below a node (the point on the stem where leaves grow), ensuring there are at least two nodes on each cutting.
- Leaf Cuttings: While less common, leaf cuttings can also be used for propagation. Select healthy leaves and gently cut a portion of the leaf stem with a sharp blade.
- Division: Once your Leucanthemum subglaucum has established well, you can divide the plant during spring or fall. Gently separate the clump into smaller divisions, ensuring each division has healthy roots and foliage.
3. The Art of Rooting:
- Water Propagation: This is a wonderfully simple method for rooting cuttings. Fill a clean glass jar with water and place your cuttings inside. Ensure the nodes (where leaves grow) are submerged in the water. Change the water every few days to prevent algae and keep your cuttings fresh.
- Soil Propagation: For a more traditional approach, prepare a pot filled with a good quality potting mix that allows drainage. Dip the cut end of your cuttings in rooting hormone (optional, but this can help boost root development) and insert them into the prepared soil. Water generously and keep the soil consistently moist but not waterlogged.
4. The Patient Gardener’s Patience:
After planting, place your cuttings or divisions in a bright location, but avoid direct sunlight, especially during the hottest months. Give them time – patience is key for success. Within a few weeks, you should start to see signs of new growth, signifying that roots are developing.
5. Transplanting Time:
Once your cuttings or divisions have formed strong roots, you can gently transplant them into their permanent locations in the garden or larger pots. Choose a sunny spot with well-drained soil.
6. Tips for Success:
- Sharp Tools: Always use clean, sharp tools to prevent damage to your cuttings or plants.
- Humid Environment: Maintain a humid environment around your cuttings to encourage root formation. You can achieve this by using a clear plastic bag or dome to create a mini greenhouse effect.
- Watering: Water your cuttings or divisions regularly, especially during dry periods.
In Conclusion:
Propagating Leucanthemum subglaucum is a rewarding and fun experience for any gardener. By following these simple steps, you can readily expand your collection of these delightful flowers and enjoy the blooming beauty of these resilient plants in your garden for years to come.