Unlocking the Secrets of Sea Lavender Propagation: Growing Your Own Limonium Cosyrense
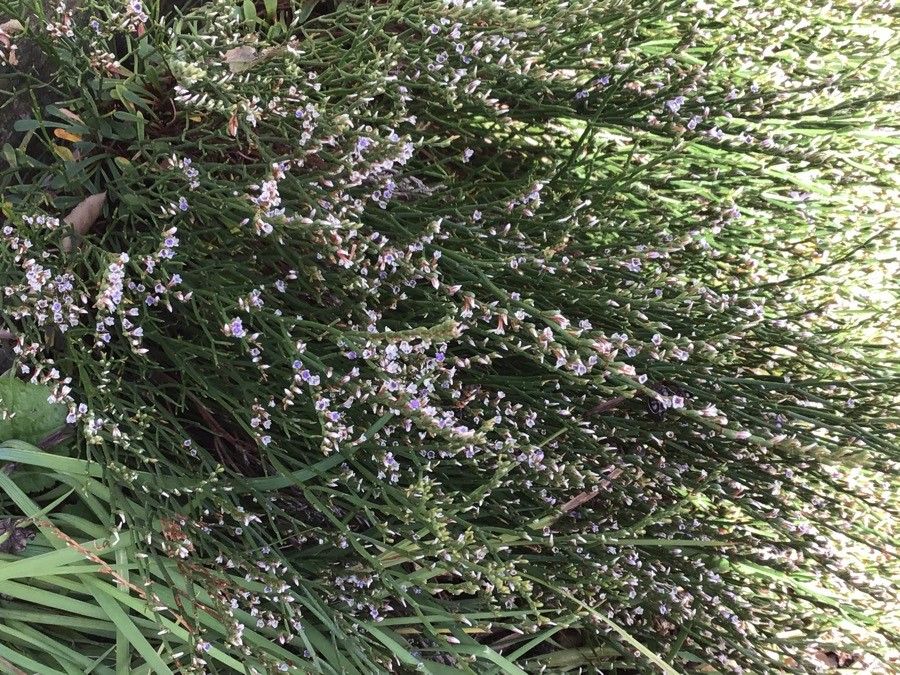
Limonium cosyrense, better known as Sea Lavender, is a captivating plant that adds a touch of the seaside to any garden. Its delicate, papery blooms come in a range of beautiful hues, from vibrant purples to soft pinks and calming whites.
But did you know that growing your own Sea Lavender from seed or cuttings is surprisingly simple? In this blog post, we’ll guide you through the art of Limonium cosyrense propagation, empowering you to expand your Sea Lavender collection and share these beautiful plants with others.
Propagating Sea Lavender from Seed:
Starting Sea Lavender from seeds allows you to choose from a variety of cultivars and witness the magic of germination. Here’s what you need to do:
- Timing is Key: Sow seeds in spring or early summer, as they require warm temperatures to germinate. You can directly sow them outdoors, but starting in seed trays indoors for a headstart is recommended.
- Optimal Conditions: Use a well-draining seed starting mix. Sea Lavender thrives in sunny locations, so choose a spot that receives at least six hours of direct sunlight each day.
- Patience is a Virtue: Be patient! Sea Lavender seeds can take a few weeks to germinate. Keep the soil consistently moist but not waterlogged.
- Thinning for Strength: Once seedlings develop a few true leaves, thin them out, leaving the strongest plants to grow.
- Hardening Off: Gradually acclimate your seedlings to outdoor conditions by placing them in a sheltered spot for a few hours each day before transplanting them permanently.
Propagating Sea Lavender from Cuttings:
Sea Lavender can also be propagated through softwood cuttings. This technique allows you to quickly create new plants that are genetically identical to the parent plant:
- Take Your Cuttings: In late spring or early summer, select healthy, non-flowering stems. Cut just below a node (the point where leaves grow).
- Prepare the Cuttings: Remove the bottom leaves and dip the ends in rooting hormone. This helps initiate root development.
- Potting Up: Plant your prepared cuttings in a pot filled with a light, well-draining potting mix. Keep the mix moist but not soggy.
- Creating the Right Environment: Place the pot in a warm, bright location but avoid direct sunlight. Use a clear plastic bag or a propagation dome to create a humid environment.
- Patience, Again: Root development can take a few weeks. Check the cuttings regularly and keep the potting mix moist.
General Tips for Success:
- Soil: Sea Lavender prefers well-draining soil. A mix of sand, peat moss, and compost is ideal.
- Water: Water regularly to keep the soil moist but avoid overwatering.
- Sunlight: Sea Lavender needs at least six hours of direct sunlight daily.
- Fertilizer: Feed your Sea Lavender with a balanced liquid fertilizer every few weeks during the growing season.
Enjoy Your Sea Lavender Blooms:
Once your Sea Lavender plants are established, they’ll reward you with beautiful blooms all summer long. Enjoy their vibrant colors and delicate fragrance, and remember, sharing your propagated plants with friends and family is the perfect way to spread the joy of Sea Lavender!