Spreading the Spice: How to Propagate Your Own Spicebush (Lindera triloba)
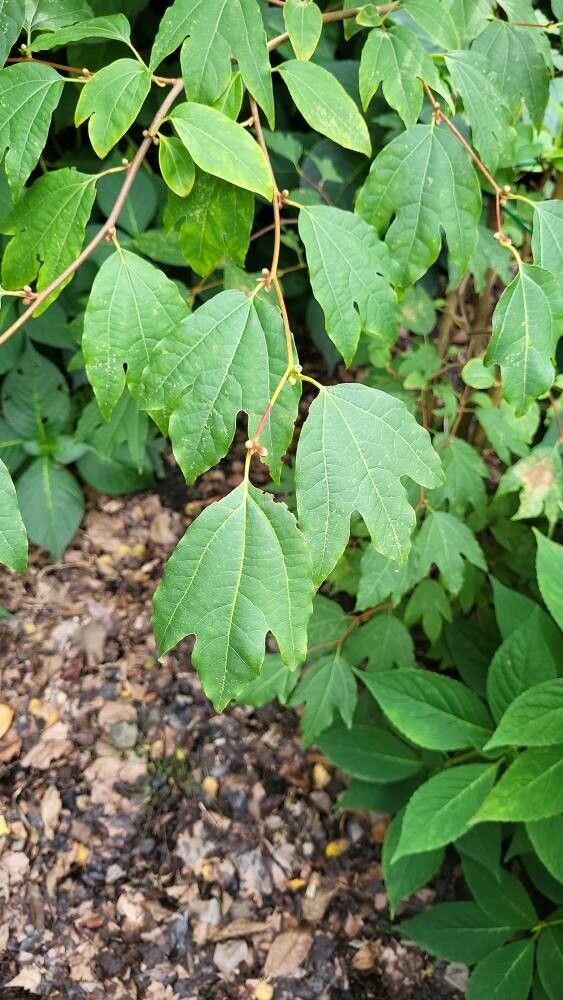
Spicebush (Lindera triloba) – with its fragrant leaves, vibrant fall foliage, and delightful berries – is a plant that deserves a place in every garden. And the best part? Sharing its beauty is easy! This blog post will guide you through the simple process of propagating your own Spicebush, allowing you to grow a whole new generation of this delightful native shrub.
Why Propagate?
For starters, propagating your own Spicebush plants is a rewarding experience. It allows you to enjoy the process of nurturing new life from your existing plants. Additionally, it’s a cost-effective way to expand your garden – imagine a whole row of fragrant Spicebush for a fraction of the price of purchasing them! Furthermore, propagation helps you preserve the unique characteristics of your existing plants, ensuring you continue to enjoy their specific fragrance, leaf shape, and berry size.
Methods of Propagation
There are two primary methods for propagating Spicebush:
- Cuttings: This technique involves taking cuttings from a healthy Spicebush plant.
- Seed Propagation: While slightly more time-consuming, growing Spicebush from seeds offers a rewarding experience and a chance to create a unique variety.
Cuttings:
- Timing: The best time for taking cuttings is during the late summer or early fall, when the plant has entered dormancy. Choose healthy, non-flowering stems.
- Preparation: Select 6-8 inches long stems with at least four nodes (points where leaves or branches grow). Remove the lower leaves and buds to encourage root growth.
- Rooting: Dip the cut ends of the cuttings in a rooting hormone powder, and carefully place them in a pot filled with a well-draining potting mix. Keep the soil moist but not soggy. Cover the pot with a plastic dome or bag to maintain high humidity.
- Location: Place the pot in a bright, indirect light location. Rooted cuttings can be transplanted to a larger pot or directly into the garden in the spring.
Seed Propagation:
- Collecting Seeds: Harvest the red berries from the Spicebush plant in late summer or early fall. Seeds are encased within the fleshy pulp.
- Preparation: Gently remove the seeds from the berries and wash them thoroughly to remove any remaining pulp.
- Stratification: For successful germination, Spicebush seeds require a period of cold stratification. This mimics the natural winter period they would experience in their natural environment. Place the seeds in a moist paper towel and store them in a refrigerator for several weeks.
- Sowing: After stratification, sow the seeds in a seed-starting tray filled with a well-draining potting mix. Keep the soil moist but not waterlogged.
- Location: Place the seed tray in a bright, indirect light location. Expect seedlings to emerge after 4-6 weeks.
Caring for Young Spicebush Plants
Once your Spicebush plants are established, they require minimal care.
- Watering: Maintain consistent moisture, especially during the first year after planting.
- Sunlight: Provide them with a spot in partial shade to full shade.
- Soil: Spicebush thrives in moist, well-drained soil.
- Pruning: Selective pruning is beneficial to maintain the shape and size of your Spicebush plant.
Enjoy Your New Additions
Propagating your own Spicebush plants is a rewarding and fulfilling experience. Enjoy the fresh fragrance of their leaves, watch the beautiful foliage change colors in autumn, and attract wildlife with their vibrant red berries. With proper care, your new Spicebush plants will bring beauty and delight to your garden for years to come.