Unlocking the Secrets of Liparis chalandei: A Guide to Propagation
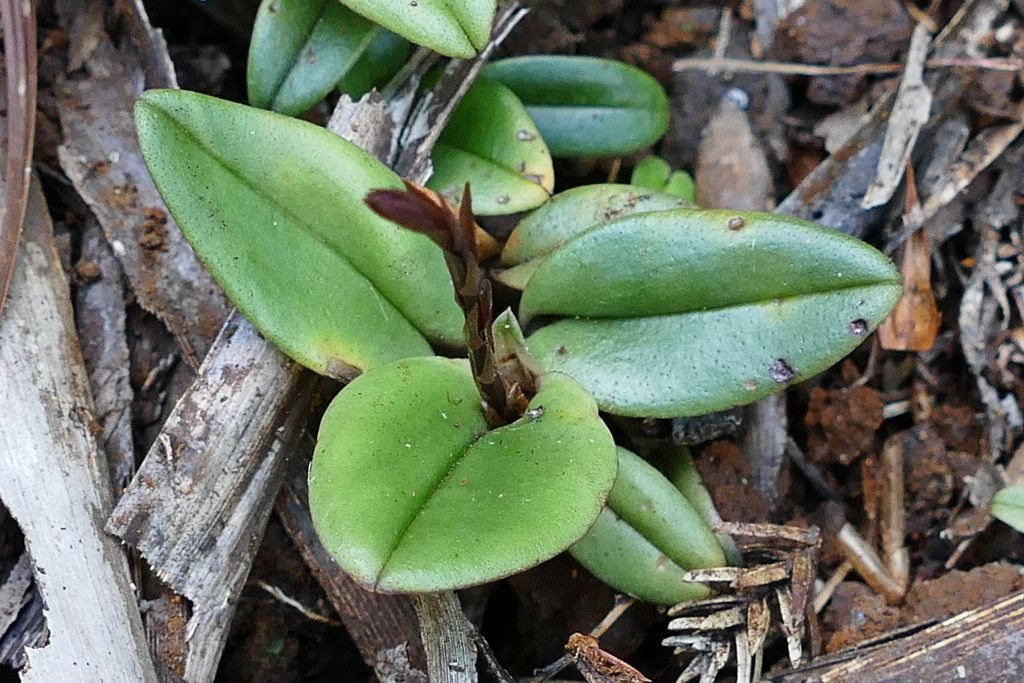
Liparis chalandei, with its delicate beauty and intriguing growth habit, is a true gem for orchid enthusiasts. This miniature marvel, native to Southeast Asia, captivates with its pendant, often translucent leaves and enchanting blooms. However, its rarity in cultivation can be attributed, in part, to the perceived difficulty of propagation. Fear not, fellow plant lovers! This guide will demystify Liparis chalandei propagation, providing you with the knowledge and confidence to expand your orchid family.
Understanding the Basics
Before diving into the specifics, let’s grasp the fundamentals. Liparis chalandei, like many orchids, can be propagated through two primary methods:
1. Division: This method, suitable for mature, multi-growth plants, involves carefully separating the plant into sections, each with its own root system.
2. Keiki Paste: Keikis are essentially plantlets that orchids sometimes produce on their flower spikes. Applying a specialized paste can encourage keiki formation, offering a viable propagation route.
Division: A Step-by-Step Guide
- Timing is Key: The ideal time for division is during spring, just as new growth emerges.
- Preparation is Paramount: Gather your supplies – sterilized cutting tools, fresh potting mix suited for miniature orchids, and pots with ample drainage.
- Divide and Conquer: Gently remove the plant from its pot and inspect its root system. Using your sterilized tools, divide the plant into sections, ensuring each section has at least 2-3 healthy pseudobulbs (swollen stems) and a network of roots.
- Potting Up: Plant each division into fresh, moist potting mix, ensuring the base of the pseudobulbs sits just above the substrate line.
- Post-Division Care: Provide bright, indirect light, high humidity, and maintain a warm environment. Water sparingly until new growth emerges, signaling successful establishment.
Keiki Paste: Patience is a Virtue
- Identifying the Opportunity: Look for mature, healthy flower spikes on your Liparis chalandei.
- Applying the Paste: Carefully apply a small amount of keiki paste to the nodes (small bumps) on the flower spike.
- Waiting Game: Be patient, as keiki development can take several weeks to months.
- Separation and Potting: Once the keiki develops roots and leaves, gently remove it from the mother plant and pot it as you would a mature division.
Essential Tips for Success
- Hygiene is Crucial: Always sterilize your tools before and after handling your orchid to prevent the spread of diseases.
- Mimicking Nature: Recreate the warm, humid environment of Liparis chalandei’s native habitat. Consider using a humidity tray or placing your plant in a terrarium-like enclosure.
- Patience, Young Padawan: Orchid propagation requires patience and a gentle touch. Don’t be discouraged if your first attempt doesn’t yield immediate results. Embrace the learning process, adjust your techniques, and celebrate your successes!
By following these guidelines and embracing the joy of experimentation, you can successfully propagate Liparis chalandei, expanding your collection and sharing the delight of this botanical treasure with others.