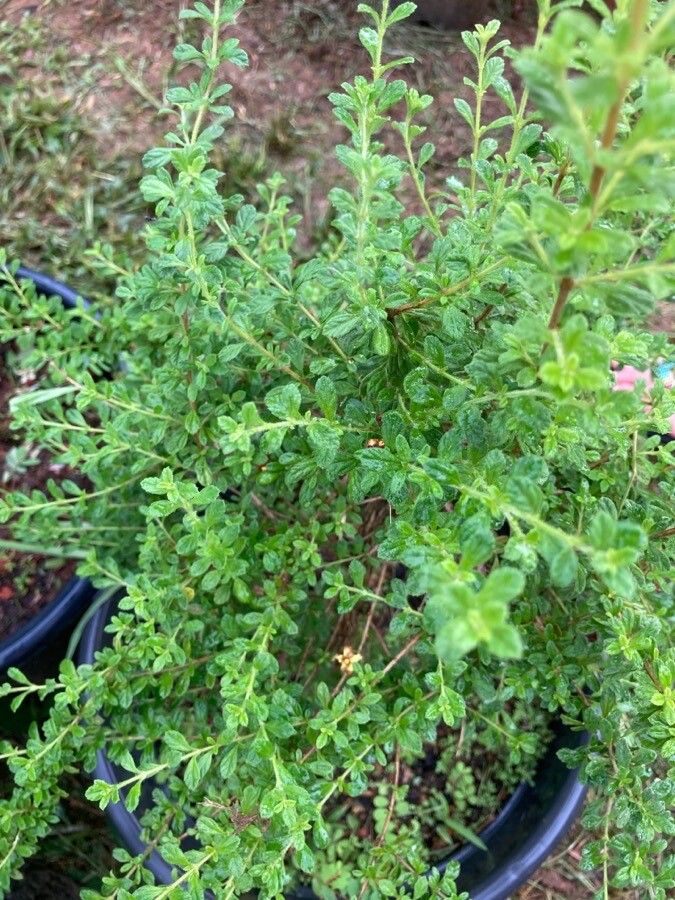
From One to Many: The Easy Way to Multiply Your Lippia Thymoides (Creeping Thyme)
Craving the vibrant, cascading beauty of Lippia thymoides, also known as Creeping Thyme, in your garden or home? Don’t spend a fortune on new plants! Instead, get ready to unlock the magic of propagation. With a little patience and a few simple techniques, you can transform a single cutting into a thriving abundance of these aromatic beauties.
Why Propagate Your Creeping Thyme?
- More Plants, More Fun: Propagating allows you to effortlessly multiply your existing plants, filling your garden or home with a sea of fragrant foliage.
- Budget Friendly: Say goodbye to expensive plant purchases! This is an affordable way to expand your collection.
- Preserving Genetics: Make sure your favorite varieties stay in your garden.
- It’s Fun and Rewarding: Witnessing a cutting sprout roots and flourish is a rewarding experience for any plant enthusiast.
Propagating Creeping Thyme: Two Easy Methods
1. Stem Cuttings: This is the most common method for propagating Lippia thymoides. Here’s how:
- Take Your Cuttings: Choose healthy, non-flowering stems. Make a clean cut just below a node (where leaves grow). Remove any leaves from the bottom inch or two of the stem.
- Prepare Your Medium: Fill a pot with a seed-starting mix or a mixture of perlite and peat moss.
- Plant and Care: Dip the cut end of the stem in rooting hormone (optional) and insert it into the prepared medium. Water well and place the pot in a bright spot out of direct sunlight.
- Patience is Key: Keep the soil consistently moist and wait patiently. Most Lippia thymoides cuttings will root in 2-4 weeks.
2. Layering: This method is simple and requires less effort:
- Select a Branch: Choose a healthy, flexible branch that is close to the ground.
- Bend and Bury: Carefully bend the chosen branch downwards and bury a section of it in the soil, leaving the tip exposed.
- Secure and Wait: Secure the bent branch with a wire or rock to keep it in place. Water regularly and keep the soil moist.
- Separate and Plant: Within a few weeks, the buried section of the branch should have developed roots. You can then separate and transplant the new plant.
Tips for Success:
- Timing is Everything: Spring and summer are the best times for propagating Lippia thymoides, as the plant is actively growing.
- Humidity is Key: Cover your cuttings with a plastic dome or bag to increase humidity and speed up root development.
- Patience and Observation: Be patient and observe your cuttings for signs of growth. As soon as you notice new leaves emerging, you know your cutting has successfully rooted!
Beyond Your Garden:
Once your new Lippia thymoides plants are established, enjoy their versatility:
- Groundcover Magic: Embrace their dense growth to create a vibrant, fragrant groundcover in your garden.
- Hanging Charm: Let them cascade beautifully from hanging baskets for a stunning display.
- Culinary Delights: Add the aromatic leaves to your favorite dishes for a unique flavor.
So, unleash your inner gardener and enjoy the rewarding journey of propagating your Lippia thymoides. It’s a simple, fun, and budget-friendly way to multiply your plants and create a fragrant haven. Happy propagating!