From One Lobelia Dentata to a Whole Garden: Secrets to Easy Propagation
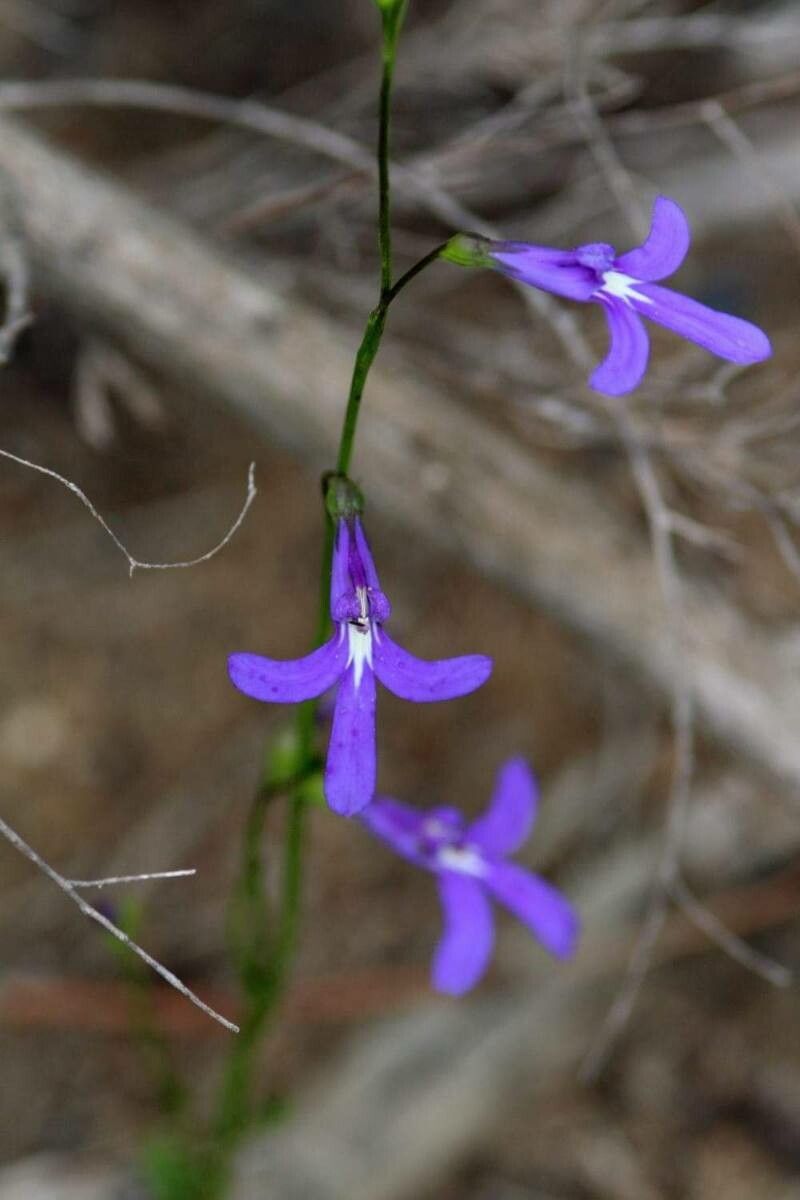
Lobelia dentata, with its vibrant blue flowers and delicate foliage, is a favorite among gardeners. Its cheerful presence can brighten any patio or window box, making it a popular choice for adding a pop of color. But did you know you can easily multiply your lobelia collection with a little bit of know-how? That’s right, propagation is a simple and rewarding way to grow more of these beautiful plants, without spending a fortune on new starts.
The Power of Propagation: Why It’s Worth It
Before we dive into specific methods, let’s explore why propagation is a gardener’s best friend. Here are some key benefits:
- Saving Money: New plants purchased at garden centers can quickly add up. Propagation allows you to create new plants for free, stretching your gardening budget further.
- Preserving Unique Varieties: Have a special lobelia dentata variety you love? Propagation ensures you can easily create more of that exact plant without relying on seed availability.
- Greater Abundance: Expanding your lobelia collection allows you to create sprawling displays or share with friends and family.
Methods for Lobelia Dentata Propagation
Here are two common methods for successfully propagating lobelia dentata:
- When to Sow: Lobelia dentata seeds can be sown directly outdoors in spring after the last frost or started indoors a few weeks before the last frost.
- Sowing Process: Sow the seeds thinly in well-draining seed starting mix, lightly cover them with soil, and mist with a spray bottle.
- Care: Keep the soil consistently moist and provide indirect sunlight. The seeds typically germinate in 7-14 days.
2. Cuttings
- Time of Year: You can take cuttings throughout the growing season, but early summer is ideal for maximizing success.
- Harvesting: Cut stem tips about 3 inches long, just below a leaf node. Remove the bottom leaves to expose the node for root development.
- Rooting: Dip the cut end into rooting hormone powder, then insert the cutting into a pot filled with a moist, sterile potting mix. Ensure the node is buried in the soil.
- Care: Place the pot in a bright location, but out of direct sunlight. Keep the soil consistently moist, either by misting or by bottom watering.
Tips for Success
- Sterile Environment: Clean your tools before and after each use to prevent disease spread.
- Right Mix: Use a light, free-draining soil mix that promotes root development.
- Patience is Key: While seeds may sprout quickly, cuttings can take several weeks to establish roots. Be patient and observe for signs of new growth.
Enjoy Your Newly Propagated Lobelia Dentata!
Once your cuttings or seedlings have developed healthy roots, you can transplant them into a larger pot or directly into your garden bed, where they’ll continue to thrive. Remember that the rewards of propagating lobelia dentata are twofold: a beautiful garden and a sense of accomplishment that comes from nurturing new life from a tiny seed or a simple cutting. Start your propagation journey today and experience the joy of growing your own gorgeous lobelia!