From Seed to Showstopper: Mastering the Art of Lonicera Cyanocarpa Propagation
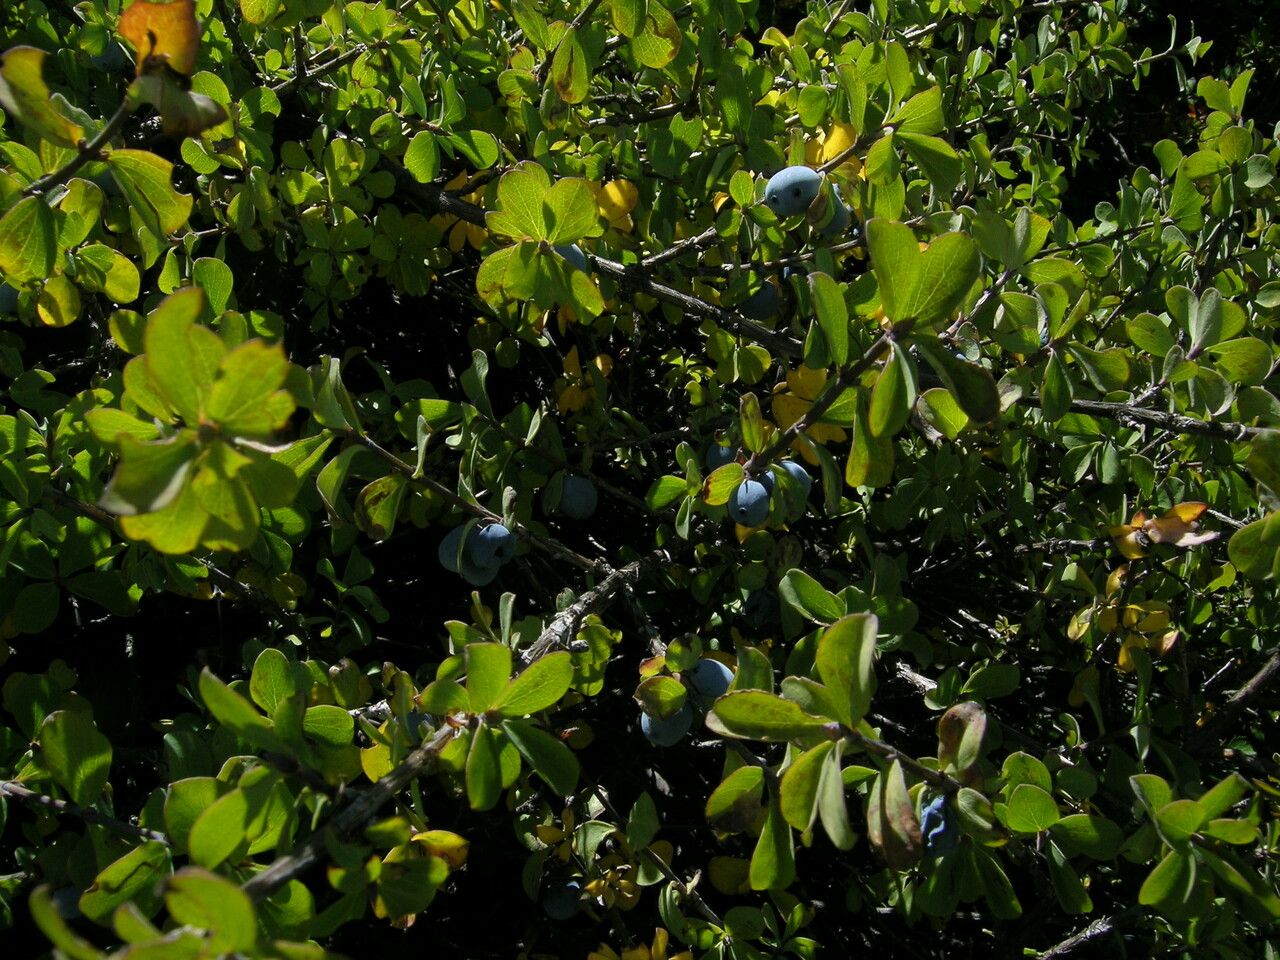
If you’re seeking a vibrant and unique addition to your garden, look no further than Lonicera cyanocarpa, also known as “Blue Honeysuckle.” This beautiful climber boasts stunning blue berries and fragrant flowers, making it a real showstopper. But what if you could share this beauty with others, or simply expand your own collection? The answer lies in the fascinating world of plant propagation.
Lonicera cyanocarpa, like many other plants, can be propagated through various methods – from seeds to cuttings. Let’s dive into the intricacies of each method to help you cultivate your very own blue honeysuckle paradise.
From Seed to Sapling: The Long Game
Starting from seed is a rewarding, yet patient endeavor. Here’s a step-by-step guide:
- Collecting Seeds: Extract the seeds from ripe berries. These are typically small and hard.
- Sowing Season: Sow the seeds in late autumn or winter. This simulates natural cold stratification, ensuring proper germination.
- The Seedbed: Choose a well-drained seed tray filled with a peat-based compost. Lightly press seeds into the soil, covering with a thin layer of compost.
- Patience is Key: Keep the seedbed moist but not soggy. Germination can take several weeks, even months.
- Transplanting Time: Once seedlings have developed a few true leaves, carefully prick them out into individual pots filled with a good potting mix.
- Nurture and Grow: Keep your young plants in a sunny, sheltered spot, ensuring regular watering and fertilization.
The Quick Path: Taking Cuttings
For faster results, consider propagating Lonicera cyanocarpa through cuttings. This method is ideal for replicating existing plants and preserving their unique characteristics. Here’s the breakdown:
- Timing is Everything: Take semi-hardwood cuttings in late summer or early autumn when the plant is still actively growing. Select healthy stems with new growth.
- Precision Cuts: Use sharp, clean pruning shears to cut stems about 4-6 inches long. Make a clean diagonal cut at the bottom of each cutting, just below a leaf node.
- Removing Excess: Trim away the bottom leaves, leaving a few leaves at the top.
- Rooting Success: Dip the cuttings in a rooting hormone solution to aid in root development. Plant them in pots filled with a rooting mix (equal parts peat moss, perlite, and vermiculite).
- Humidity is Key: Cover the pots with a clear plastic wrap or cloche to create a humid environment.
- Patience (Again!): It may take several weeks or months for the cuttings to root. Keep the rooting mix moist but not waterlogged.
- Time to Transplant: Once you see signs of new growth, it’s time to transplant the cuttings into larger pots or directly into a sunny location in your garden.
Beyond Propagation: Tips for Success
No matter which propagation method you choose, remember these key tips for healthy and robust growth:
- Choose a sunny location: Lonicera cyanocarpa thrives in full sun to partial shade.
- Provide well-drained soil: Choose a soil rich in compost and organic matter.
- Water deeply and regularly: Avoid overwatering, which can lead to root rot.
- Give them a little extra: During the growing season, fertilize your plants with a balanced fertilizer to encourage healthy growth.
With a watchful eye, a little patience, and these simple techniques, you can easily share the magic of Lonicera cyanocarpa with others or create a vibrant, blooming oasis in your own backyard. Remember, propagation is a journey – there will be triumphs and occasional setbacks. But the joy of seeing your own propagated plants thrive, from seed to showstopper, is a reward that truly blooms.