Taming the Wild Twinberry: A Guide to Propagating Lonicera dioica
The Lonicera dioica, more affectionately known as the wild honeysuckle or red twinberry, is a captivating climber. With its vibrant scarlet blooms, delicate fragrance, and ability to attract hummingbirds and butterflies, it’s no wonder gardeners are eager to welcome this wildflower into their cultivated spaces. But taming this beauty requires a bit of knowledge. This article dives into the world of Lonicera dioica propagation, unlocking the secrets to successfully growing this plant from scratch.
Two Paths to Propagation:
Like many plants, Lonicera dioica can be propagated through two main methods: seed and cuttings. Each has its pros and cons, so choosing the best for your needs depends on your gardening style and resources.
1. Sowing the Seeds of Success:
Propagating Lonicera dioica from seed offers a sense of satisfaction, watching the entire life cycle unfold before your eyes. Here’s how:
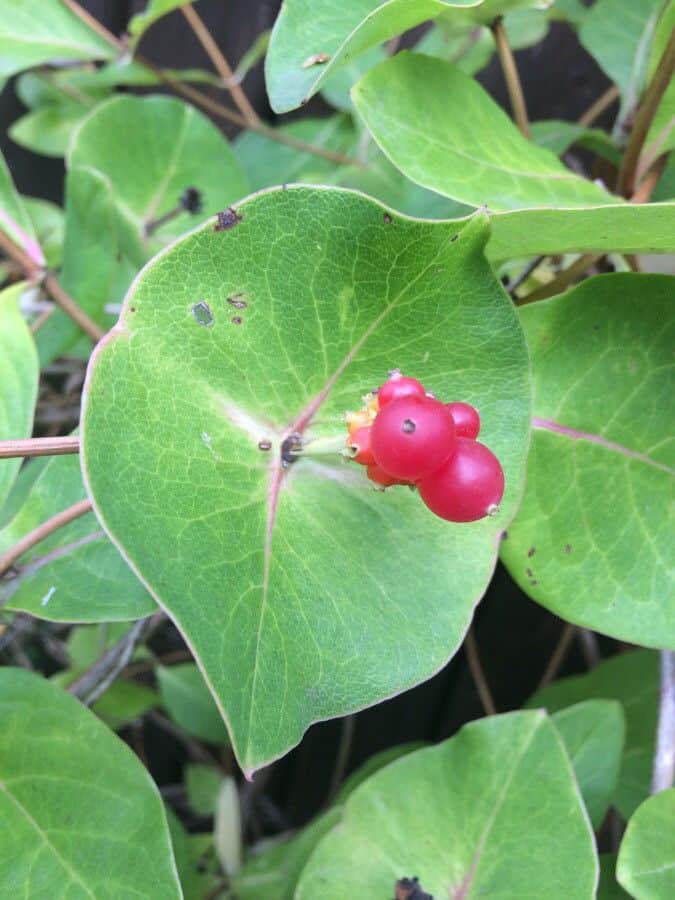
- Harvesting: Collect ripe berries in late summer or early fall. The berries should be plump and deeply colored.
- Seed Extraction: Gently crush the berries and separate the seeds from the pulp. Rinse them thoroughly and allow them to dry completely.
- Cold Stratification: Lonicera dioica seeds need a period of cold dormancy to germinate. You can either sow them directly outdoors in the fall or stratify them indoors by storing the seeds in moist sand in the refrigerator for at least 3 months.
- Spring Sowing: In spring, sow the seeds in a well-drained seed-starting mix, pressing them lightly into the soil but not burying them.
- Patience is Key: Germination takes time. Be patient and keep the soil consistently moist but not waterlogged.
2. The Fast Track: Propagating from Cuttings:
For faster results and a clone of the parent plant, propagating Lonicera dioica from cuttings is your best bet.
- Timing is Everything: The optimal time for taking cuttings is in early summer when new growth is semi-hardwood.
- Choosing the Right Stem: Select a healthy stem that is about 4-6 inches long and shows active growth.
- Making the Cut: Use a sharp, clean pruning shears to cut just below a leaf node at an angle.
- Prepping the Cutting: Remove the bottom leaves and lightly wound the base of the cutting to encourage root formation. Dipping the end in rooting hormone can also be beneficial.
- Planting the Cutting: Insert the cutting into a well-draining potting mix, ensuring at least one node is buried.
- Creating a Humid Environment: Cover the cutting with a plastic bag or use a humidity dome to keep the environment moist.
- Rooting Time: Keep the soil consistently moist and be patient. Depending on the conditions, it can take 4-8 weeks for roots to develop.
Nurturing Your New Lonicera dioica:
Once your seeds germinate or your cuttings develop roots, it’s time to start thinking about transplant.
- Gradual Hardening: Slowly acclimate your young Lonicera dioica to outdoor conditions before planting them directly into the ground.
- Choosing the Perfect Spot: Lonicera dioica thrives in partial shade and well-drained soil, making it ideal for woodland gardens or along fences.
- Support System: As a climber, your Lonicera dioica will appreciate a trellis, arbor, or fence to support its growth.
- Ongoing Care: Water regularly and provide a balanced fertilizer in spring to encourage healthy growth and blooming.
Reaping the Rewards:
Successfully propagating your own Lonicera dioica is a rewarding experience. You’ll soon be enjoying the beauty of its blooms, the gentle hum of pollinators, and the satisfaction of nurturing a plant from its earliest stages. Now that you have the knowledge, go forth and propagate!