Beyond the Bloom: Mastering Propagation of the Bird’s Foot Trefoil (Lotus ornithopodioides)
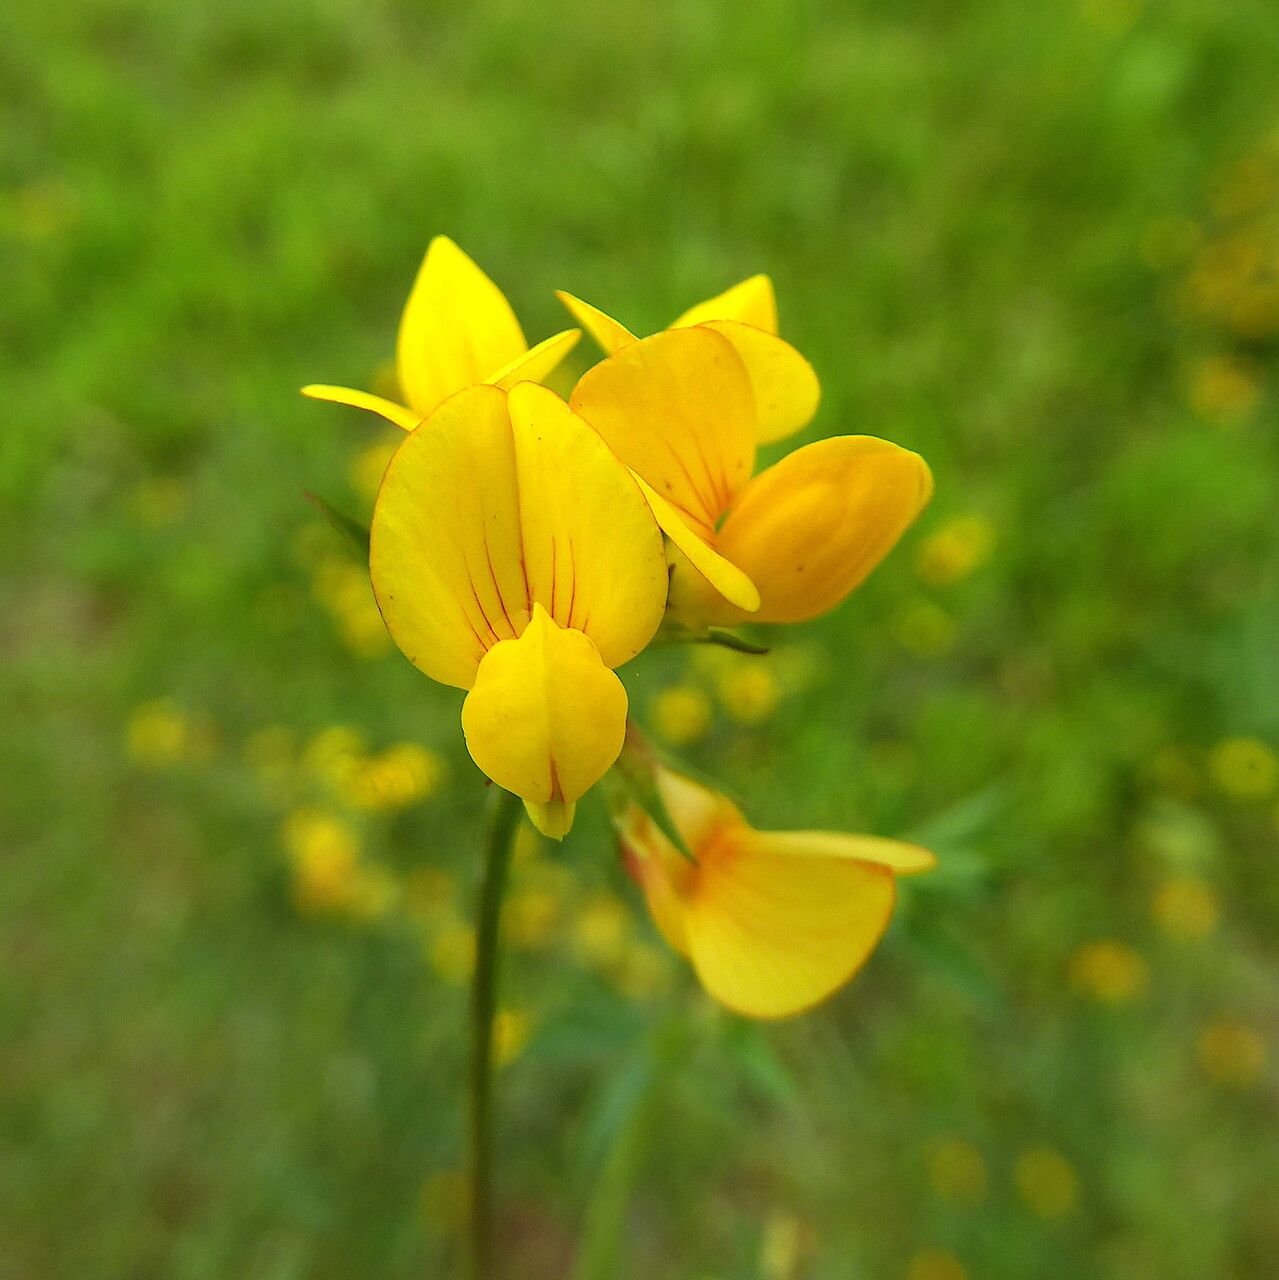
The Bird’s Foot Trefoil, affectionately nicknamed “Butter and Eggs” for its cheerful yellow and orange blooms, isn’t just a pretty face in the garden. This member of the Lotus family, officially known as Lotus ornithopodioides, is a nitrogen-fixing powerhouse, making it a fantastic companion for other plants. But the magic doesn’t end there! Propagating Bird’s Foot Trefoil is surprisingly simple, allowing you to multiply this beneficial beauty with ease.
Let’s explore the two most popular methods:
1. Starting from Seed:
This is the most common and rewarding way to propagate Bird’s Foot Trefoil. Follow these steps for success:
- Seed Collection: Look for the characteristic elongated seed pods that form after the flowers fade. Harvest them when they turn brown and dry. You can store the seeds in a cool, dry place until ready to plant.
- Sowing Time: Bird’s Foot Trefoil seeds germinate best in cooler temperatures. In milder climates, sow them outdoors in fall for a spring bloom or start them indoors 6-8 weeks before the last frost.
- Sowing Depth: Sprinkle the seeds on the surface of well-draining seed starting mix and gently press them in. These seeds need light to germinate, so avoid burying them deeply.
- Moisture is Key: Keep the soil consistently moist but not soggy. A spray bottle is helpful to avoid dislodging the tiny seeds.
- Light and Warmth: Place the seed tray in a bright location, out of direct sunlight. A heat mat can be beneficial in cooler climates to maintain an optimal temperature range of 65-70°F (18-21°C).
- Transplanting Time: Once the seedlings have developed a couple of sets of true leaves, they are ready to be transplanted into individual pots or directly into the garden.
2. Propagation from Cuttings:
While slightly less common, propagating Bird’s Foot Trefoil from cuttings is a viable option for creating new plants quickly:
- Choosing the Cutting: Select a healthy, non-flowering stem about 3-4 inches long. Cut it just below a leaf node (the point where the leaf attaches to the stem) using clean, sharp shears.
- Preparing the Cutting: Remove the lower leaves from the stem, leaving only a few at the top. This encourages root development.
- Rooting Hormone (Optional): While not strictly necessary, dipping the cut end of the stem into rooting hormone powder can enhance root development.
- Planting the Cutting: Insert the cutting into a pot filled with a well-draining potting mix. Keep the soil consistently moist.
- Providing Humidity (Optional): Covering the pot with a clear plastic bag can help create a humid environment, promoting faster rooting.
- Signs of Success: In a few weeks, you should start to see new growth, indicating that roots have developed.
Caring for your New Plants:
- Sunlight: Bird’s Foot Trefoil thrives in full sun to partial shade. Aim for at least 6 hours of sunlight per day.
- Water: These plants prefer well-drained soil and are relatively drought-tolerant once established. Water regularly, allowing the soil to dry slightly between waterings.
- Fertilizer: Being a nitrogen-fixer, Bird’s Foot Trefoil is not a heavy feeder. However, amending the soil with compost or a balanced fertilizer in spring can promote healthy growth.
Propagating your Bird’s Foot Trefoil is a rewarding experience, allowing you to expand your garden while harnessing the ecological benefits of this charming plant. With a little patience and care, you’ll soon have a flourishing colony of these delightful blooms.