Unveiling the Secrets of Staghorn Clubmoss Propagation: A Guide to Growing Lycopodium tristachyum
The plant world is full of fascinating characters, and Lycopodium tristachyum, commonly known as Staghorn clubmoss, is no exception. This evergreen wonder, with its antler-like fronds and prehistoric lineage, adds a touch of woodland magic to any garden. But propagating this unique plant can seem like a secret art form. Fear not, fellow plant enthusiasts, for we’re about to demystify the process!
Understanding the Staghorn Clubmoss
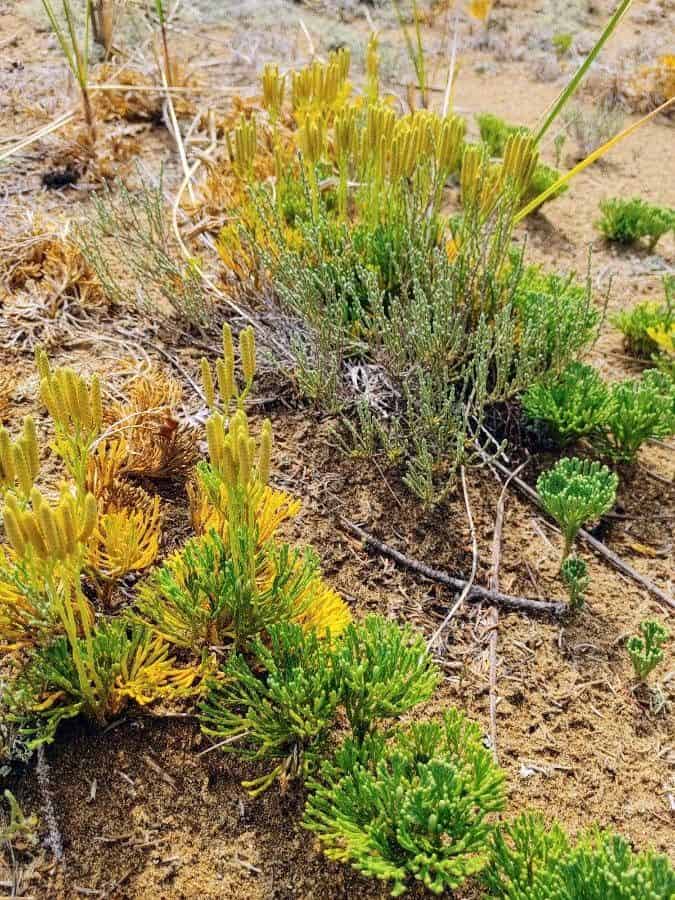
Before diving into propagation, let’s get acquainted with our subject. Lycopodium tristachyum belongs to a group of ancient vascular plants dating back millions of years. Unlike most plants, they reproduce through spores instead of seeds, giving them an almost mythical aura.
Propagation Methods: Embracing the Spore and the Division
Propagating Staghorn clubmoss can be achieved in two ways:
Spore Propagation: This method, mimicking the plant’s natural reproduction cycle, requires patience and a touch of green thumb magic. Here’s how to do it:
- Spore Collection: In late summer, look for yellowish cone-like structures called strobili on mature plants. Collect these and allow them to dry in a paper bag, releasing the tiny spores.
- Spore Sowing: Prepare a tray with a moist, sterile seed-starting mix. Sprinkle the spores thinly over the surface, avoiding burying them. Mist gently and cover the tray with a plastic dome to maintain humidity.
- Patience is Key: Place the tray in a bright location, out of direct sunlight. It can take several weeks or even months for the spores to germinate. Keep the mix consistently moist but not waterlogged. Tiny, heart-shaped structures (gametophytes) will eventually emerge, followed by the familiar fronds.
- Transplanting Time: Once the young clubmosses are large enough to handle, carefully separate them and transplant them into individual pots or a shaded spot in your garden with well-drained, acidic soil.
- Division: This vegetative propagation method offers a quicker and often more successful route for established plants:
- Divide and Conquer: In spring, carefully dig up a healthy clump of Staghorn clubmoss. Using a sharp, clean knife or garden shears, divide the clump into smaller sections, ensuring each section has a good portion of roots and fronds.
- Replanting: Plant the divisions in a suitable location, maintaining the same soil depth they were originally growing in. Water them well and keep the soil consistently moist as they establish themselves.
Providing the Right Care: The Key to Thriving Clubmoss
Whether you’ve propagated through spores or division, providing the right care is crucial for your Staghorn clubmoss to thrive:
- Light: These woodland dwellers prefer dappled shade or indirect light. Avoid direct sunlight, which can scorch their delicate fronds.
- Soil: Staghorn clubmoss thrives in well-drained, acidic soil rich in organic matter. Amend your soil with peat moss or compost to create the ideal environment.
- Watering: Keep the soil consistently moist, but avoid overwatering, which can lead to root rot. Water deeply when the topsoil feels dry to the touch.
- Fertilizer: While Staghorn clubmoss is not a heavy feeder, a light application of slow-release fertilizer in the spring can be beneficial.
Patience and Perseverance: The Rewards of Growing Staghorn Clubmoss
Propagating and growing Lycopodium tristachyum may require a bit of extra care and patience compared to other garden favorites. However, the rewards are well worth the effort. Imagine a lush carpet of prehistoric greenery gracing your garden, a testament to your dedication and the wonders of plant propagation. So, embrace the adventure, and may your journey into the world of Staghorn clubmoss be filled with joyful discoveries!