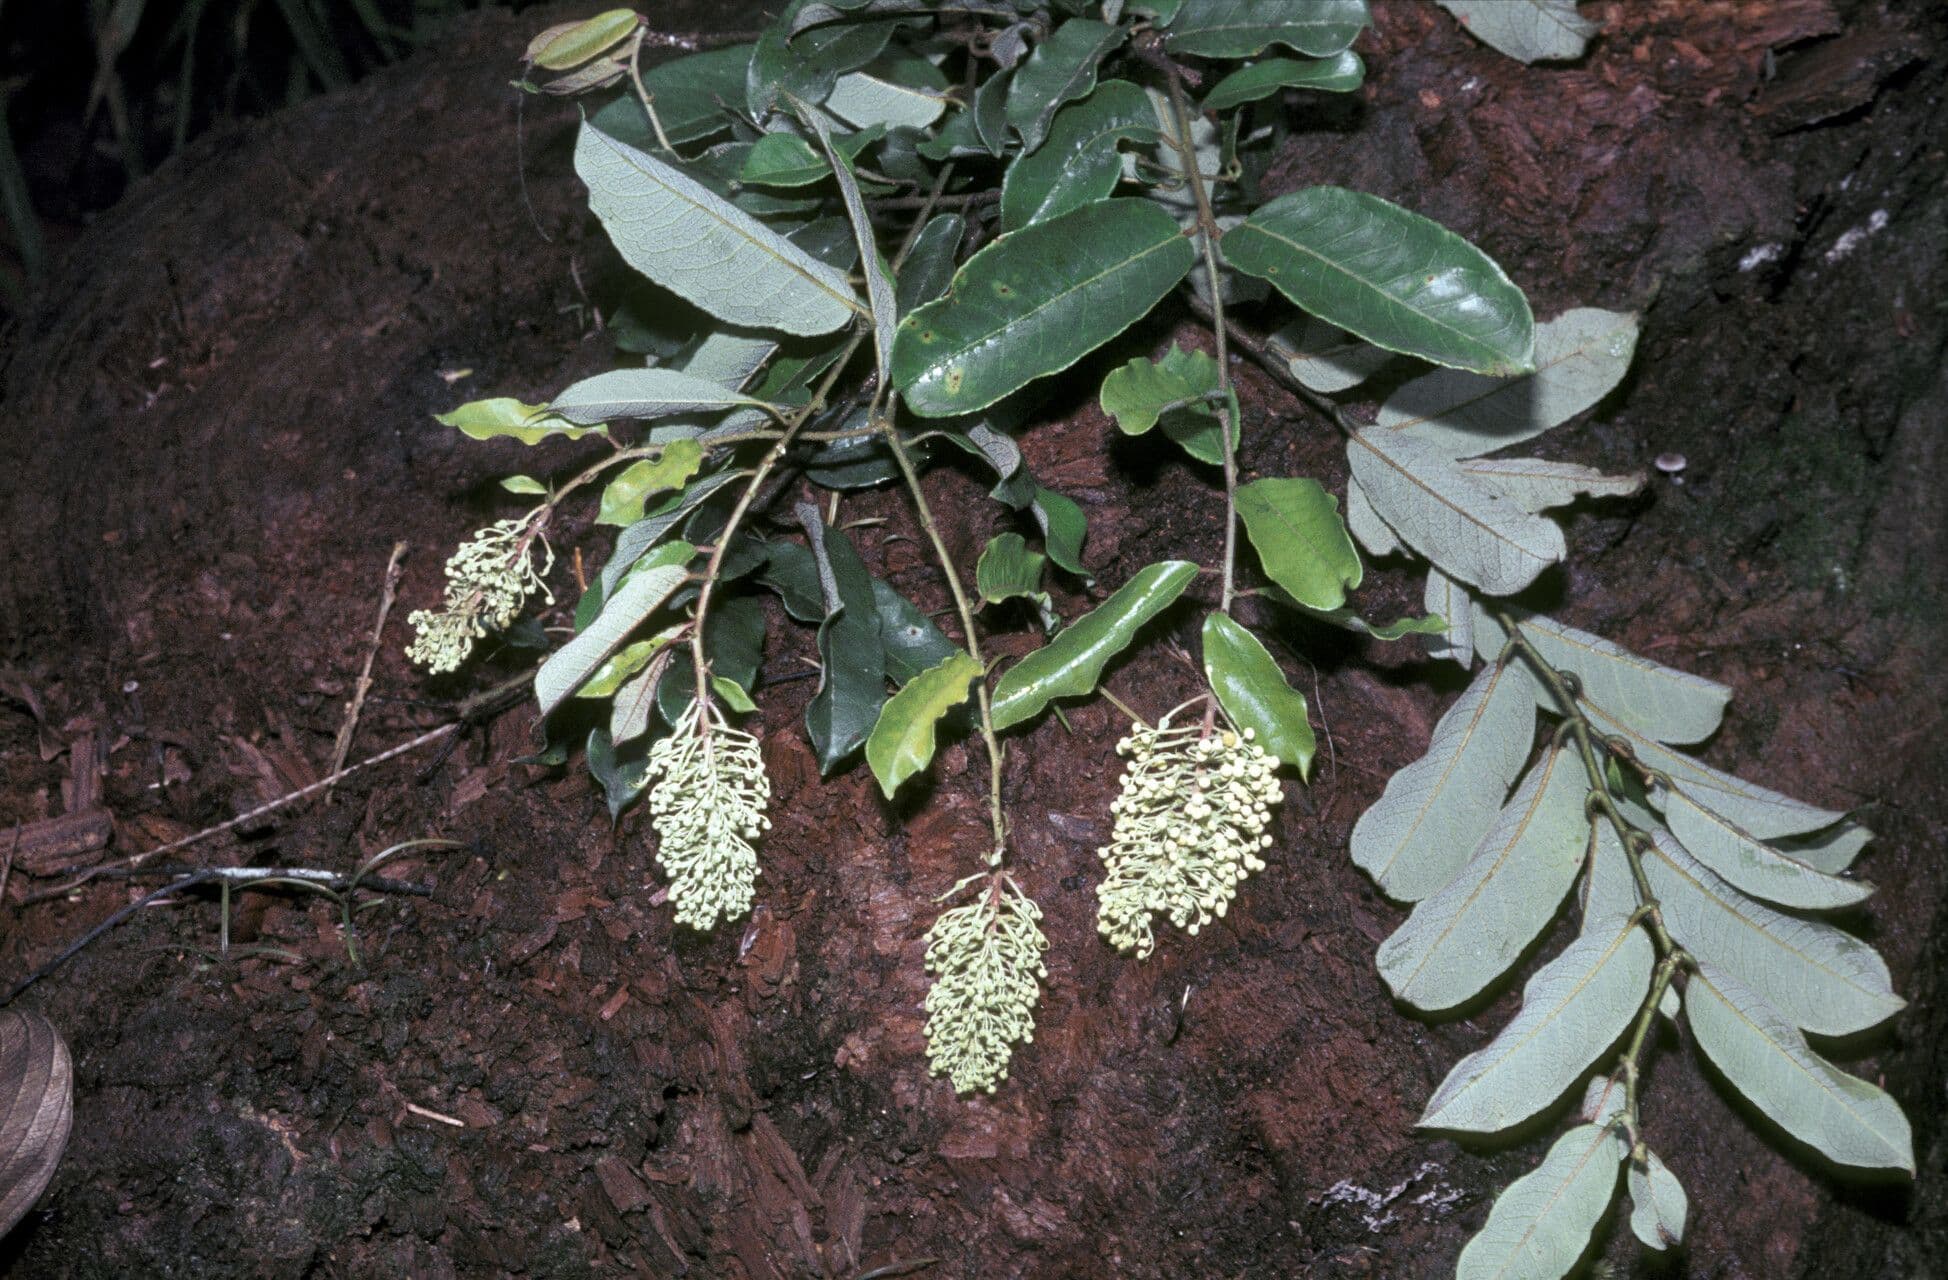
Taming the Taquari: A Guide to Propagating Mabea taquari
The Mabea taquari, also known as the "canudo-de-pito" in its native Brazil, is a fascinating plant gaining popularity among adventurous gardeners. With its striking, cascading foliage and unique, pipe-like fruits, it’s certainly an eye-catcher. But propagating this tropical beauty can seem a bit daunting. Fear not! This guide will equip you with the knowledge to successfully propagate Mabea taquari and welcome this intriguing species into your own green haven.
Understanding the Options: Seeds vs. Cuttings
Mabea taquari can be propagated through two primary methods: seeds and cuttings.
- Seeds: This method is the most common and generally considered easier for beginners. However, acquiring seeds can be challenging as the plant is relatively uncommon outside of specialist nurseries.
- Cuttings: Propagating from cuttings offers faster results and ensures the new plant is genetically identical to the parent plant. This method requires a bit more finesse, but the reward of a healthy clone is worth the effort.
Method 1: Sprouting Success with Seeds
- Seed Sourcing: Your best bet for obtaining seeds is through online retailers specializing in exotic plants or by joining plant enthusiast groups that might offer seeds through exchanges.
- Sowing the Seeds: Begin by soaking the seeds in lukewarm water for 24 hours. This helps soften the outer shell and encourages germination. Plant the seeds approximately half an inch deep in a well-draining seed-starting mix.
- Creating a Humid Environment: Mabea taquari seeds thrive in warmth and humidity. Mist the soil regularly and cover the seed tray with a plastic dome or wrap to create a mini-greenhouse effect.
- Patience is Key: Germination can take anywhere from a few weeks to several months, so don’t be discouraged if you don’t see sprouts immediately. Maintain consistent moisture and warmth, and you’ll eventually witness the emergence of tiny seedlings.
Method 2: Mastering the Art of Cuttings
- Selecting the Right Cutting: Choose a healthy, semi-mature stem that’s around 4-6 inches long. It’s best to take the cutting in the morning when the plant is most hydrated.
- Preparing the Cutting: Make a clean cut just below a leaf node. Remove the lower leaves, leaving 2-3 leaves at the top. Dip the cut end in rooting hormone to stimulate root development.
- Potting the Cutting: Plant the cutting in a well-draining potting mix, burying the node where the leaves were removed. Water lightly and enclose the pot in a clear plastic bag to maintain humidity.
- Encouraging Root Growth: Place the potted cutting in a bright location, but away from direct sunlight. Monitor moisture levels and mist regularly. Roots should start to form within 4-6 weeks.
Caring for Your New Taquari Companions
Once your Mabea taquari plants, whether from seed or cuttings, have established a robust root system, they can be transplanted into larger pots or even into the ground in suitable climates. Remember, these tropical beauties thrive in bright, indirect light and prefer consistently moist but well-drained soil.
Propagating Mabea taquari might seem like a botanical puzzle at first, but with patience and the right techniques, you can cultivate an entire collection of these captivating plants. So why not embark on this rewarding horticultural adventure and add a touch of Brazilian charm to your own green space?