Spreading the Sunshine: How to Propagate Madia Radiata (Tarweed)
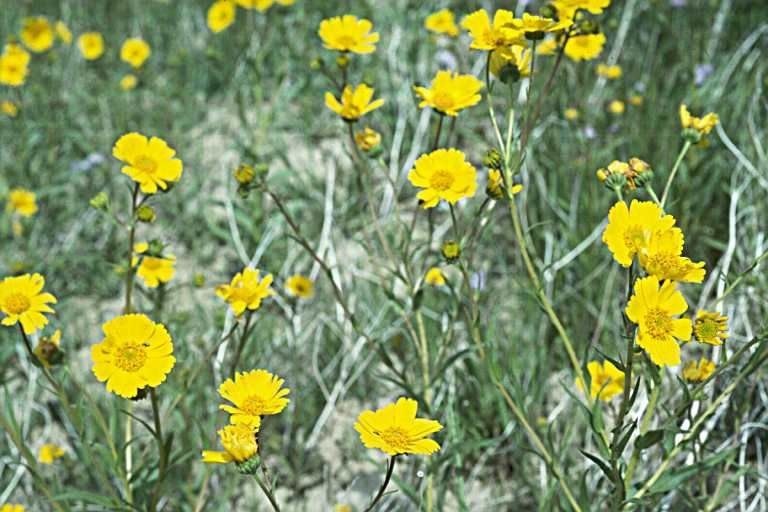
Madia radiata, also known as Tarweed, is a bright and cheerful wildflower native to California. These plants produce showy yellow blooms that attract pollinators and add a splash of color to any garden. But the real beauty of Madia radiata lies in its ease of propagation – it’s a plant that practically begs to be shared!
Whether you’re looking to establish a patch of these vibrant wildflowers in your own garden, or simply want to share the joy of Madia radiata with friends and family, learning how to propagate these plants is a rewarding experience.
Seeds: The Easy and Abundant Option
Madia radiata produces an abundance of tiny, dark seeds that are the easiest way to start new plants. Here’s a simple guide to propagating from seed:
- Harvest Seeds: Once the flower heads have matured and turned brown, collect the seeds. You can easily shake the seeds out of the dry seed heads into a paper bag or container.
- Direct Sowing: Sow seeds directly into the soil in late autumn or early spring. Madia radiata prefers well-drained soil and full sun. Scatter seeds thinly over the desired area and lightly rake them into the soil.
- Thin Seedlings: Once the seedlings emerge, thin them to approximately 6 inches apart for optimal growth.
Bonus Tip: Allow some seed heads to remain on the plants to provide natural seed dispersal and create a beautiful winter display.
Beyond Seeds: Exploring Other Propagation Methods
While seed propagation is the most common method, you can also try propagating Madia radiata through cuttings or division:
Cuttings:
- Take cuttings from healthy, non-flowering stems in the spring or summer. Remove any leaves from the bottom 2 inches of the cutting.
- Dip the cut end in rooting hormone to encourage root growth.
- Plant the cuttings in a pot filled with a well-draining potting mix, keeping the soil moist.
- Cover the pot with a plastic dome or bag to increase humidity, and place it in a bright location away from direct sunlight.
- Once the cuttings have rooted, gradually acclimate them to outdoor conditions before transplanting them into their permanent location.
Division:
- This method is best suited for established plants. Gently remove the plant from the ground in early spring or fall.
- Carefully divide the plant into smaller portions, ensuring each segment has healthy roots.
- Replant the divisions in new locations, with sufficient spacing for optimal growth.
Caring for Your Propagated Madia Radiata
Madia radiata is a relatively low-maintenance plant, but providing proper care can ensure their thriving:
- Water: Keep the soil moist, especially during the initial stages of growth.
- Fertilizer: No additional fertilization is typically required.
- Deadheading: Deadheading spent flower heads can encourage further blooming, although it’s not necessary with this prolific bloomer.
Sharing the Joy of Madia Radiata
With its ease of propagation and vibrant floral display, Madia radiata can easily become a favorite in your garden. Whether you’re a seasoned gardener or a beginner, these tips will help you spread the sunshine of Madia radiata and share its beauty with others. So go ahead, sow some seeds, take some cuttings, and experience the joy of propagating this delightful wildflower!