Taming the Miniature Holly: How to Propagate Your Very Own Malpighia coccigera
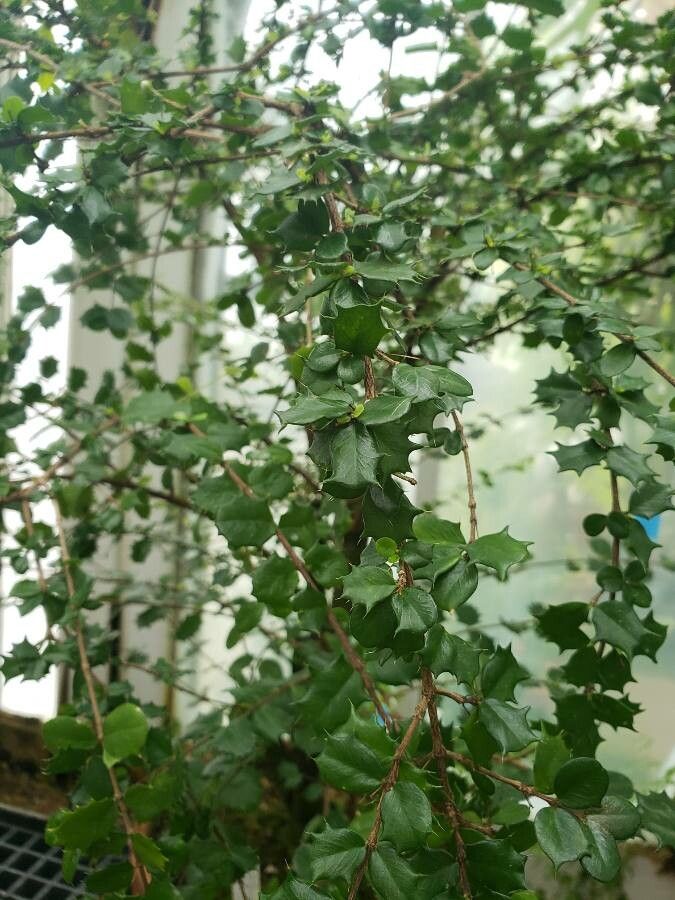
The Malpighia coccigera, more affectionately known as the Miniature Holly or Dwarf Holly Berry, is a captivating plant that can add a touch of evergreen elegance to any space. This compact shrub, with its glossy green foliage and vibrant red berries, might trick you into thinking it belongs on a Christmas card, but don’t be fooled by its festive appearance! Native to the Caribbean, this tropical charmer prefers a warm and humid environment.
While finding a Miniature Holly in your local nursery might be a stroke of luck, propagating one at home is a rewarding endeavor well within reach for any plant enthusiast. Let’s dive into the two most effective methods:
1. Stem Cuttings: A Step Towards Miniature Holly Multiplication
Spring is the perfect time to take stem cuttings, as the plant is actively growing. Here’s what you need:
- Sharp, sterilized pruning shears: Clean cuts prevent infections and encourage healthy growth.
- Rooting hormone: While optional, it significantly increases your chances of success.
- Well-draining potting mix: A blend formulated for cuttings or a mix of peat moss and perlite works well.
- Small pots (2-3 inches in diameter): Choose pots with drainage holes.
Here’s the action plan:
- Select healthy, non-flowering stems: Aim for cuttings about 4-6 inches long.
- Make a clean cut just below a leaf node.
- Remove the lower leaves, leaving 2-3 at the top.
- Dip the cut end in rooting hormone (if using).
- Plant the cutting in the prepared potting mix, burying the bottom node.
- Water thoroughly and place the pot in a warm, bright location, but away from direct sunlight.
- Keep the soil consistently moist. Misting regularly helps maintain humidity.
With patience and proper care, your cuttings should develop roots in 4-8 weeks. You can check for root development by gently tugging on the cutting; resistance indicates root formation. Once the roots are established, you can transplant the cuttings into larger pots.
2. Seeds: A Longer but Equally Rewarding Journey
While propagating Miniature Holly from seeds is possible, it’s a more time-consuming process and is best reserved for those who enjoy the anticipation of watching a plant develop from its very beginning.
Here’s the breakdown:
- Extract seeds from ripe berries. Cleanse them thoroughly to remove any fruit pulp.
- Soak the seeds in warm water for 24 hours. This softens the outer shell and promotes germination.
- Plant the seeds in a seed-starting mix, barely covering them with soil.
- Provide bottom heat using a heating mat to maintain a temperature of around 70-75°F.
- Keep the soil consistently moist.
Germination can take anywhere from a few weeks to a couple of months. Once the seedlings have developed a few sets of true leaves, you can transplant them into individual pots.
Tips for Success:
- Patience is key! Propagation takes time.
- Provide ample humidity. Consider using a humidity dome or misting regularly.
- Monitor for pests and diseases. Early detection is crucial.
Propagating your own Miniature Holly may require a little extra effort, but the reward of seeing these charming plants thrive under your care is unmatched. So, grab your gardening gloves, embrace the joy of propagation, and get ready to add a touch of evergreen magic to your indoor or outdoor space!