Waking Up the Sleeping Beauty: Propagating Hollyhock Mallows (Malva alcea)
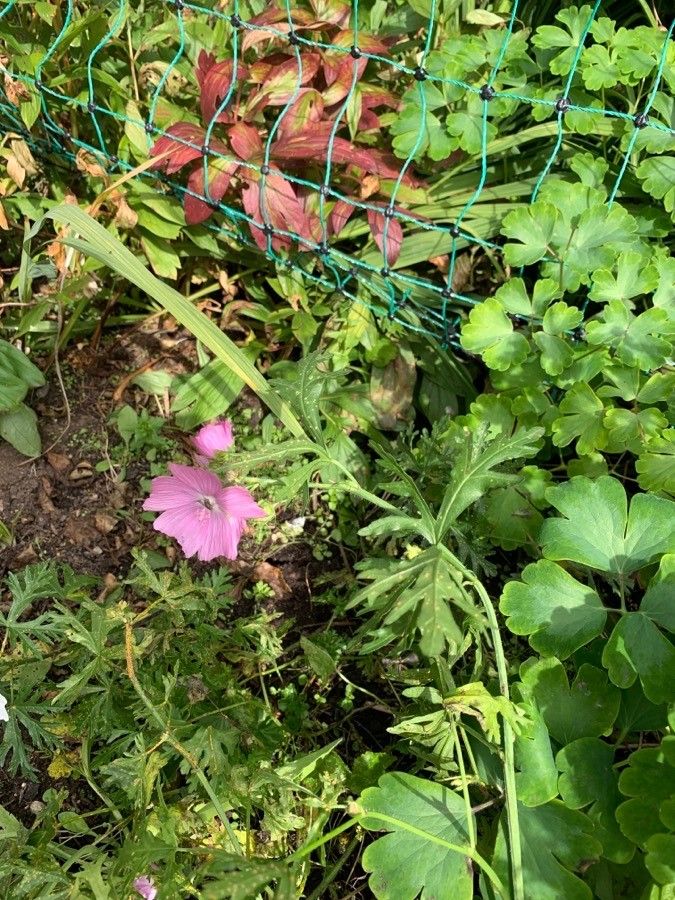
The Hollyhock Mallow (Malva alcea), with its vibrant, saucer-shaped blooms, brings a touch of cottage garden charm to any landscape. This easy-going perennial is a pollinator magnet and adds a splash of color from early summer to fall. Want to multiply your hollyhock haven without breaking the bank? Propagation is your answer, and luckily, Malva alcea offers two easy methods: seeds and cuttings.
Seeding Your Success: Starting Malva alcea from Seed
Direct sowing or starting indoors? With Malva alcea, you have options!
Direct Sowing:
- Timing is key: For best results, sow seeds directly outdoors after the last frost in your area. Malva alcea thrives in cool soil, making early spring an ideal time.
- Prepare the bed: Choose a sunny spot with well-draining soil. Gently rake the area to loosen the top inch.
- Sow and water: Sprinkle the seeds thinly over the prepared surface and lightly press them into the soil, about 1/4 inch deep. Water gently.
- Thinning: Once the seedlings are a few inches tall, thin them out to about 18 inches apart to allow for good air circulation.
Starting Indoors:
- Early bird advantage: Begin seeds indoors 6-8 weeks before the last expected frost. Use a seed-starting mix and sow seeds 1/4 inch deep in individual pots or trays.
- Light and warmth: Place the trays in a sunny location or under grow lights. Maintain a temperature of around 65-70°F (18-21°C).
- Hardening off: Before transplanting outdoors, gradually acclimate your seedlings to outdoor conditions over 7-10 days.
- Transplant: When the danger of frost has passed, transplant the seedlings to their final location in the garden, spacing them 18 inches apart.
Cuttings: A Shortcut to Blooming Beauty
Don’t have seeds? No problem! Malva alcea readily propagates from basal cuttings. Here’s how:
- The Right Timing: Take cuttings in spring when new growth is actively emerging.
- Cut and Treat: Using a clean, sharp knife or gardening shears, cut a 3-4 inch section of stem from the base of the plant. Remove the lower leaves, leaving 2-3 at the top.
- Rooting Time: Dip the cut end of the stem in rooting hormone (optional, but helpful) and plant it in a pot filled with a well-draining potting mix.
- Humidity is Key: Cover the pot with a plastic bag or humidity dome to create a warm, moist environment.
- Patience: Keep the soil consistently moist but not soggy. It may take several weeks for roots to develop. You’ll know it’s working when you see new growth.
- Transplanting: Once the cutting is well-rooted, transplant it to its permanent location in the garden.
A Few Final Tips:
- Deadheading Delights: Regular deadheading of spent flowers encourages more blooms and prevents self-seeding if you want to control where your mallows pop up.
- Be Water Wise: While Malva alcea tolerates some drought, consistent watering during its first year helps establish strong root systems.
- Divide and Conquer (Every Few Years): Over time, Malva alcea can benefit from division. In early spring or fall, dig up established plants and carefully divide them into smaller sections, ensuring each section has roots and shoots. Replant immediately.
With a bit of care and the right techniques, you can easily propagate your Malva alcea and enjoy a vibrant display of these charming flowers year after year. Happy gardening!