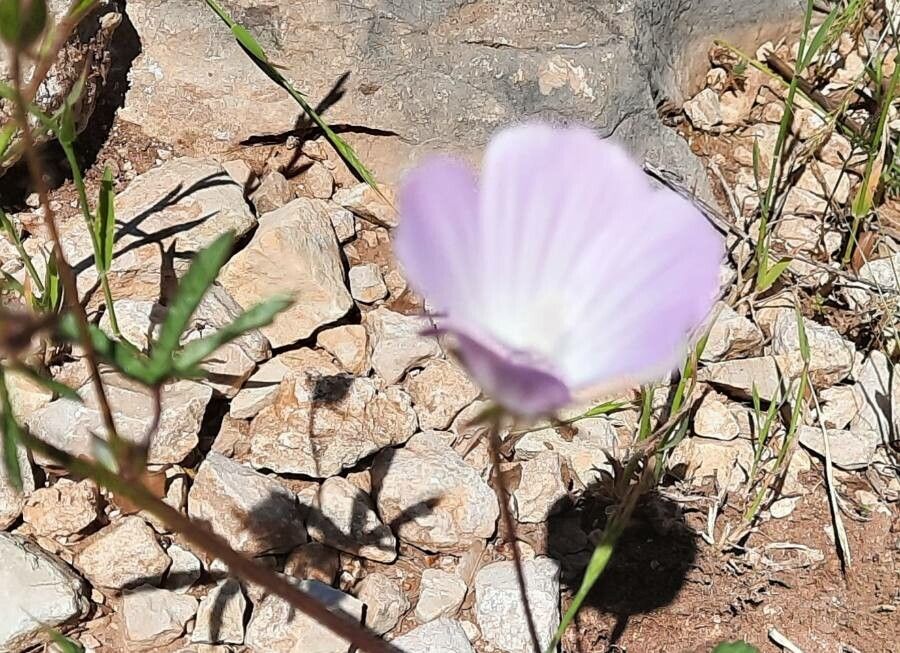
Taming the Cretan Mallow: A Beginner’s Guide to Propagating Malva Cretica
Malva cretica, more endearingly known as the Cretan Mallow, boasts charming, delicate flowers that bring a touch of Mediterranean whimsy to gardens. If you, like many others, have fallen under its spell, you might be wondering how to welcome more of these beauties into your life. Well, propagating Malva cretica is easier than you might think! This guide will equip you with the knowledge to successfully grow new plants, ensuring your garden remains adorned with these delightful blooms.
Two Paths to Propagation: Seeds vs. Cuttings
Malva cretica offers two primary propagation methods: seeds and cuttings. Each brings its own strengths, catering to different preferences and timelines.
1. Sowing the Seeds of Success
Starting Malva cretica from seed is a rewarding experience that allows you to witness the entire life cycle of the plant. Here’s how:
- Timing is Key: Aim to sow your seeds in early spring or late summer. This timing provides the optimal balance of warmth and humidity for germination.
- Prepare Your Growing Medium: A seed-starting mix or a well-draining potting soil amended with perlite or vermiculite works best.
- Sow with Care: Sprinkle the seeds onto the soil surface, lightly pressing them down to ensure good contact. Don’t bury them too deep, as they need light to germinate.
- Keep It Consistent: Moisture and warmth are crucial for germination. Mist the soil regularly, ensuring it remains evenly damp but not waterlogged. A heat mat can help maintain consistent temperatures.
- Be Patient: Germination can take anywhere from 1 to 3 weeks. Once the seedlings emerge and have a few sets of true leaves, you can thin them out, leaving the strongest ones to flourish.
2. Taking the Shortcut with Cuttings
If you’re looking for a faster method or want to ensure your new plants inherit the exact characteristics of the parent plant, cuttings are the way to go.
- Choose Your Weapon: Use a clean, sharp knife or pruning shears to take cuttings from healthy, non-flowering stems.
- The Right Cut: Cuttings should be about 4-6 inches long and taken just below a leaf node (the point where a leaf emerges from the stem).
- Prepare the Cutting: Remove the lower leaves from the cutting, leaving only a few at the top. This redirects the plant’s energy towards root development. You can also dip the cut end in rooting hormone to improve success rates.
- Potting Up: Plant the cuttings in a well-draining potting mix, burying the bottom node.
- Creating a Humid Environment: Cover the pot with a plastic bag or use a propagation dome to maintain humidity, mimicking greenhouse conditions.
- Patience is a Virtue: Allow 4-6 weeks for the cuttings to develop roots. You can gently tug on the cutting to check for resistance, which indicates successful rooting.
Nurturing Your New Malva Cretica
Regardless of your chosen propagation method, once your new plants are established, consistent care is essential:
- Sunlight: Malva cretica thrives in full sun to partial shade.
- Water: Water regularly, keeping the soil moist but not soggy. Allow the soil to dry slightly between waterings.
- Fertilizer: Feed your plants with a balanced liquid fertilizer every 4-6 weeks during the growing season.
- Pruning: Deadhead spent flowers to encourage continuous blooming and prevent self-seeding.
With a little patience and care, you can successfully propagate Malva cretica, ensuring generations of these charming flowers grace your garden for years to come. So, roll up your sleeves, select your preferred method, and get ready to welcome these Mediterranean beauties!