Unleash the Beauty of Malva Phoenicea: Easy Propagation Tips for Every Gardener
Malva phoenicea, with its captivating crimson blooms and soft, velvety leaves, is a true gem of the Mediterranean garden. Its vibrant presence adds a touch of warmth and charm to any landscape, but did you know that you can easily propagate this stunning species yourself?
This blog post delves into the simple methods of propagation for Malva phoenicea, making it possible for everyone to enjoy the abundance of this beautiful plant.
Seeds: A Simple Path to New Plants
Perhaps the most straightforward method of propagating Malva phoenicea is through its seeds. The plant readily produces numerous seeds within its round, velvety seed pods. Once the pods turn brown and dry, carefully collect them and store them in a cool, dry place until you’re ready to sow.
Step-by-Step Guide to Seed Propagation:
- Sow directly: Sow Malva phoenicea seeds directly in the garden during spring or fall. Choose a sunny spot with well-drained soil and lightly scatter the seeds onto the surface.
- Seed trays: For a more controlled approach, use seed trays filled with a seed-starting mix. Moisten the mix and gently press the seeds onto the surface, covering them with a thin layer of compost.
- Light and warmth: Provide a warm, bright location for the seeds to germinate. Cover the seed trays with a clear plastic dome or wrap to maintain consistent moisture.
- Thinning: Once the seedlings emerge, thin them to create ample space for healthy growth.
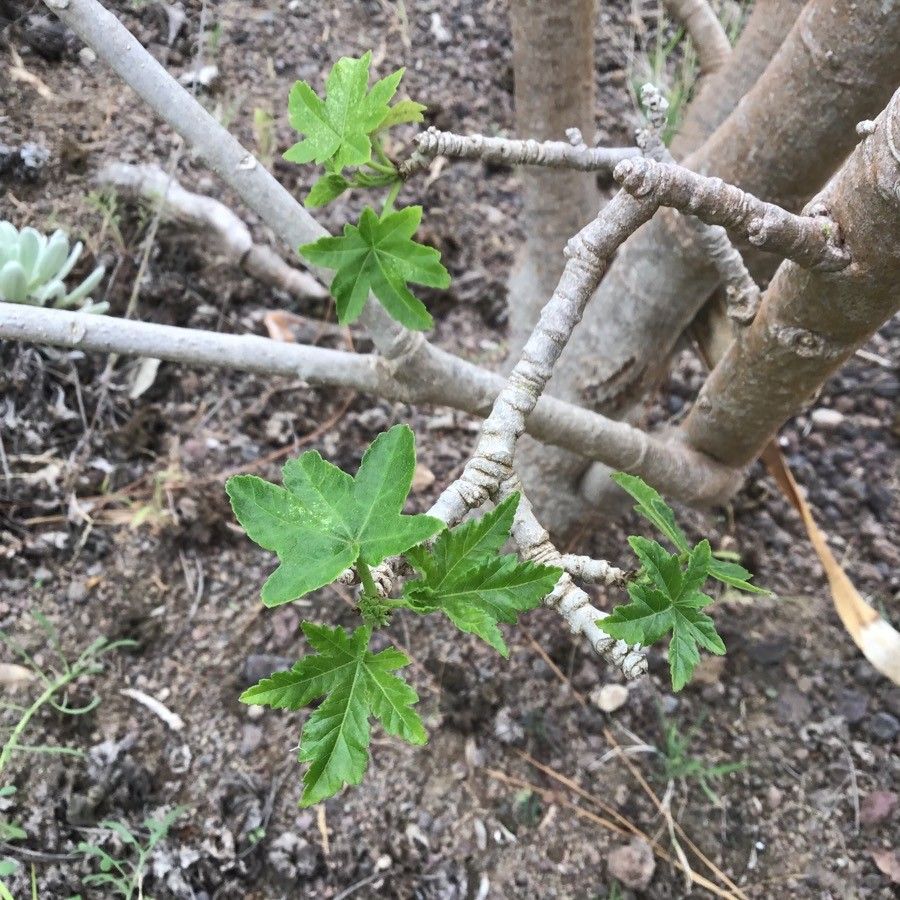
Cuttings: A Quick and Easy Technique
Propagation through cuttings offers a faster way to multiply your Malva phoenicea plants. Choose healthy, non-flowering stems with a few nodes.
Step-by-Step Guide to Propagation by Cuttings:
- Prepare the cutting: Use a sharp, clean knife to cut a stem about 4-6 inches long, just below a node.
- Remove lower leaves: Remove the leaves from the bottom inch or two of the cutting to allow for root development.
- Rooting hormone: Apply rooting hormone powder to the cut end to encourage root growth.
- Planting: Insert the cuttings into a pot filled with a suitable potting mix.
- Mist and moisture: Keep the soil consistently moist by misting regularly and covering the pot with a clear plastic bag or dome to create a humid environment.
- Light: Place the pot in a bright, indirect light location.
- Transplanting: When the cuttings have developed strong roots, typically within a few weeks, transplant them into individual pots or directly into your garden.
Tips for Success:
- Timing: The best time for propagation is during the spring or early summer when the plant is actively growing.
- Watering: Maintain consistent moisture for both seeds and cuttings. However, avoid overwatering, as this can lead to rotting.
- Sunlight: Malva phoenicea thrives in full sun. Choose a spot where it will receive at least 6 hours of direct sunlight per day.
- Pest and disease control: Monitor your plants regularly for pests or diseases.
Enjoy the Rewards
By following these simple techniques, you can easily propagate your Malva phoenicea and create a stunning display of crimson beauty in your garden. You can also share these beautiful flowers with friends and family, spreading the joy of this Mediterranean wonder. So, get started today and witness firsthand the magic of propagation!