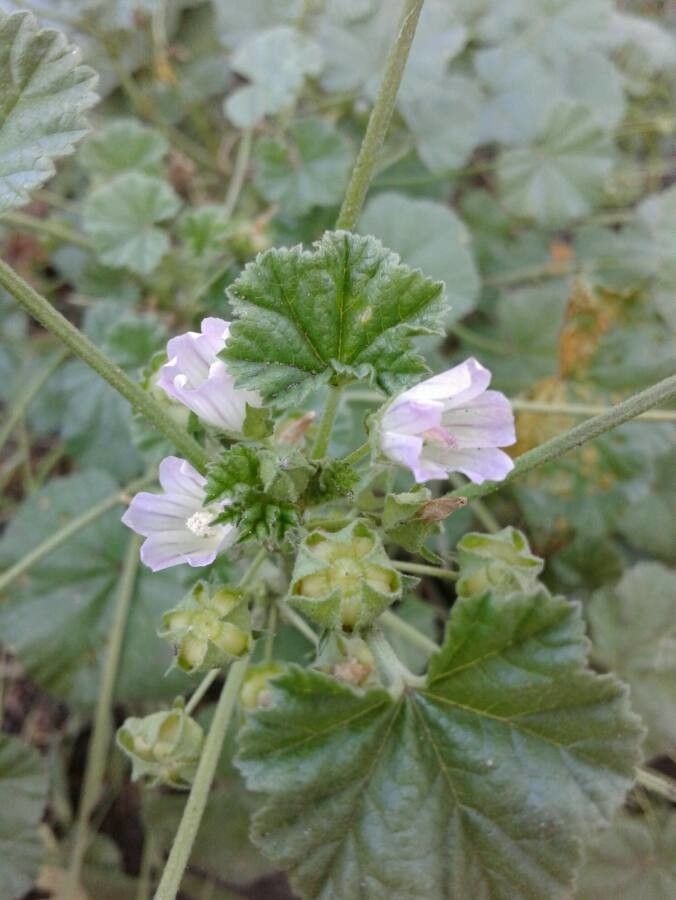
Tiny but Mighty: Propagating the Delicate Beauty of Malva pusilla
Malva pusilla, the common name for which is “low mallow,” is a delightful annual herb with charming, delicate violet blooms that add a touch of whimsy to any garden. While often overlooked, this unassuming plant packs a punch in the world of propagation. It’s easy to grow from seed and even easier to propagate through cuttings, making it a perfect choice for beginner gardeners looking to expand their green thumb.
From Seed to Sprout:
Growing Malva pusilla from seed is a straightforward process. You can direct sow the seeds outdoors after the last frost, or start them indoors a few weeks before the expected date. Seeds can be purchased online or at local garden centers.
Tips for Successful Seed Propagation:
- Sow shallowly: Malva pusilla seeds need light to germinate, so only lightly press them into the soil, around ¼ inch deep.
- Keep moist: Keep the soil evenly moist, but avoid overwatering.
- Warm temperatures: Malva pusilla thrives in temperatures between 65-75°F.
- Thin seedlings: Once the seedlings have a few true leaves, thin them out to ensure healthy growth.
The Magic of Cuttings:
Propagation through cuttings is the fastest way to multiply your Malva pusilla plants. This technique is also ideal for preserving the unique characteristics of a cherished plant.
Steps for Taking Cuttings:
- Choose your cutting: Select a healthy stem, around 4-6 inches long, with several leaves.
- Make a clean cut: Use sharp scissors or a knife to make a clean cut just below a node, where leaves emerge from the stem.
- Prepare the cutting: Remove the lower leaves from the cutting, leaving the top two or three leaves intact.
- Dip in rooting hormone (optional): You can use a rooting hormone to encourage root growth.
- Plant the cutting: Gently insert the cut end of the cutting into a pot filled with a well-draining potting mix.
- Keep moist: Keep the soil consistently moist, but avoid overwatering.
- Provide humidity: Place a clear plastic dome or bag over the cutting to create a humid environment.
- Patience is key: Root development can take a few weeks. Keep the cutting in a bright, indirect location.
Growing Your Propagated Malva pusilla:
Once your Malva pusilla seedlings or cuttings have established roots, you can transplant them into a sunny location in your garden. Ensure the soil is well-drained and amend the soil with compost for optimal growth.
Benefits of Propagation:
- Cost-effective: Propagation allows you to create new plants without buying costly seeds or starter plants.
- Preserving desirable traits: This method allows you to create genetically identical copies of your favorite Malva pusilla plants.
- Sharing the joy: Propagate Malva pusilla to share with friends, family, or even donate to local plant exchanges.
Malva pusilla: More than just a pretty face
Malva pusilla isn’t just a visually appealing plant. The leaves are edible and can be used in salads or cooked like spinach. The flowers are also edible and can be used to add colour and texture to desserts. This humble herb also attracts beneficial insects and contributes a touch of magic to your garden.
So, why not experiment and discover the joy of propagating Malva pusilla? This easy-to-grow plant will reward you with a patch of delicate beauty and a sense of accomplishment.