Unlocking the Secrets of Mandevilla Arcuata Propagation: Grow a Garden of Vibrant Vines
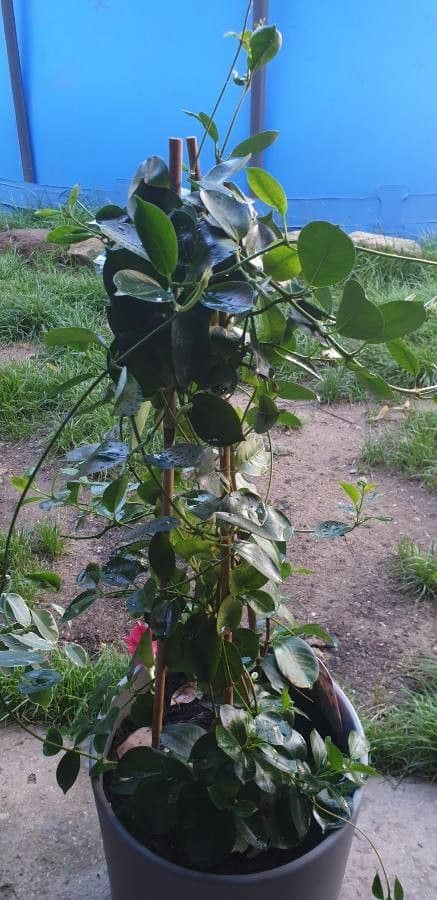
Mandevilla arcuata, with its showy trumpet-shaped blooms and lush foliage, is a sight to behold. This climbing vine can transform any dull space into a vibrant oasis. But did you know that sharing the beauty of Mandevilla arcuata with friends and family is easier than you think?
Propagating your own Mandevilla arcuata is a rewarding experience that allows you to expand your plant collection while also deepening your gardening expertise. So, let’s dive into the world of Mandevilla arcuata propagation and unlock the secrets to success!
Two Paths to Propagation: Stem Cuttings vs. Seeds
While growing Mandevilla arcuata from seeds is possible, it’s not the most common or reliable method. Seeds can be challenging to find and germinate, often requiring specific conditions. Therefore, we’ll focus on the more popular and successful approach: propagation from stem cuttings.
Step-by-Step Guide to Successful Stem Cuttings:
Gather your tools: You’ll need a sharp, sterilized pruning shears or knife, a small pot or seed tray, a well-draining potting mix designed for cuttings, and rooting hormone (optional, but recommended).
Timing is Key: The best time to take cuttings is during the active growing season, ideally in spring or early summer when the plant is bursting with energy.
Selecting the Perfect Cutting: Look for healthy, non-flowering stems that are about 4-6 inches long. Choose stems with at least two sets of leaves.
Making the Cut: Using your sterilized shears, make a clean cut just below a leaf node (the point where a leaf emerges from the stem). Remove the bottom set of leaves to expose the nodes, as roots will develop from these points.
Hormone Boost (Optional): Dipping the cut end of the stem in rooting hormone can significantly increase your chances of success by stimulating root growth. Follow the instructions on your chosen rooting hormone product.
Planting Your Cutting: Fill your pot or tray with the well-draining potting mix. Moisten the mix lightly, then create a small hole with your finger or a pencil. Gently insert the bottom inch or two of the prepared cutting into the hole and firm the soil around it.
Creating a Humid Environment: To encourage rooting, you need to mimic a humid environment. You can achieve this by placing a clear plastic bag over the pot or using a humidity dome. Ensure the plastic doesn’t touch the cutting to prevent rot.
Patience is a Virtue: Place the pot in a warm, bright location, out of direct sunlight. Mist the cutting and soil regularly to maintain moisture and check for root development after a few weeks. Gently tugging on the cutting will tell you if roots have formed; resistance means success!
- Transplanting: Once your cutting has developed a good root system (usually after 4-6 weeks), you can transplant it into a larger pot or directly into your garden. Choose a location with well-draining soil and plenty of sunlight for optimal growth.
Final Thoughts:
Propagating your own Mandevilla arcuata is a rewarding and cost-effective way to expand your plant collection and share the joy of these stunning vines. Don’t be afraid to try it! With a little patience and the right techniques, you’ll be rewarded with beautiful, blooming Mandevillas to enjoy for years to come.