Unlock the Secrets to Propagating Marila Podantha: A Guide for Green Thumbs
Marila podantha, with its captivating clusters of delicate, fragrant flowers, has become a beloved addition to many gardens. For those seeking to expand their collection or share this beauty with others, propagation is a rewarding endeavor. In this comprehensive guide, we’ll explore the intricacies of propagating Marila podantha, turning one plant into many with minimal effort.
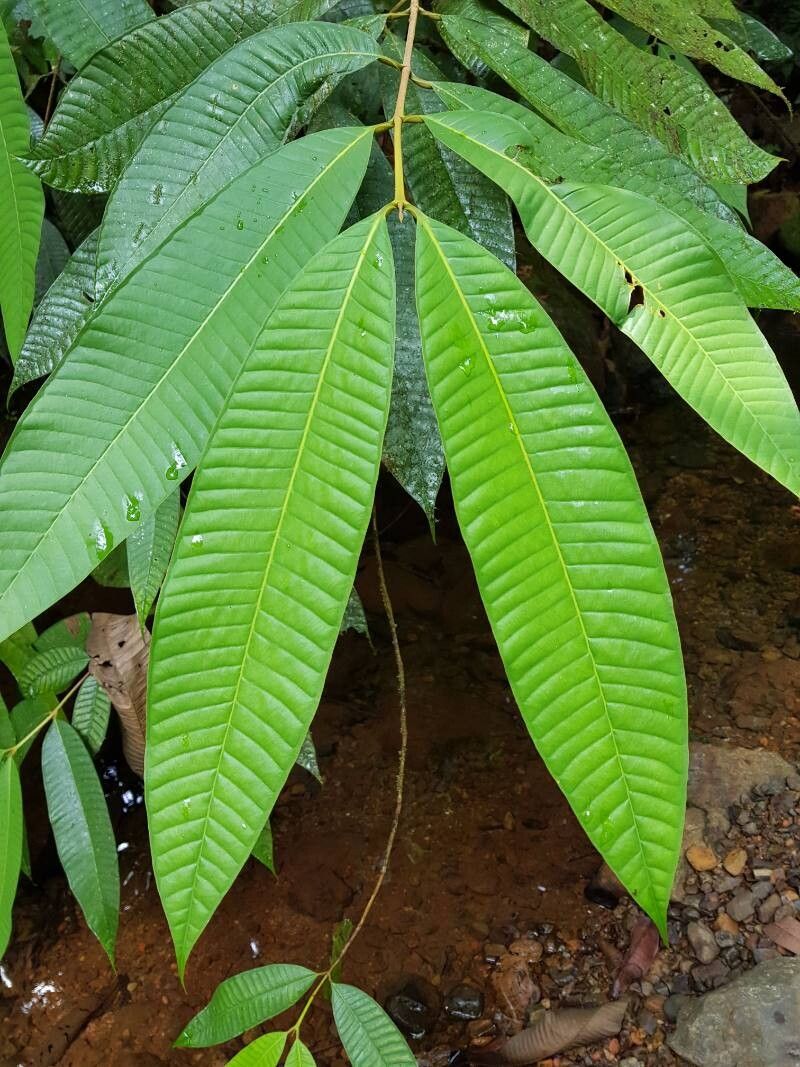
Understanding Marila Podantha:
Before diving into propagation methods, a brief understanding of this unique plant is crucial. Marila podantha is a tropical shrub native to Southeast Asia, known for its fast growth rate and ability to adapt to various growing conditions. It’s a vibrant addition to any home landscape, attracting pollinators with fragrant blooms and creating a tapestry of lush green foliage.
Methods of Propagation:
Marila podantha can be propagated using a combination of methods:
1. Seed Propagation:
While straightforward, this method requires patience as it can take longer than other methods.
- Collecting Seeds: Once the flowers fade, pods containing seeds will form. Allow these pods to fully ripen, then gently extract the seeds and air dry them for a couple of days.
- Sowing: Fill a seed tray or pot with a well-draining seed-starting mix. Sow the seeds thinly, covering them with a thin layer of soil. Keep the soil moist and maintain a temperature around 70-75°F for optimal germination. Germination can take several weeks to a few months.
2. Cuttings:
The most popular and efficient method, cuttings offer faster results and maintain the unique characteristics of the parent plant.
- Selecting Cuttings: Choose healthy, non-flowering stems with at least 3-4 nodes. Cuttings should be about 4-6 inches long.
- Prepare Cuttings: Strip the bottom leaves and make a clean, angled cut just below a node.
- Rooting Hormone (Optional): Dip the cut end of the cutting in rooting hormone to stimulate root growth.
- Potting Mix: Fill a small pot or tray with a sterile potting mix. Make a hole with a pencil and insert the cutting, ensuring the lowest node is buried in the soil.
- Moisture and Light: Keep the soil constantly moist and place the cuttings in a warm, bright location, but avoid direct sunlight.
- Rooted Cuttings: These should begin to show new growth within a few weeks. Once established, they can be transplanted into larger pots or directly into the garden.
3. Air Layering:
Suitable for mature plants, air layering allows for the development of roots on a stem while still attached to the parent plant.
- Preparation: Select a healthy stem and make a small cut on its bark, exposing the cambium layer.
- Wrapping: Apply a rooting hormone to the cut area and wrap it with sphagnum moss, securing it with plastic wrap.
- Moistening: Keep the moss consistently moist. Roots will develop within a few weeks to a few months.
- Separation: Once new roots are evident, separate the layered stem with a sharp knife, below the newly developed roots. Plant it in a suitable pot or the garden.
Tips for Success:
- Choose a suitable pot and soil: Marila podantha thrives in well-drained soil and a pot with drainage holes.
- Protect from frost: As a tropical plant, Marila podantha is sensitive to frost. Keep it indoors or protect it during cold weather.
- Provide adequate sunlight: Marila podantha appreciates bright, indirect light.
- Regular watering: Keep the soil consistently moist, but avoid overwatering.
Conclusion:
Propagating Marila podantha opens a world of possibilities for gardeners, enabling them to share this unique plant with friends, family, and other enthusiasts. With the right techniques and patience, you can successfully multiply your collection, creating a lush and vibrant garden filled with the captivating beauty of Marila podantha.