Woolly Horehound Propagation: From Seed to Success
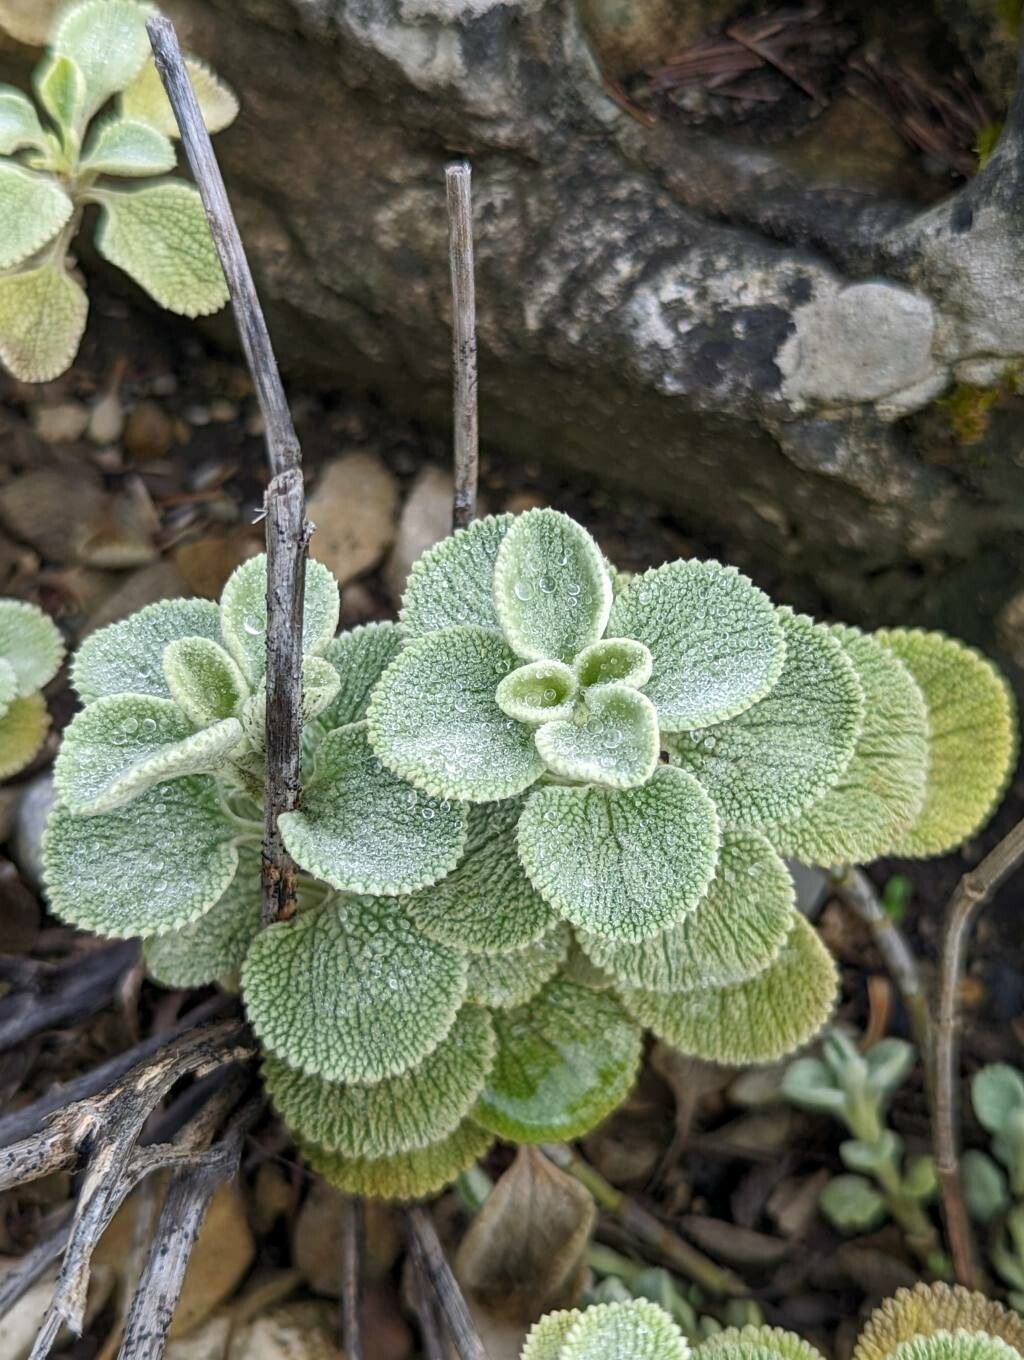
Have you been captivated by the unique silver-green foliage and delicate lavender blossoms of Woolly Horehound (Marrubium velutinum)? This hardy herb, prized for its medicinal properties and its ability to thrive in challenging conditions, is also surprisingly easy to propagate!
If you’re looking to expand your herb garden or simply want to share this delightful plant with others, this guide will walk you through the most common methods for propagating Woolly Horehound successfully.
1. Starting from Seed:
- Timing: The best time to sow Woolly Horehound seeds is in the spring, after the last frost.
- Preparing the Soil: Opt for a well-draining soil mix, ensuring it’s free of weeds and compacted areas. You can use a seed starting mix or amend existing garden soil with perlite or vermiculite.
- Sowing the Seeds: Sow seeds about 1/4 inch deep, spacing them about 6 inches apart. Gently firm the soil and water lightly.
- Germination: Keep the soil moist (but not soggy) and expect seeds to germinate in 10-14 days.
- Thinning: Once seedlings have a few true leaves, thin them out to the strongest seedlings, leaving around 12 inches between each plant.
2. The Power of Cuttings:
- Timing: Spring and early summer are ideal times for taking cuttings from Woolly Horehound.
- Selection: Choose healthy, non-flowering stems from the current season’s growth.
- Preparation: Cut a 4-6 inch section from the tip of a stem, just below a leaf node. Remove the lower leaves and leave a few leaves at the top.
- Rooting Medium: Dip the cut end of the stem in rooting hormone (optional) and insert it into a moistened rooting medium (peat moss, vermiculite, or a mix of both).
- Care: Keep the rooting medium consistently moist and place the cuttings in a bright, indirect light location.
- Transplanting: Once roots develop (usually within 4-6 weeks), carefully transplant the cuttings into individual pots or directly into the garden.
3. Division: For Established Plants
- Timing: The best time to divide Woolly Horehound is in spring or early fall.
- Preparation: Gently dig up the plant and carefully separate it into smaller clumps, ensuring each clump has at least a few stems and roots.
- Replanting: Plant the divided clumps in well-prepared soil, spacing them appropriately for the variety you are growing. Water thoroughly after planting.
Essential Tips for Success:
- Sunlight: Woolly Horehound thrives in full sun to partial shade, ensuring at least 4-6 hours of sunlight daily.
- Drainage: This plant is extremely sensitive to wet soils. Choose a site with excellent drainage or amend the soil with sand or gravel to improve drainage.
- Watering: Water regularly, especially during hot, dry periods, but allow the soil to dry out slightly between watering to prevent root rot.
- Overwintering: Woolly Horehound is generally hardy to zone 4, but may need some winter protection in colder areas.
Now that you’re equipped with these propagation methods, you can easily expand your supply of Woolly Horehound and enjoy its captivating fragrance and medicinal benefits. Remember, patience and consistent care are key to successful propagation! Happy gardening!