Unlocking the Secrets of Masdevallia tonduzii Propagation: A Guide to Multiplying Your Miniature Marvel
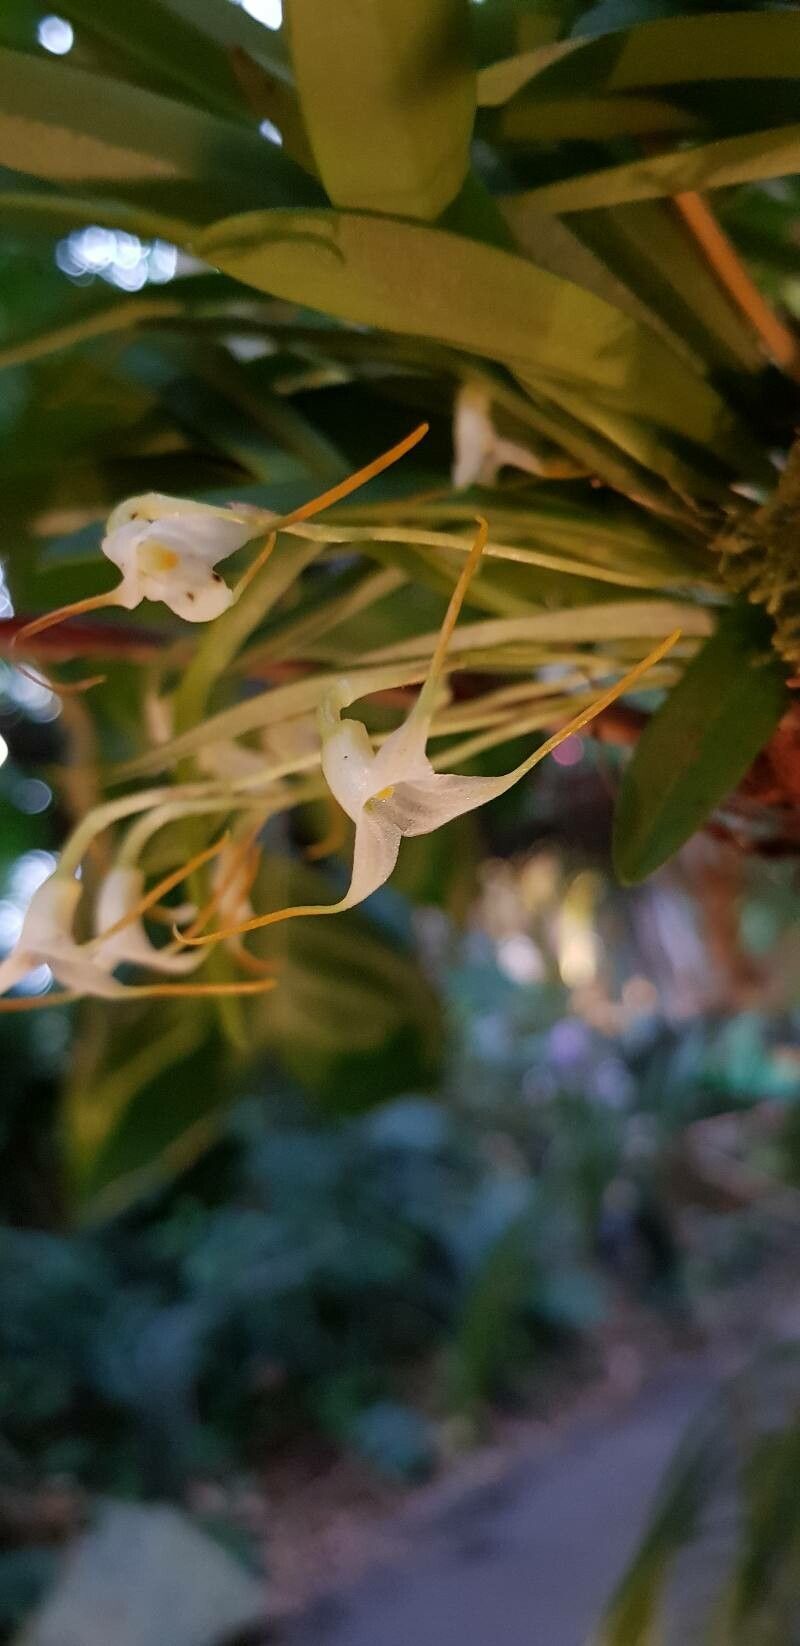
Masdevallia tonduzii, with its enchanting, intricately patterned flowers, is a jewel among miniature orchids. Native to the cool, cloud forests of Costa Rica and Panama, this epiphytic beauty can feel a bit like a prized possession. But what if you could multiply your joy (and your orchid collection)? Enter the world of Masdevallia tonduzii propagation – a rewarding journey for any orchid enthusiast.
Understanding the Basics: Two Primary Paths
Propagating Masdevallia tonduzii primarily involves two methods:
Division: This technique involves carefully separating mature plants with multiple growths (divisions) into smaller, individual plants.
- Seed Germination: This method, while less common among hobbyists, offers a fascinating glimpse into the orchid’s life cycle. It requires specialized knowledge and sterile lab conditions due to the orchid’s dust-like seeds that lack stored nutrients.
Mastering the Art of Division:
For most, division will be the go-to method for propagating Masdevallia tonduzii. Here’s how:
1. Timing is Key: The ideal time for division is during spring, just as the plant begins its active growing phase.
2. Tools of the Trade: Gather a sterilized, sharp knife or pruning shears, pots appropriate for the division sizes, and a well-draining orchid potting mix.
3. Dividing with Care:
- Gently remove the plant from its pot and inspect the root system.
- Identify areas with at least 3-4 healthy growths, ensuring each division has a robust root system.
- Using your sterilized tool, carefully separate the divisions, minimizing damage to the roots.
- Treat any open wounds with cinnamon or a fungicide to prevent infection.
4. Potting Your Divisions:
- Choose pots slightly larger than the root mass of each division.
- Place a layer of drainage material at the bottom of the pot.
- Position the division so that the base of the plant sits slightly below the rim of the pot.
- Fill the remaining space with your orchid mix, ensuring the roots are well-covered while avoiding burying the base of the leaves.
5. Aftercare: Nurturing New Beginnings
- Water your newly potted divisions thoroughly, allowing excess water to drain.
- Place them in a warm, humid environment with bright, indirect light, mimicking their natural habitat.
- Avoid overwatering, as this can lead to root rot. Allow the potting mix to approach dryness between waterings.
- Fertilize regularly during the growing season with a diluted, balanced orchid fertilizer.
Seed Germination: A Glimpse into the Extraordinary
While more complex, germinating Masdevallia tonduzii seeds at home can be immensely satisfying. It requires sterile techniques and a specifically prepared nutrient medium. You’ll need:
- Sterile flasks or containers
- Specialized orchid seed germination media
- Sterile tools and a pressure cooker for sterilization
The process involves sowing the dust-like seeds onto the sterile medium within the flask and providing optimal humidity, light, and temperature for germination and growth. This method is best explored by experienced growers or with guidance from orchid societies or experts.
Reaping the Rewards: A Flourishing Collection
Successfully propagating Masdevallia tonduzii, whether through division or seed germination, brings a unique sense of accomplishment. It allows you to share your passion for these miniature wonders with others and expand your own collection with clones or unique offspring of your prized plant. As your propagated Masdevallia tonduzii mature and grace you with their intricate blooms, you’ll be reminded of the intricate beauty and rewarding challenges that make orchid cultivation a truly captivating hobby.