Unveiling the Secrets of African Miracle Leaf Propagation: How to Grow Your Own Massularia Acuminata
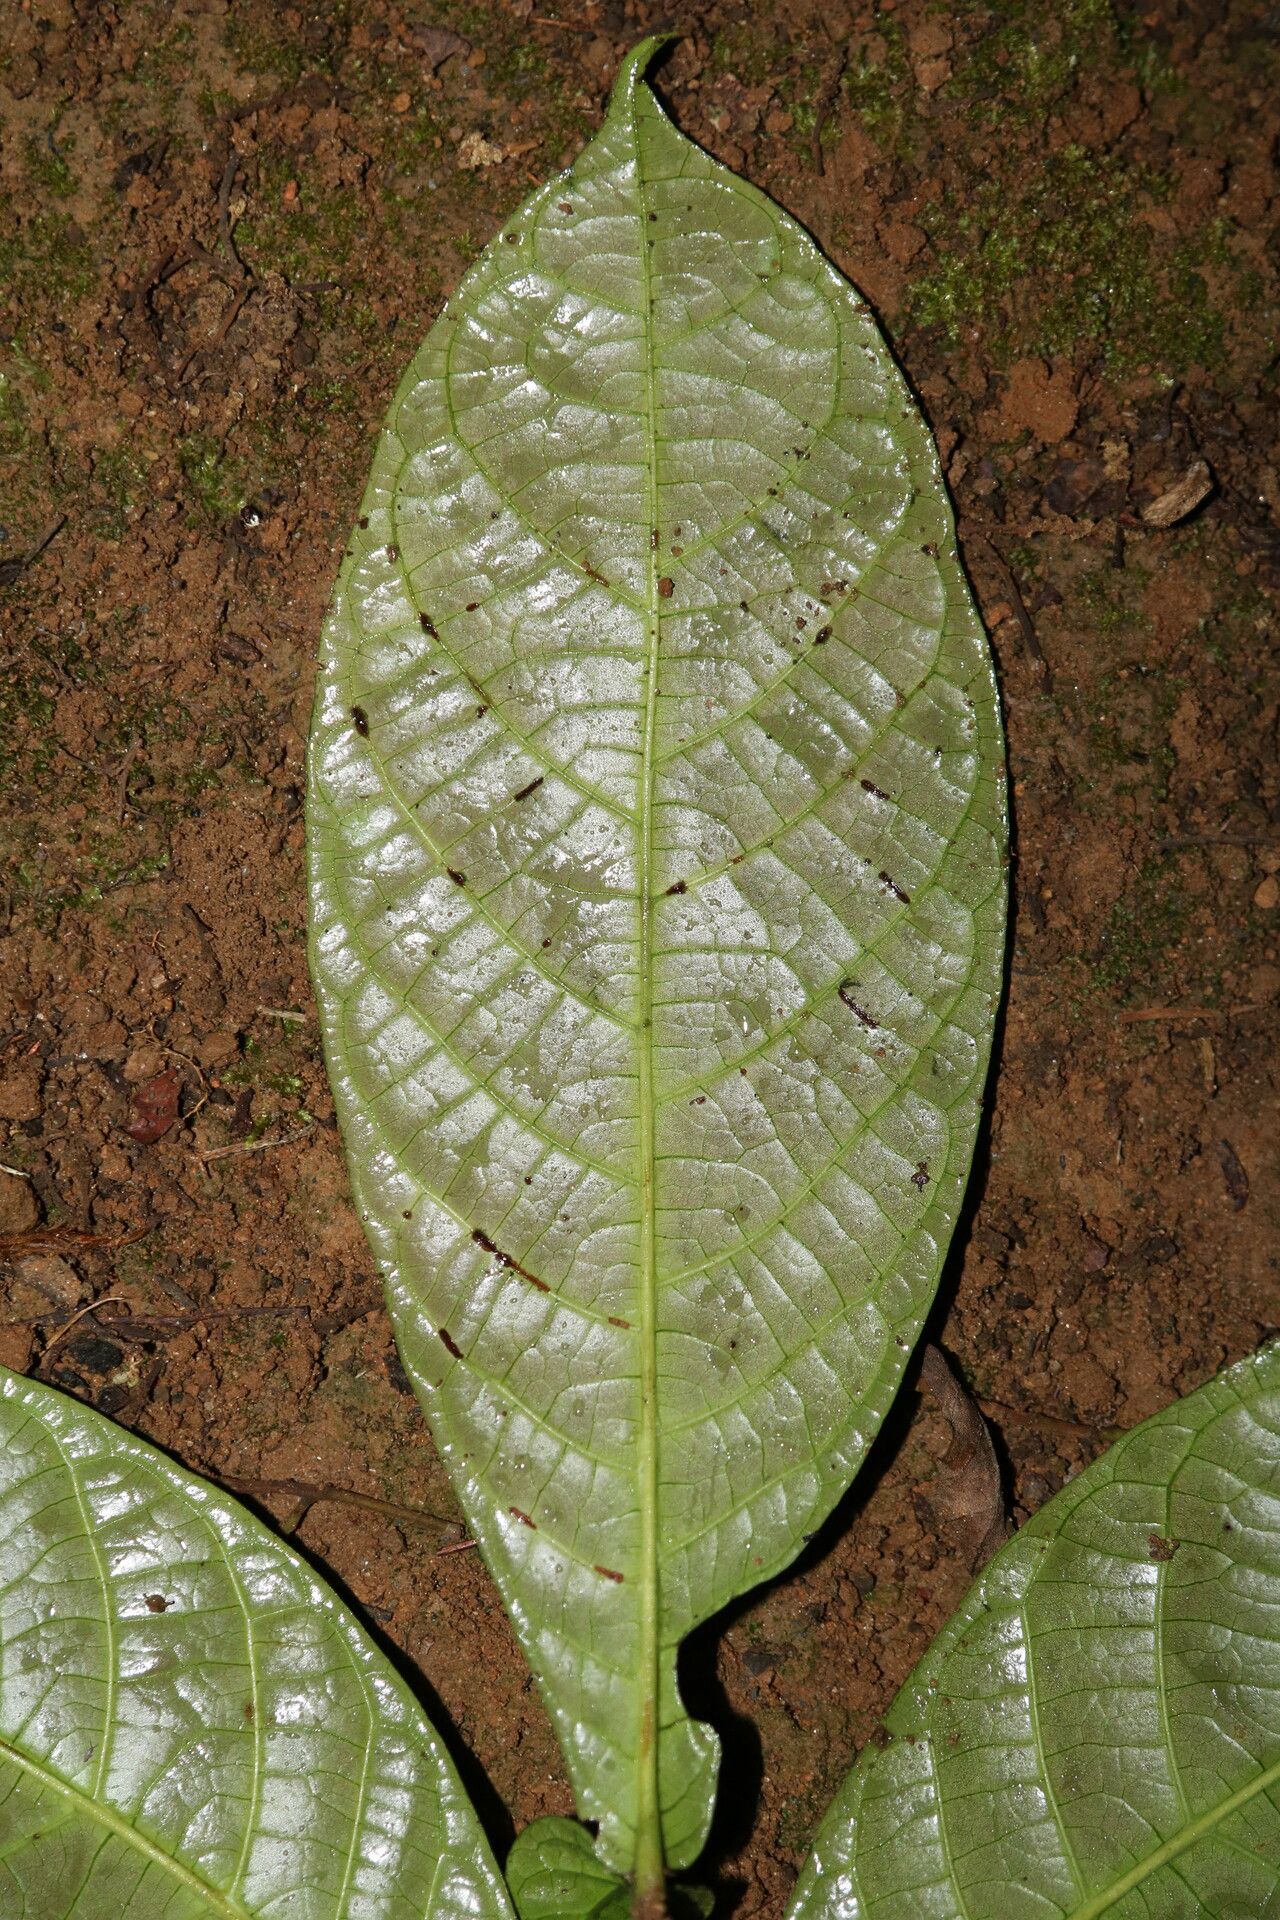
The African Miracle Leaf, scientifically known as Massularia acuminata, is gaining popularity among plant enthusiasts for good reason. Native to tropical Africa, this evergreen shrub boasts glossy, vibrant green leaves and a captivating history rooted in traditional medicine. But beyond its aesthetic appeal and medicinal potential, Massularia acuminata holds another alluring quality – the ease with which it can be propagated. So, if you’re looking to expand your indoor jungle or share the magic of this plant with friends, here’s a comprehensive guide to propagating your very own Massularia acuminata.
Two Paths to Propagation:
Massularia acuminata graciously offers two primary methods of propagation: stem cuttings and seeds. Each technique comes with its own set of advantages and considerations, allowing you to choose the best approach based on your preferences and available resources.
1. Stem Cuttings: A Quick and Reliable Method
Stem cuttings are arguably the most popular and effective way to propagate Massularia acuminata. This method involves taking a cutting from a healthy mother plant and encouraging it to develop roots, essentially creating a clone. Here’s how:
- Timing is Key: Spring or early summer, when the plant is actively growing, offers the ideal conditions for successful propagation.
- Selecting the Cuttings: Choose healthy stems with at least two to three nodes (the bumps on the stem where leaves emerge). The cutting should be about 4-6 inches long.
- Preparing the Cuttings: Using clean, sharp shears or a knife, make a clean cut just below a node. Remove the leaves from the bottom third of the cutting to prevent them from rotting in the soil.
- Rooting Hormone (Optional): While not strictly necessary, dipping the cut end in rooting hormone powder can expedite the rooting process.
- Planting the Cuttings: Plant the cuttings in a well-draining potting mix, burying the bottom node.
- Creating a Humid Environment: Cover the pot with a plastic bag or use a humidity dome to trap moisture and create a greenhouse-like environment.
- Patience is a Virtue: Keep the soil consistently moist, but not soggy. It typically takes 4-6 weeks for roots to develop.
2. Seeds: Embracing the Element of Surprise
While slightly less common and more time-consuming, propagating Massularia acuminata from seeds can be a rewarding experience. However, be prepared for some variation in the resulting plants, as they might not perfectly resemble the parent plant. Here’s a simple guide:
- Sourcing Seeds: Obtain fresh, viable seeds from a reputable source.
- Scarification (Optional): Gently nicking the seed coat with a file or sandpaper can help improve germination rates.
- Sowing the Seeds: Sow the seeds in a seed-starting mix, barely covering them with soil.
- Providing Warmth and Moisture: Place the seed tray in a warm location with indirect sunlight. Keep the soil consistently moist.
- Germination Time: Germination can take anywhere from a few weeks to a few months. Be patient and don’t lose hope!
Nurturing Your New Miracle Plants:
Once your Massularia acuminata cuttings have rooted or your seeds have sprouted, it’s time to gradually acclimate them to their new environment. Slowly reduce humidity levels and introduce them to brighter light conditions. Remember to provide well-draining soil, moderate watering, and occasional fertilization to support their healthy growth.
By following these propagation techniques and providing the right care, you’ll be well on your way to enjoying the beauty and benefits of this remarkable plant for years to come. Happy propagating!