Unlocking the Secrets of Maxillaria Microphyton Propagation: A Beginner’s Guide
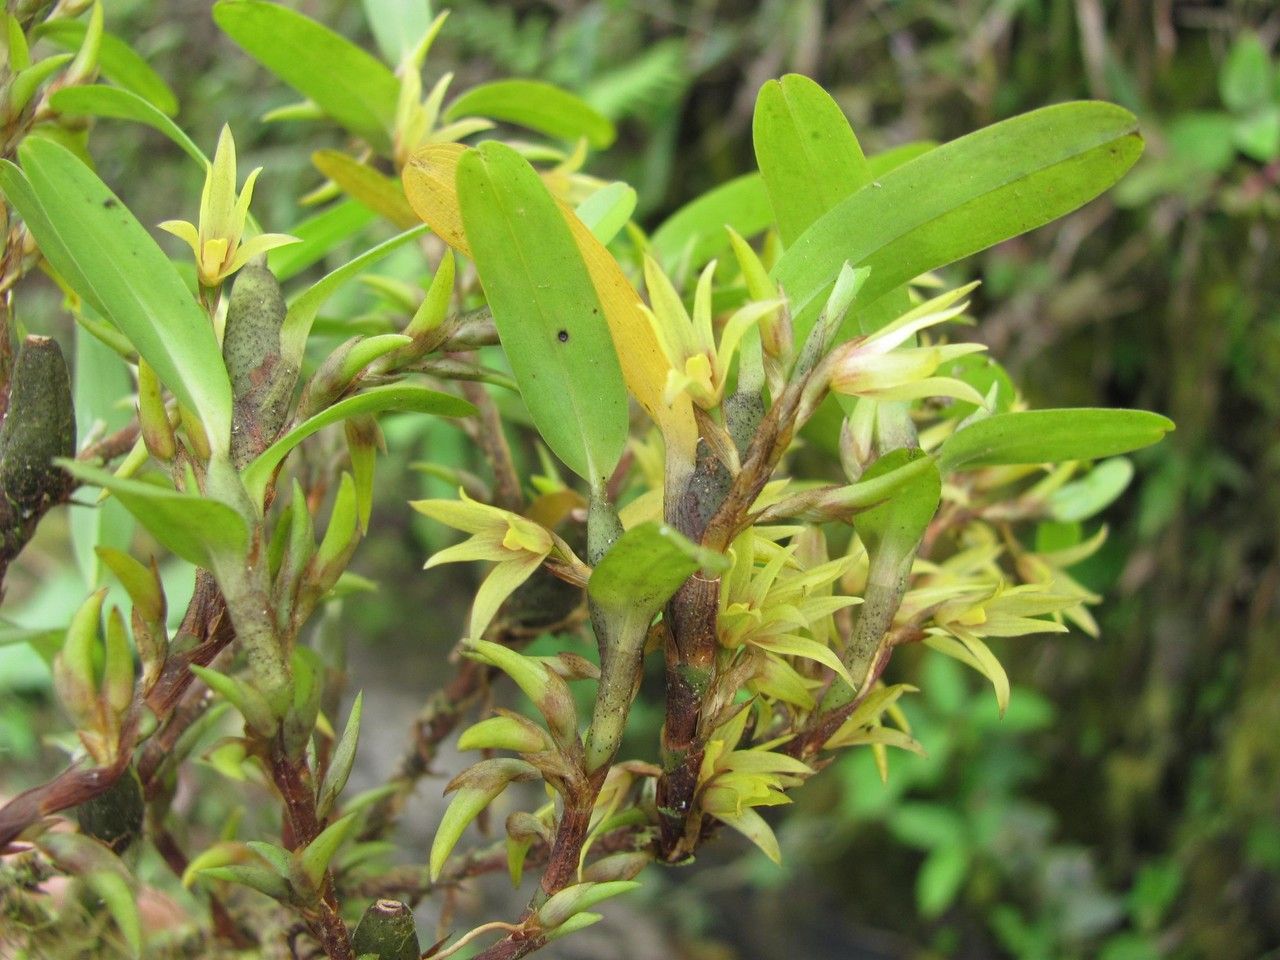
The Maxillaria microphyton, a charming miniature orchid native to Central and South America, captivates with its vibrant orange blooms and compact size. While admiring its beauty is a joy, the true satisfaction for orchid enthusiasts lies in successfully propagating this intriguing species. Don’t be daunted by the seemingly complex world of orchid propagation – with a little patience and the right knowledge, you too can multiply your Maxillaria microphyton collection!
Understanding the Basics
Before diving into methods, it’s crucial to understand how Maxillaria microphyton naturally reproduces. Unlike some orchids that readily produce keikis (plantlets on flower spikes), Maxillaria microphyton primarily propagates through division. This means separating a mature plant into multiple sections, each containing healthy roots and pseudobulbs.
Timing is Everything:
The ideal time for division is during spring, just as the plant begins its active growth phase. This ensures the divided sections have the best chance to establish themselves quickly.
Tools of the Trade:
Gather the following before you begin:
- Sterilized Cutting Tool: A sharp, sterilized knife or pruning shears is crucial to prevent the spread of diseases.
- Orchid Potting Mix: Choose a well-draining mix specifically designed for orchids.
- Pots: Select pots slightly larger than the divided sections, allowing room for growth.
- Cinnamon or Charcoal Powder: These act as natural fungicides to protect fresh cuts.
Step-by-Step Division:
- Unpotting: Gently remove the Maxillaria microphyton from its pot, loosening the roots with your fingers.
- Inspection: Examine the plant for healthy sections with at least 3-4 pseudobulbs and a robust root system.
- Division: Carefully separate the chosen sections using your sterilized cutting tool. Ensure each division has sufficient roots and pseudobulbs.
- Wound Treatment: Dust all cut surfaces with cinnamon or charcoal powder to prevent infections.
- Potting: Plant each division in a separate pot filled with orchid potting mix. Ensure the base of the pseudobulbs is level with the soil surface.
- Watering: Water lightly, allowing the potting mix to dry slightly between waterings. Avoid overwatering, which can lead to root rot.
- Patience: Place the newly potted divisions in a warm, humid location with bright, indirect light. Avoid direct sunlight.
Beyond Division:
While division is the most common method, Maxillaria microphyton can also be propagated through seed germination, although this method is significantly more challenging and requires sterile lab conditions. It’s best left to experienced growers or those seeking a rewarding challenge.
Enjoying the Fruits of Your Labor:
Propagating your Maxillaria microphyton is a rewarding experience, allowing you to expand your collection and share the joy of these captivating orchids with others. Remember, patience and observation are key. With proper care and attention, your newly propagated Maxillaria microphyton will thrive, rewarding you with their vibrant orange blooms for years to come!