Unlocking the Secrets of Medinilla Formosana Propagation: A Guide for Gorgeous Blooms
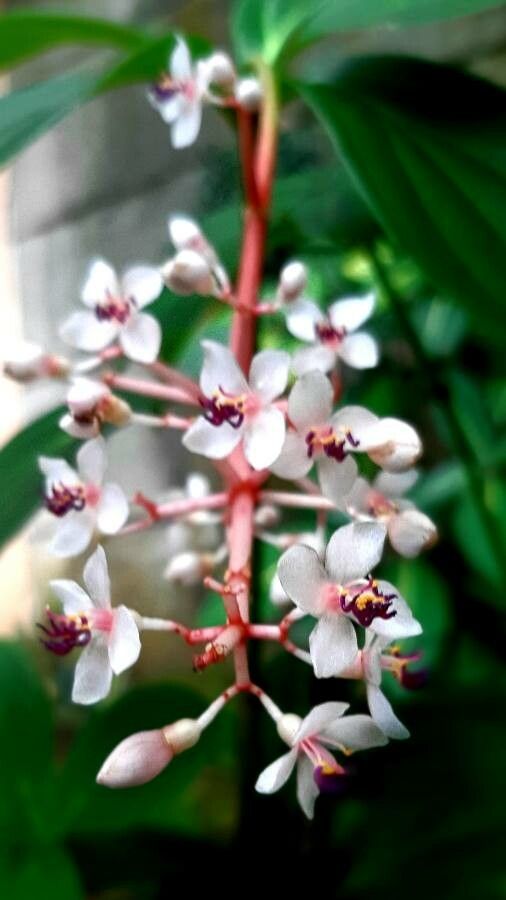
The Medinilla formosana, with its cascading clusters of pink blossoms and lush foliage, is a sight to behold. This captivating plant, hailing from the mountain forests of Taiwan, can feel like a prized possession for any plant enthusiast. While caring for a mature Medinilla formosana has its rewards, wouldn’t it be amazing to multiply your floral treasures? Fear not, propagating your Medinilla formosana might be easier than you think! This guide will take you through two effective methods:
Method 1: Stem Cuttings – The Direct Approach
This method focuses on encouraging a cut portion of the plant to develop roots. Here’s how to do it:
- Timing is Key: The best time for taking stem cuttings is late spring or early summer when the plant is actively growing.
- Choosing the Right Cutting: Look for a healthy, non-flowering stem that’s about 4-6 inches long. Ideally, it should have at least 2-3 nodes (those little bumps where leaves emerge).
- Making the Cut: Using a clean, sharp knife or pruning shears, make a cut just below a node. Remove the leaves from the bottom inch or two of the cutting.
- Hormone Power (Optional): While not strictly necessary, dipping the cut end in rooting hormone can significantly increase your chances of success.
- Planting the Cutting: Prepare a pot with a well-draining rooting mix (a blend of peat moss and perlite works well). Make a small hole in the mix and gently insert the cutting, ensuring the bottom nodes are buried.
- Creating a Humid Haven: Moisture is key for successful rooting. Cover the pot with a plastic bag or use a propagation dome to create a mini-greenhouse environment.
- Patience is a Virtue: Place the pot in a warm, bright location, but out of direct sunlight. It can take anywhere from 4-8 weeks for roots to develop. Mist the cutting regularly to maintain humidity and keep the soil slightly moist.
- Transplanting Success: Once new growth appears, congratulations! Your cutting has rooted. Carefully remove the plastic covering and allow the plant to acclimate to normal humidity before transplanting it into a larger pot with a suitable potting mix.
Method 2: Air Layering – A More Advanced Technique
For those looking for a slightly more intricate method, air layering offers another effective way to propagate Medinilla formosana:
- Selecting the Branch: Choose a healthy, mature stem that’s at least a year old.
- Wounding the Stem: Carefully make a shallow, upward-angled cut about 1-2 inches long on the selected stem. You can also gently scrape away a ring of bark around the stem, exposing the cambium layer.
- Hormone Boost (Optional): Apply a small amount of rooting hormone to the wounded area.
- The Moss Wrap: Wrap the wounded area with moist sphagnum moss and secure it with plastic wrap or aluminum foil.
- Maintaining Moisture: Keep the moss consistently moist by misting it regularly.
- Root Development: Over the next few weeks, roots will hopefully start to develop within the moss.
- Separation and Potting: Once a healthy root system is visible, carefully cut the stem below the rooted section and pot it up in a suitable potting mix.
Tips for Propagation Success:
- Cleanliness is Key: Sterilize all your tools before and after use to prevent the spread of diseases.
- Don’t Give Up!: Propagation isn’t always foolproof. If your first attempts don’t succeed, don’t be discouraged. Adjust your techniques and try again!
By following these steps and arming yourself with patience, you can increase your collection of these stunning plants, filling your home with the captivating beauty of the Medinilla formosana. Happy propagating!