Taming the Knotty Beauty: Propagating Melaleuca nodosa
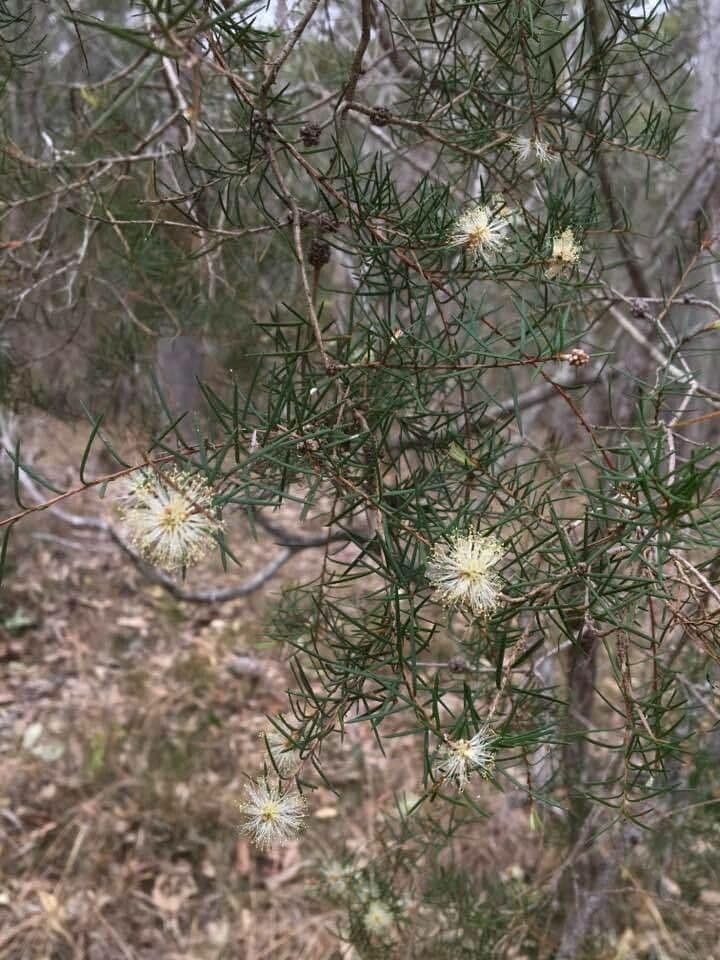
The Melaleuca nodosa, with its whimsical common name, the "Prickly-Leaved Paperbark," is a stunner in any garden. This Australian native boasts bottlebrush-like blooms and unique, textured foliage, making it a haven for pollinators and a visual treat for garden enthusiasts. While readily available in nurseries, wouldn’t it be rewarding to multiply this beauty right from your backyard? Let’s unravel the secrets of propagating Melaleuca nodosa and get those green thumbs working!
Two Paths to Propagation
The good news is that the Prickly-Leaved Paperbark offers you not one, but two reliable methods for propagation:
Seed Propagation: Embark on a journey of patience and witness the miracle of life firsthand!
- When and Where: Collect mature seed capsules in late autumn or winter.
- Sowing Secrets: Sprinkle seeds on the surface of a well-draining seed-raising mix. Don’t bury them! Melaleuca seeds need light to germinate.
- Patience is Key: Germination can be erratic, ranging from a few weeks to a couple of months.
- TLC: Keep the soil consistently moist but not soggy. A warm, bright location out of direct sunlight is ideal.
Cuttings: For quicker results and near-identical replicas of your parent plant, cuttings are the way to go!
- Timing is Everything: Late spring or early summer, when the plant is actively growing, is prime time.
- Choosing the Right Cuttings: Select healthy, semi-hardwood stems that are about 4-6 inches long.
- Prepare for Success: Remove the lower leaves and wound the base of the cutting slightly to encourage root formation.
- Rooting Hormone Boost: Dipping the wounded end in rooting hormone powder can significantly improve success rates.
- Potting Up: Plant the cuttings in a well-draining potting mix, burying the bottom node.
- Creating a Humid Haven: Cover the pot with a plastic bag or use a propagation dome to maintain humidity.
- Patience, Please: Cuttings usually take 6-8 weeks to develop a good root system.
Essential Tips for Success:
- Well-Drained Soil: Melaleuca nodosa despises soggy feet. Use a well-draining potting mix for both seeds and cuttings.
- Sun-Kissed Location: These beauties thrive in full sun to partial shade. Choose a bright spot for your seedlings and cuttings.
- Water Wisely: While Melaleucas are relatively drought-tolerant once established, consistent moisture is crucial during propagation. Water when the soil surface feels dry to the touch.
- Fertilize Lightly: Once your propagated plants are established, fertilize them lightly with a balanced fertilizer during the growing season.
Propagating Melaleuca nodosa might require a touch of patience and dedication, but the rewards are worth the effort. Soon, you’ll have more of these stunning plants to adorn your garden, attracting pollinators and drawing admiring glances from passersby!