Unlocking the Secrets of Melaleuca pearsonii Propagation: A DIY Guide
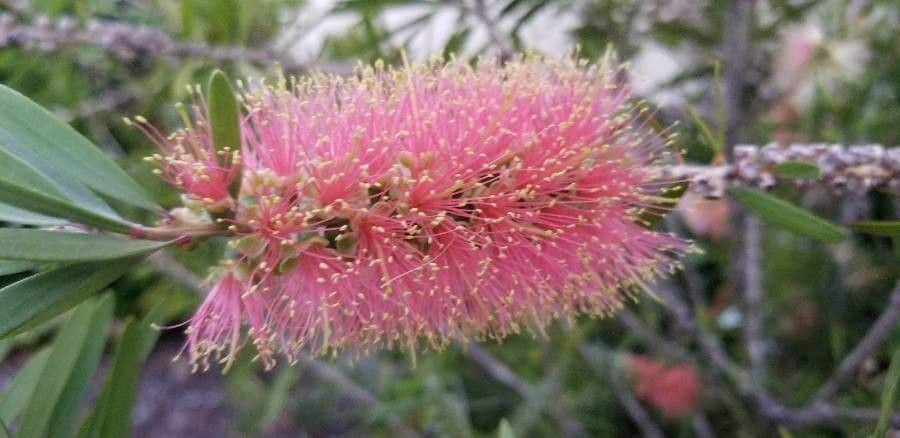
The Melaleuca pearsonii, also known as the Blackdown bottlebrush, is a stunning Australian native boasting showy red flower spikes and attractive, papery bark. If you’re looking to add this beauty to your garden or expand your existing collection, understanding the art of propagation is key. While it might sound intimidating, propagating Melaleuca pearsonii is achievable for gardeners of all levels with a bit of know-how and patience.
This guide will delve into two effective methods:
1. Propagation from Seed:
- Collecting Seeds: The Melaleuca pearsonii produces small, woody seed capsules that ripen on the plant. Once the capsules turn brown and start to open naturally, you can collect them. Gently crush the capsules to release the tiny, dust-like seeds within.
- Sowing the Seeds: Prepare a seed tray or pot with a well-draining seed-raising mix. Sprinkle the seeds lightly over the surface, as they need light to germinate. Mist the soil gently and enclose the tray in a propagator or cover it with a plastic bag to retain moisture.
- Germination: Place the tray in a warm, bright location out of direct sunlight. Germination can take anywhere from a few weeks to a few months, so patience is vital. Mist the soil regularly to keep it consistently moist but not waterlogged.
- Transplanting Seedlings: Once the seedlings have developed a few sets of true leaves, they are robust enough to be transplanted into individual pots. Choose a well-draining potting mix and gradually acclimatize them to outdoor conditions before planting them in their permanent location.
2. Propagation from Cuttings:
- Choosing the Right Cuttings: The ideal time to take cuttings is during the active growing season, typically in spring or early summer. Select healthy, semi-hardwood stems that haven’t yet flowered and are approximately 10-15cm long.
- Preparing the Cuttings: Using a clean, sharp knife or pruning shears, make a clean cut just below a leaf node. Remove the lower leaves, leaving only a few at the top. You can dip the cut end into a rooting hormone powder to encourage root development, although this isn’t strictly necessary.
- Planting the Cuttings: Fill a pot or tray with a well-draining propagation mix, moisten it evenly, and create small holes for the cuttings. Insert the cuttings about 5cm deep, ensuring the leaf nodes are below the soil surface.
- Encouraging Root Growth: Cover the cuttings with a plastic bag or a cloche to create a humid environment essential for root development. Place the pot in a warm, bright location out of direct sunlight.
- Transplanting Rooted Cuttings: After about 6-8 weeks, gently tug on the cuttings; resistance indicates successful rooting. Once the roots have established well, you can transplant the cuttings into individual pots or their desired location in the garden.
General Care Tips:
- Sunlight: Melaleuca pearsonii thrives in full sun to partial shade. Ensure your seedlings or cuttings receive adequate sunlight for healthy growth.
- Watering: While established plants are relatively drought-tolerant, young Melaleuca pearsonii needs regular watering, especially during hot, dry periods. Water deeply when the soil surface feels dry to the touch.
- Soil: This species prefers well-drained soils, so amend heavy clay soils with sand or organic matter to improve drainage.
Propagating your own Melaleuca pearsonii is a rewarding experience that allows you to witness the plant’s life cycle from seed or cutting to a flourishing shrub. With a bit of effort and these guidelines, you can successfully propagate this breathtaking species and enhance your garden with its vibrant beauty.