From Seed to Success: A Guide to Propagating Melosperma andicola
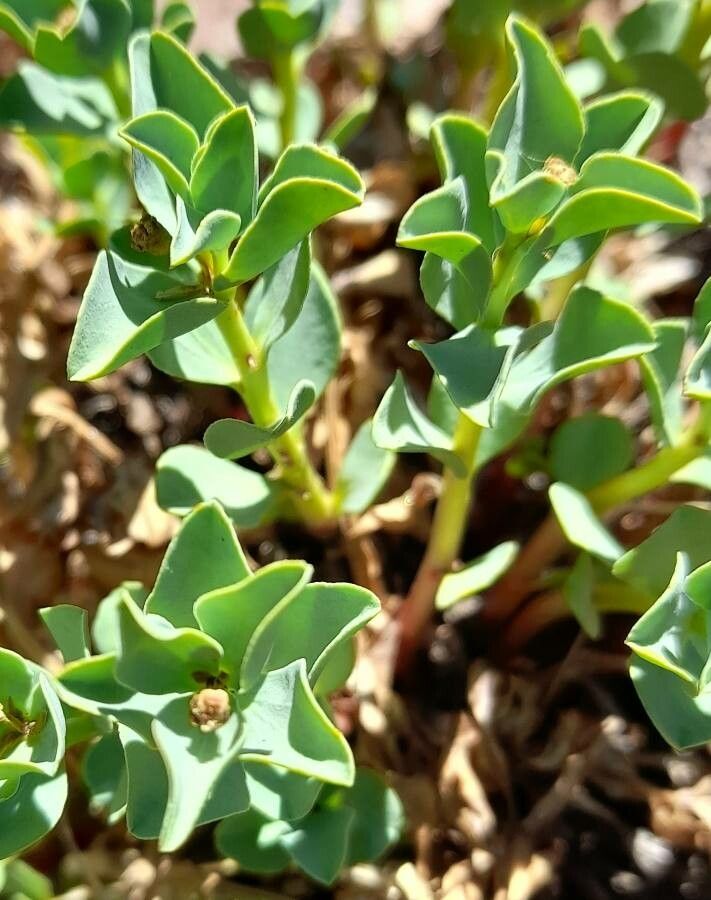
Melosperma andicola, with its striking foliage and delicate blooms, is a captivating addition to any plant enthusiast’s collection. But what if you could easily share this beauty with friends or expand your own collection without spending a fortune on new plants? That’s where propagation comes in! This blog post will guide you through the exciting world of propagating Melosperma andicola, empowering you to cultivate this exquisite species from the comfort of your own home.
Understanding the Basics:
Melosperma andicola is a member of the Gesneriaceae family, known for its ease of propagation. Two primary methods are commonly employed:
- Seed Propagation: This technique involves starting new plants from seeds, offering the satisfaction of nurturing life from its earliest stages. Melosperma andicola seeds are remarkably tiny, requiring patience and precision.
- Stem Cuttings: A simpler and faster method, stem cutting involves taking a section of healthy stem and encouraging it to develop roots. This method allows you to quickly multiply your Melosperma andicola collection.
Let’s Dive into the Details:
Seed Propagation:
- Gather Seeds: Collect fresh seeds from mature seed pods of your Melosperma andicola. These pods will usually turn a brown color when the seeds inside are ready.
- Prepare the Seedling Mix: A well-draining, seed-starting mix is perfect for Melosperma andicola seeds. You can purchase a pre-made mix or create your own by combining equal parts peat moss, vermiculite, and perlite.
- Sow the Seeds: Gently scatter the seeds on the surface of the moistened seed-starting mix, ensuring they’re spread out evenly without overcrowding. You don’t need to bury them deeply.
- Provide Moisture and Light: Mist the surface with water, and cover the seed tray with a clear plastic dome or wrap to maintain humidity and warmth. Place the tray in a well-lit area, but avoid direct sunlight, which can scorch the delicate seedlings.
- Germination: Melosperma andicola seeds typically germinate within 1-2 weeks under optimal conditions. Be patient!
- Prick Out Seedlings: Once the seedlings have developed two true leaves, carefully transplant them into individual pots filled with a well-draining potting mix.
Stem Cutting Propagation:
- Choose Your Stem: Select a healthy, non-flowering stem that is about 4-6 inches long. Make a clean cut with a sharp knife or pruning shears just below a leaf node (the point where a leaf emerges).
- Prepare the Cutting: Remove the leaves at the bottom of the stem to expose the node. You can optionally apply rooting hormone to the cut end to encourage quicker root development.
- Potting Mix: Use a moisture-retentive, well-draining potting mix like a mix of peat moss, perlite, and bark.
- Planting the Cutting: Insert the prepared cutting into a pot, ensuring that at least one leaf node remains buried.
- Care and Maintenance: Keep the potting mix consistently moist but not soggy, and place the pot in a bright location but out of direct sunlight. Root development usually takes several weeks. You’ll know the cutting has rooted when you see new growth emerging.
Tips for Success:
- Environment is Key: Melosperma andicola thrives in indirect sunlight and moderate humidity. Mimic these conditions during both seed starting and cutting propagation for optimal results.
- Water Wisely: Maintain consistent moisture without overwatering. Well-draining soil and regular watering are crucial. Allow the soil to dry slightly between waterings.
- Patience Is Virtue: Propagation, especially from seed, takes time. Don’t be discouraged if you don’t see results immediately.
- Enjoy the Process: Propagation is an enriching experience. Document your journey, share your progress, and revel in the satisfaction of nurturing life from start to finish.
By exploring these propagation techniques, you can unlock the potential of your Melosperma andicola and create a thriving, personalized collection of these alluring plants. Embrace the process, celebrate the growth, and share the beauty of this fascinating species with others.