
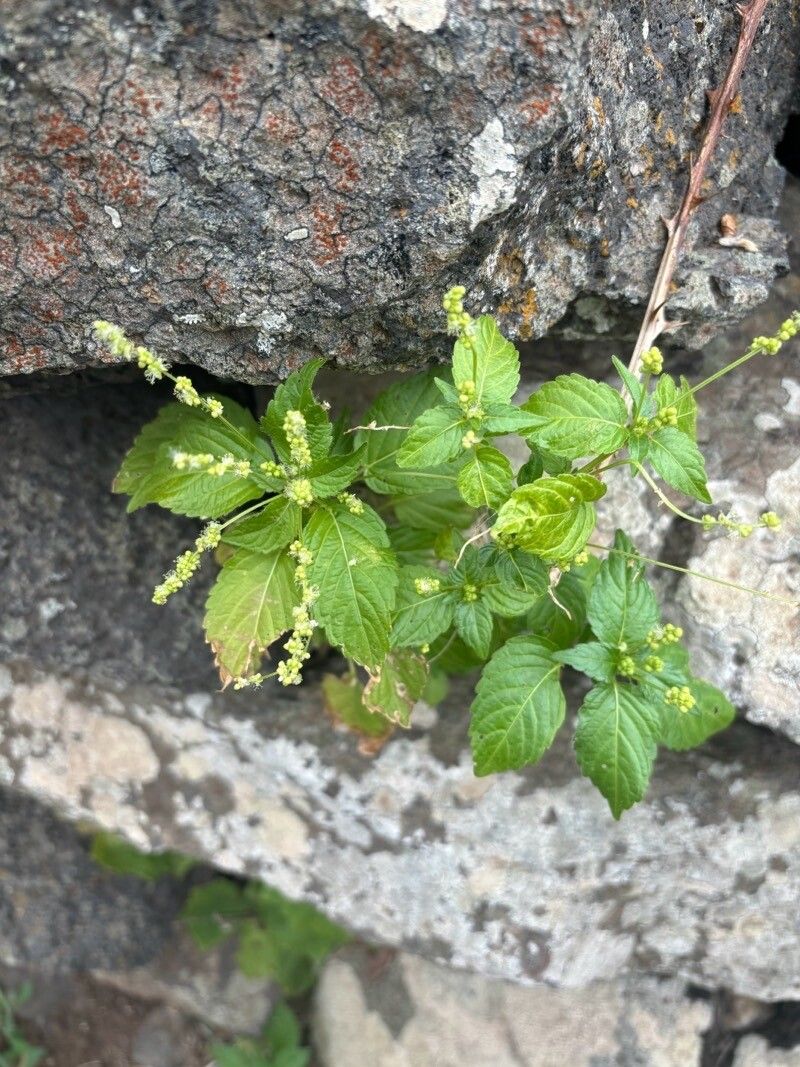
Taming the Canary Islands Spurge: A Guide to Propagating Mercurialis canariensis
The Canary Islands Spurge, or Mercurialis canariensis, is a fascinating plant that captivates with its verdant foliage and unique, almost prehistoric, appearance. Native to the Canary Islands (as its name suggests!), this evergreen shrub thrives in warm climates, bringing a touch of the exotic to gardens and homes alike. If you’re enchanted by this botanical beauty and want to expand your collection, you’ll be pleased to know that propagating Mercurialis canariensis is achievable, even for those who don’t possess a green thumb. Let’s delve into the world of Canary Islands Spurge propagation, exploring the two most effective methods:
1. Seed Propagation: A Test of Patience and Skill
Propagating Mercurialis canariensis from seed can be a rewarding experience, albeit one requiring patience. Here’s how to embark on this journey:
- Seed Collection: If you’re lucky enough to have an existing plant, collect mature seeds from dried capsules. Ensure the seeds are dry and free from any visible damage.
- Sowing the Seeds: Start the seeds in a well-draining seed-starting mix during spring or early summer. Sow seeds on the surface and lightly press them in, ensuring good contact with the soil but avoiding burying them too deep.
- Creating the Ideal Environment: Place the seed tray in a warm, bright location out of direct sunlight. Mist the soil regularly to keep it consistently moist but avoid overwatering.
- Germination and Beyond: Germination can be erratic, taking anywhere from a few weeks to several months. Once the seedlings emerge and have a few sets of true leaves, you can transplant them into individual pots filled with a well-draining potting mix.
2. Cutting Propagation: A Faster Route to Success
For a quicker and arguably more reliable method, propagate Mercurialis canariensis from stem cuttings. This technique offers a higher success rate:
- Taking the Cutting: In spring or early summer, select healthy, non-flowering stems from your existing plant. Using a clean, sharp knife or pruning shears, make a cut just below a leaf node (where the leaf attaches to the stem). Aim for a cutting about 4-6 inches long.
- Preparing the Cutting: Remove the lower leaves from the cutting, leaving only a few leaves at the top. Dip the cut end in rooting hormone (optional but recommended) to encourage faster root development.
- Planting the Cutting: Plant the prepared cutting in a pot filled with a well-draining, slightly moist potting mix. Ensure the bottom leaf nodes are buried in the soil.
- Encouraging Root Development: Cover the pot with a clear plastic bag to create a humid environment, or use a propagation dome. This will help retain moisture and encourage rooting. Place the pot in a warm, bright location out of direct sunlight.
- Transplanting the Cutting: After 4-6 weeks, gently tug on the cutting to check for resistance, indicating root development. Once the roots have established, transplant the cutting into a larger pot or directly into your garden.
Important Note: Remember, Mercurialis canariensis contains a sap that can be irritating to the skin, so it’s crucial to wear gloves when handling the plant and its cuttings.
Propagating Mercurialis canariensis is an adventure that allows you to witness the magic of plant reproduction firsthand. Whether you choose the patience-testing seed propagation or the more straightforward cutting approach, your efforts will be rewarded with the satisfaction of nurturing new life and expanding your collection of this striking Canary Islands native.