Unveiling the Secrets of Meriania Phlomoides Propagation: A Guide for Budding Enthusiasts
Meriania phlomoides, with its clusters of vibrant pink flowers resembling miniature bouquets, is a sight to behold. Native to the cloud forests of the Andes, this captivating shrub has enthralled plant lovers with its stunning floral display and lush green foliage. However, propagating Meriania phlomoides can seem like a daunting task, often shrouded in mystery. Fear not, fellow enthusiasts, for we’re about to demystify the process and equip you with the knowledge to cultivate this Andean jewel in your own green haven.
Understanding the Plant
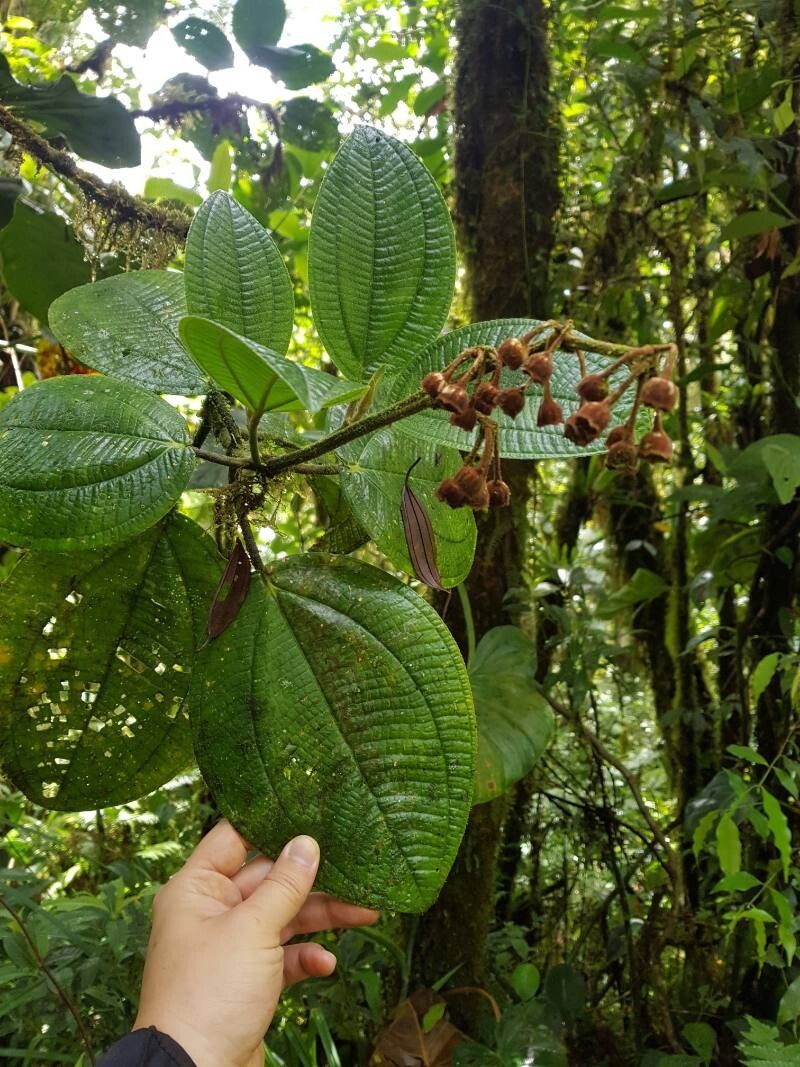
Before embarking on our propagation journey, let’s get acquainted with our subject. Meriania phlomoides thrives in cool, humid environments, reminiscent of its mountainous origins. This understanding is crucial because it lays the foundation for successful propagation, which relies on replicating these conditions as closely as possible.
Two Paths to Propagation: Seeds vs. Cuttings
Propagating Meriania phlomoides can be achieved through two primary methods: seeds and cuttings. Each method offers its own set of advantages and challenges, catering to different levels of horticultural experience.
1. Seeds: A Test of Patience
Propagating Meriania phlomoides from seed is a rewarding experience, albeit a test of patience. The seeds, often minuscule and delicate, require meticulous care and attention. Here’s a step-by-step guide:
- Sowing the Seeds: Sow the seeds in a well-draining seed starting mix, barely covering them. Mist the soil gently and enclose the container in a plastic bag to create a humid microclimate.
- Patience is Key: Germination can be erratic, taking anywhere from a few weeks to a couple of months. Ensure a consistent temperature of around 70°F (21°C) and maintain moisture without waterlogging the soil.
- Transplanting the Seedlings: Once the seedlings develop a couple of true leaves, transplant them into individual pots filled with an acidic, well-draining potting mix.
2. Cuttings: A Quicker Route to Success
For those seeking quicker results, propagating Meriania phlomoides from cuttings is a more efficient method. Here’s how to master this technique:
- Selecting the Cuttings: In spring or early summer, take softwood cuttings approximately 4-6 inches long from healthy, non-flowering stems.
- Preparing the Cuttings: Remove the lower leaves and wound the base of the cutting slightly to encourage root development. Dip the cut end in rooting hormone before planting.
- Planting and Caring for the Cuttings: Plant the cuttings in a well-draining growing medium, ensuring the bottom node is buried. Maintain a humid environment by enclosing the pot in a plastic bag or using a humidity dome.
Essential Care Tips for Thriving Meriania Phlomoides
Regardless of your chosen propagation method, providing optimal growing conditions is paramount for success:
- Light: Bright, indirect light is ideal. Protect your Meriania phlomoides from harsh, direct sunlight.
- Water: Maintain a consistently moist but not waterlogged environment.
- Humidity: This plant thrives in high humidity. Regular misting or using a humidifier is recommended.
- Fertilizer: Feed your Meriania phlomoides with a balanced, water-soluble fertilizer during the growing season.
A Journey Worth Undertaking
Propagating Meriania phlomoides may initially seem like a challenging endeavor, but armed with the right knowledge and a dash of dedication, you’ll be rewarded with the breathtaking beauty of this Andean gem gracing your own space. Remember, the journey is just as fulfilling as the destination. Embrace the process, be patient, and witness the magic of propagation unfold before your eyes.