Unlocking the Secrets of Mespilodaphne morae: Propagation Methods for This Unique Plant
Mespilodaphne morae, with its striking foliage and fragrant flowers, is a captivating plant that many home gardeners would love to add to their collections. But acquiring this unique species can be tricky. So, how do you get your hands on this beauty? The answer lies in the magical world of plant propagation!
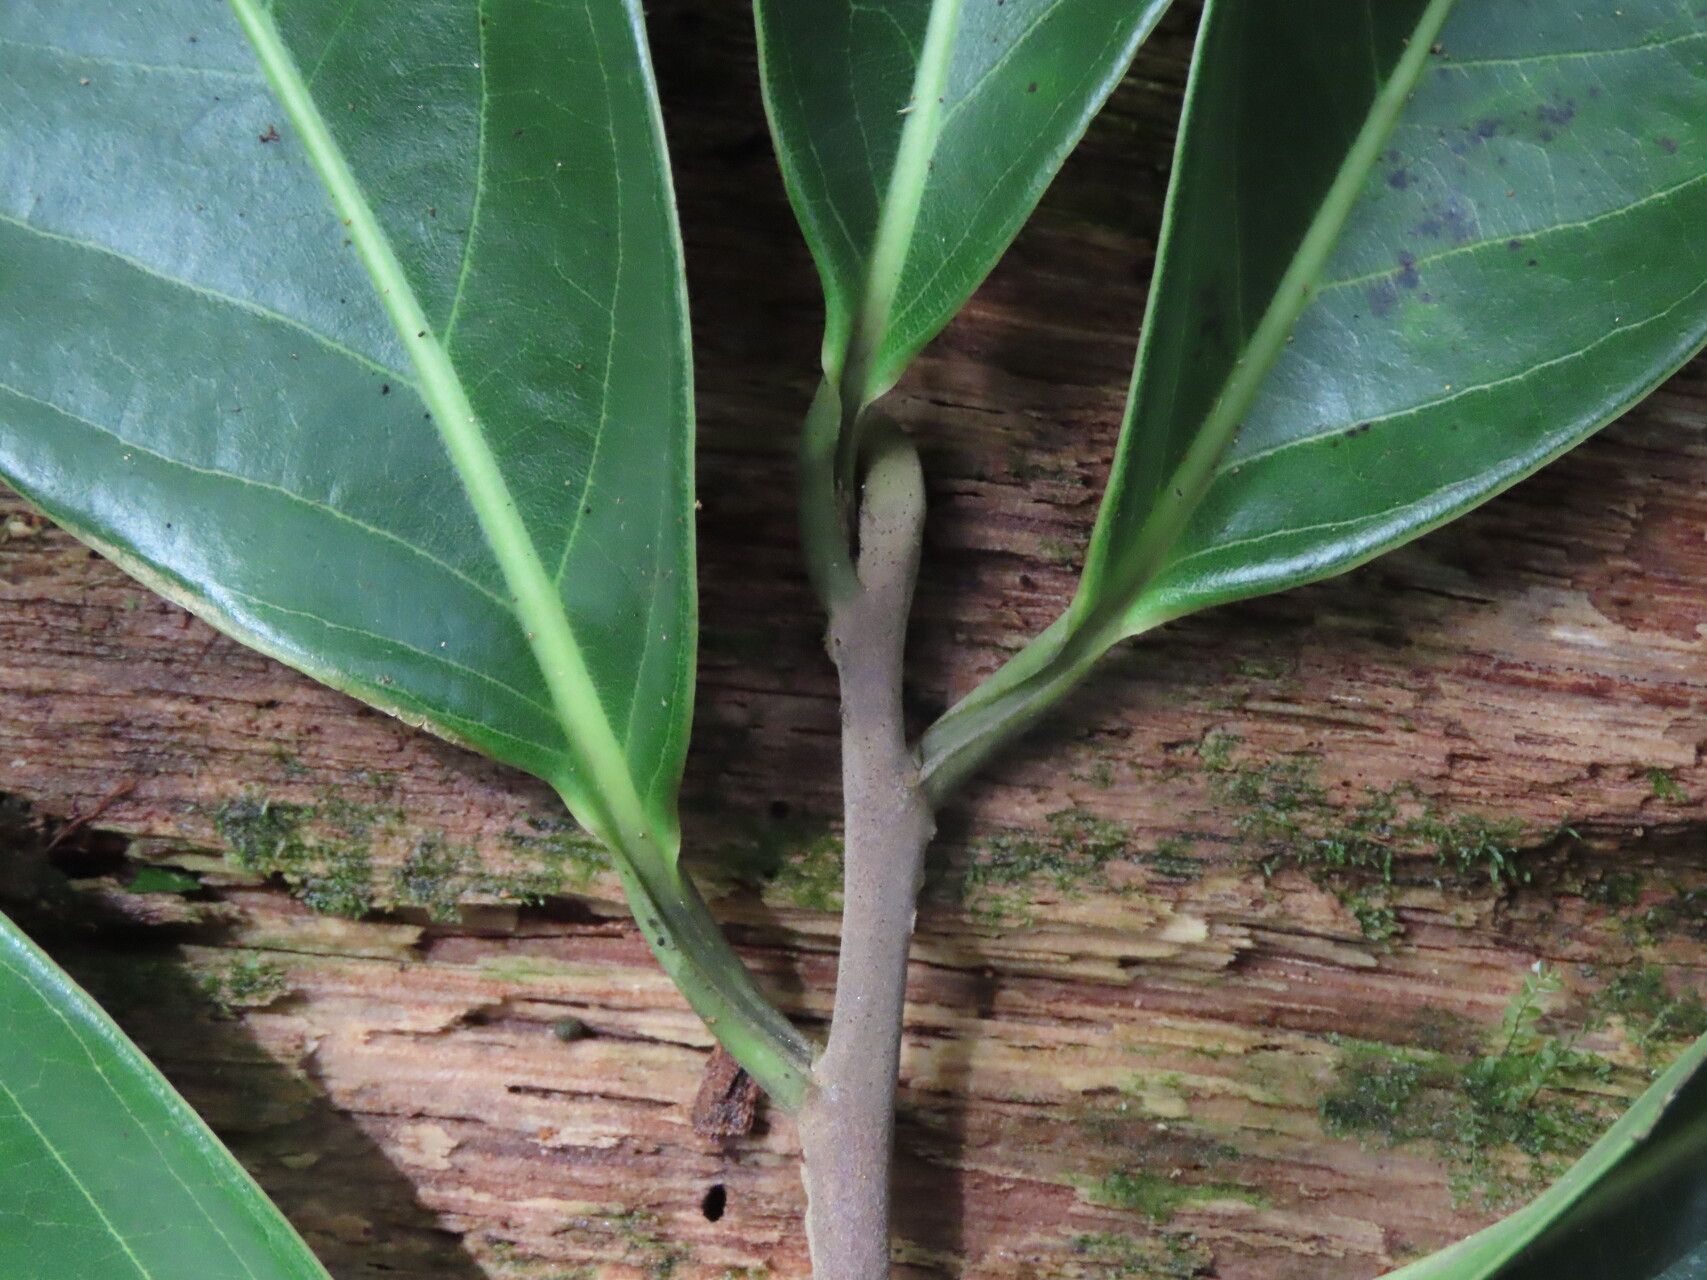
While Mespilodaphne morae isn’t the most common plant in nurseries, there are a few methods you can use to successfully propagate it at home, allowing you to share this treasure with others or expand your own collection.
The Power of Cuttings:
One of the most popular and effective ways to propagate Mespilodaphne morae is through semi-hardwood cuttings. This method involves taking cuttings from new growth, ideally in late spring or early summer when the wood is semi-mature. Here’s how:
- Choose your cuttings: Snip 4-6 inches of new growth, ensuring each cutting has at least 3-4 nodes (the points where leaves grow).
- Prepare the cutting: Remove the leaves from the bottom inch or two of the stem, leaving a couple of leaves at the top.
- Root hormone: Apply a rooting hormone powder or liquid to the cut end of the stem. This will boost the rooting process.
- Potting mix: Use a well-draining potting mix designed specifically for cuttings.
- Planting: Make a small hole in the potting mix, insert the cutting, and gently firm the soil around it, ensuring the cutting is planted deep enough to support its weight.
- Misting and humidity: Mist the cutting regularly, and cover it with a plastic dome or bag to create a humid environment.
- Patience: Patience is key! With regular care, your Mespilodaphne morae cutting should start to root within a few weeks to a couple of months.
Exploring Air Layering:
For larger Mespilodaphne morae plants, air layering is an excellent alternative. This method involves encouraging roots to develop on a branch while it’s still attached to the parent plant.
- Choose a branch: Select a healthy branch that’s at least 12 inches long.
- Make a cut: With a sharp knife, make a ring-shaped cut around the branch, removing a thin strip of bark about 1 inch wide.
- Root hormone and sphagnum moss: Apply rooting hormone powder to the cut area, then wrap it with moist sphagnum moss. Secure the moss with plastic wrap or aluminum foil.
- Moisture and time: Keep the moss moist by misting it regularly. Roots should develop within a few months.
- Severing the branch: Once you see roots forming, carefully cut the branch below the newly developed roots and pot it up.
Seeds: A Long and Rewarding Journey:
While not as common, you can also propagate Mespilodaphne morae from seeds. This method takes longer, but it’s rewarding to see a tiny seedling develop into a mature plant.
- Collecting seeds: Seed pods typically ripen in autumn. Collect the seeds and remove the outer fleshy layer.
- Scarification: To aid germination, gently scarify the seed coat with sandpaper or a file.
- Stratification: Refrigerate the seeds for 6-8 weeks to mimic a cold winter.
- Sowing: Sow the seeds in a well-draining potting mix and keep them moist and warm.
- Germination: Germination may take several weeks or even a few months. Be patient!
Important Tips for Success:
- Light: Make sure your cuttings or seedlings receive bright, indirect light. Direct sunlight can scorch young plants.
- Watering: Keep the potting mix consistently moist but not waterlogged.
- Ventilation: If using a plastic dome or bag for cuttings, provide regular ventilation to prevent fungal diseases.
With these methods, you can successfully propagate your Mespilodaphne morae and share its beauty with others or grow your own thriving collection. Remember, patience is key, and with a little care and attention, you’ll be rewarded with stunning, fragrant plants that will bring joy to your garden for years to come.