
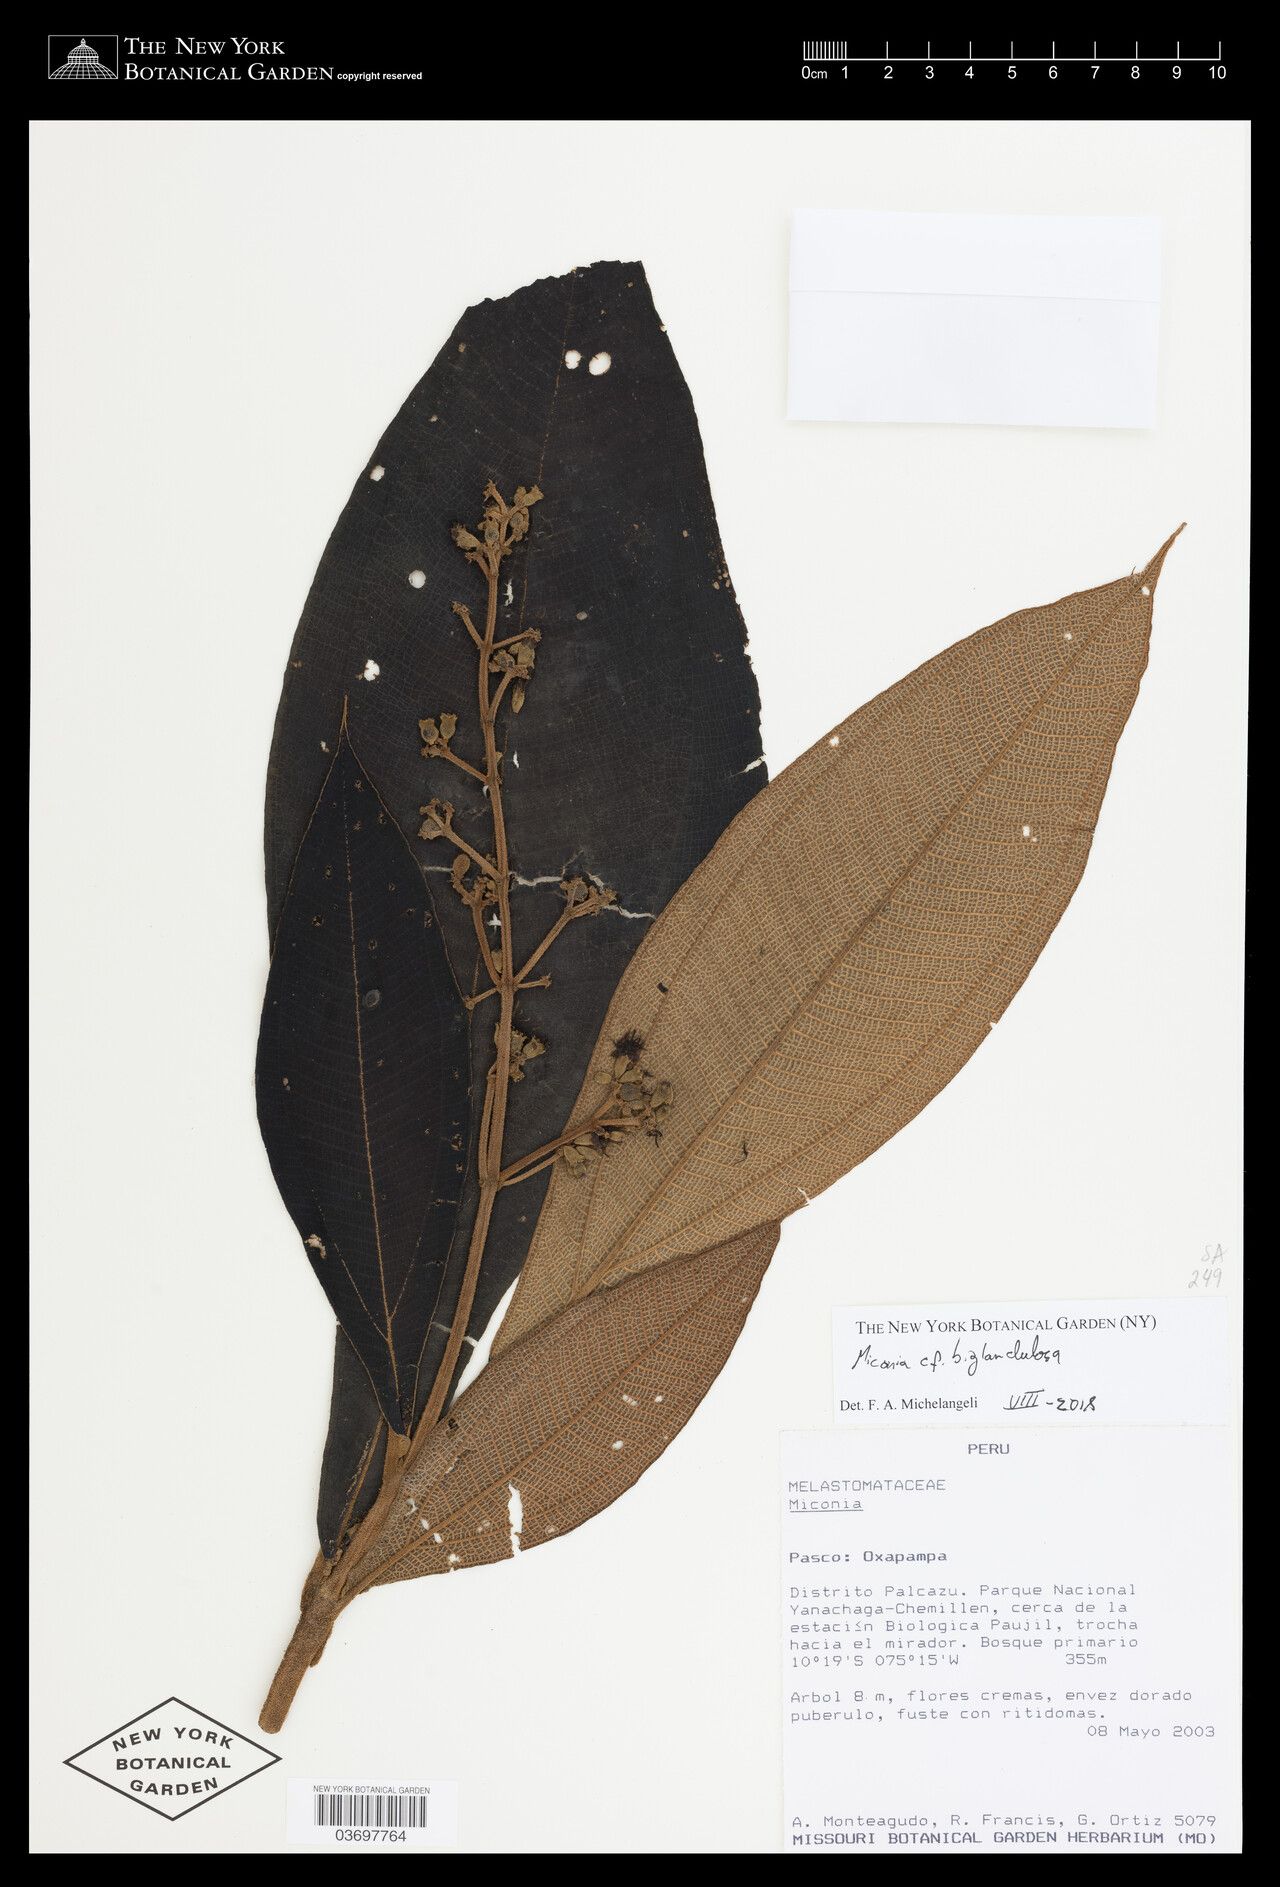
Unveiling the Secrets to Propagating the Majestic Miconia biglandulosa
The Miconia biglandulosa, with its vibrant foliage and captivating presence, is a true gem for any plant enthusiast seeking exotic beauty. Native to the tropical regions of Central and South America, this evergreen shrub mesmerizes with its large, velvety leaves that boast striking veins and a captivating shimmer.
While admiring its beauty is a delight, learning the art of propagation elevates the experience to new heights. Successfully multiplying your Miconia biglandulosa not only expands your plant family but also allows you to share its splendor with others.
However, unlike some common houseplants, Miconia biglandulosa propagation requires a touch of finesse and specific knowledge. This guide delves into the secrets of multiplying this captivating plant, empowering you to cultivate its allure within your own green haven.
Method 1: Propagation from Seed – A Test of Patience
Propagating Miconia biglandulosa from seed is the most natural method, although it requires patience and a gentle touch. Here’s how to embrace the journey:
- Source your seeds: You can acquire seeds from reputable online retailers specializing in exotic plants. Alternatively, if you’re fortunate enough to have access to a mature Miconia biglandulosa, you can harvest seeds from its berry-like fruits once they ripen.
- Prepare the seedbed: Utilize a well-draining seed-starting mix to create a nurturing environment. Moisten the mix and evenly distribute the seeds on the surface.
- Provide warmth and humidity: Miconia biglandulosa seeds thrive in warmth and humidity. Cover the seedbed with a plastic dome or wrap to maintain these conditions. Place it in a bright location, but out of direct sunlight.
- Patience is key: Germination can be a lengthy process, potentially taking several weeks to months. Ensure to keep the soil consistently moist but not waterlogged.
- Transplanting the seedlings: Once the seedlings develop a few sets of true leaves, carefully transplant them into individual pots filled with a well-draining potting mix.
Method 2: Propagation from Cuttings – A Quicker Approach
Propagating from cuttings offers a more expedited route, allowing you to witness faster results:
- Select healthy stems: Choose young, healthy stems for the cuttings. Ideally, select stems that have not yet flowered and are approximately 4-6 inches long.
- Prepare the cuttings: Using a sharp, sterilized knife or pruning shears, make a clean cut just below a node (where the leaf attaches to the stem). Remove the lower leaves, leaving only a few at the top.
- Encourage root development: Dip the cut end of the stem in a rooting hormone powder (optional but beneficial). This step fosters robust root development.
- Plant the cuttings: Insert the cuttings into a well-draining potting mix, burying at least one node below the surface.
- Provide warmth and humidity: Cover the pot with a clear plastic bag or humidity dome to maintain a warm and humid environment, crucial for root development.
- Monitoring growth: After a few weeks, gently tug on the cuttings. Resistance indicates successful rooting. Gradually acclimate the new plants to normal humidity before transplanting.
Key Takeaways for Successful Propagation
- Optimal Timing: Spring and early summer offer the best conditions for successful propagation.
- Warmth and Humidity: Maintaining a warm and humid environment is crucial for both seeds and cuttings.
- Well-Draining Soil: Use a well-draining potting mix to prevent root rot.
- Patience is Paramount: Remember, propagation requires patience. Don’t get discouraged if you don’t see immediate results.
By following these steps and providing the right care, you can unravel the secrets of propagating Miconia biglandulosa, expanding your plant collection with this breathtaking botanical treasure.