Unlocking the Secrets of Miconia Ciliolata Propagation: A Guide for Plant Enthusiasts
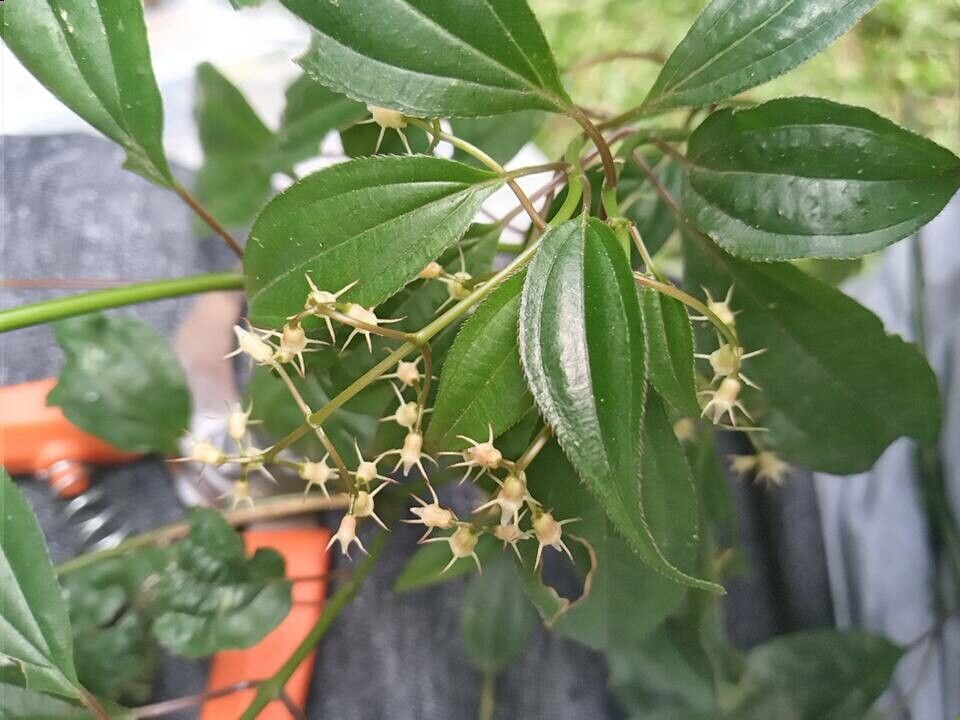
Miconia ciliolata, with its vibrant foliage and captivating presence, has become a sought-after addition to gardens and indoor plant collections. Often referred to by its common name, Copperleaf, this tropical beauty hails from Central and South America, bringing a touch of exotic charm wherever it grows. But have you ever wondered how to propagate this stunning plant and expand your collection?
While information on Miconia ciliolata propagation is limited, don’t be discouraged! This guide will delve into the fascinating world of propagating this magnificent species, providing you with the knowledge and confidence to grow your own Copperleaf.
Understanding the Plant:
Before embarking on the propagation journey, it’s crucial to understand the plant itself. Miconia ciliolata thrives in warm, humid environments with indirect sunlight. Its large, velvety leaves boast an iridescent quality, reflecting shades of green, purple, and the iconic copper hues that give the plant its common name.
Propagation Methods:
While seed propagation is possible, it’s less common and often less successful than other methods. Here are two primary approaches to propagating Miconia ciliolata:
1. Stem Cuttings:
- Timing: Spring or early summer, when the plant is actively growing, is ideal.
- Method:
- Select a healthy, non-flowering stem and make a clean cut just below a leaf node using sterilized pruning shears.
- Remove the lower leaves, leaving a few at the top.
- Dip the cut end in rooting hormone (optional but recommended).
- Plant the cutting in a well-draining potting mix, ensuring the leaf nodes are submerged.
- Water thoroughly and cover the pot with a plastic bag or humidity dome to create a warm, moist environment.
- Place the pot in a bright location with indirect sunlight.
- Monitor moisture levels and mist regularly.
- Roots should develop within 4-8 weeks. Once established, you can transplant the cutting into a larger pot.
2. Air Layering:
- Timing: This method is best suited for late spring or early summer.
- Method:
- Choose a healthy stem and locate a node about 12 inches from the tip.
- Make a small upward cut about an inch long just below the node.
- Dust the cut with rooting hormone (optional).
- Wrap the wound with moist sphagnum moss and secure it with plastic wrap.
- Keep the moss consistently moist.
- Once roots develop within the moss (usually within a few weeks), cut the stem below the root ball and pot it in a suitable potting mix.
Tips for Success:
- Patience is key: Propagation can take time, so don’t be disheartened if you don’t see results immediately.
- Hygiene is essential: Always sterilize your tools before and after use to prevent the spread of diseases.
- Provide warmth and humidity: Miconia ciliolata prefers a warm, humid environment, especially during propagation.
- Monitor for pests: Be vigilant against common pests like spider mites and mealybugs, and treat them promptly if they arise.
Propagating Miconia ciliolata might seem like a daunting task, but with the right knowledge and a bit of patience, you can successfully expand your collection and enjoy the captivating beauty of these tropical gems for years to come.