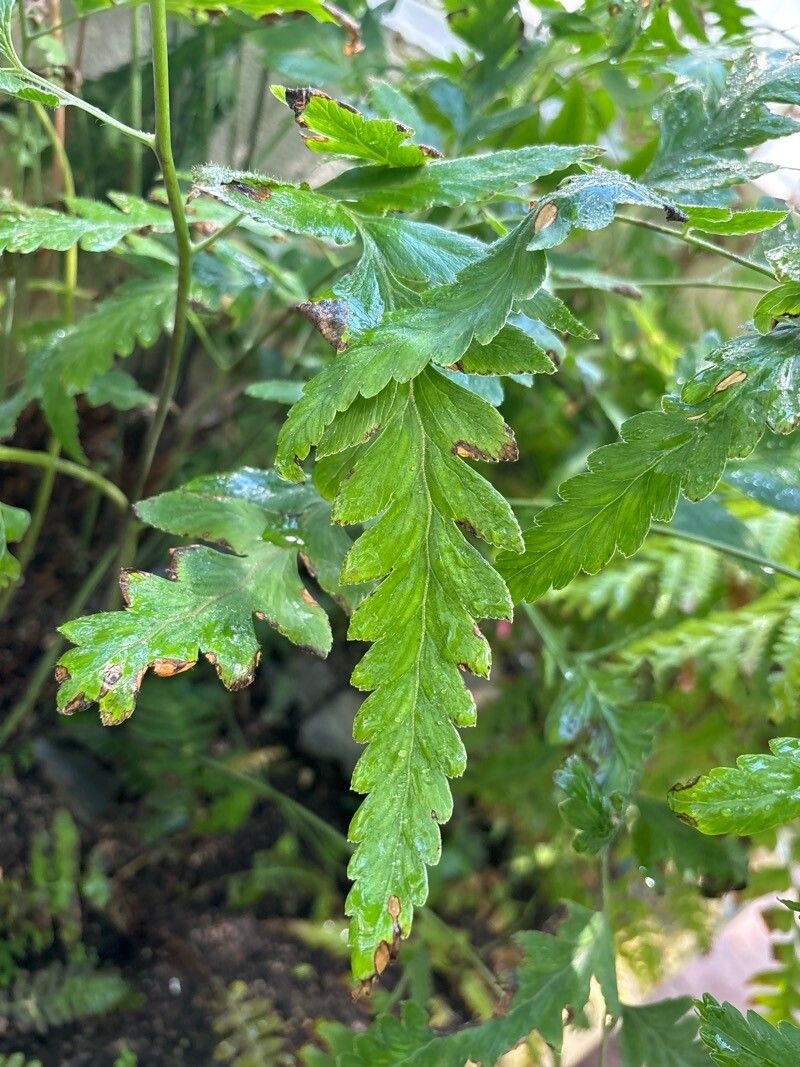
Unleashing the Fern Frenzy: Propagating the Graceful Microlepia platyphylla
The Microlepia platyphylla, also known as the wiry fern, is a sight to behold. Its delicate, lace-like fronds bring an air of elegance and tranquility to any space they grace. While readily available in nurseries, there’s a special kind of satisfaction that comes from multiplying your own collection of these lush beauties. Thankfully, propagating Microlepia platyphylla isn’t as daunting as you might think. Let’s explore the two most effective methods:
1. Division – The “Split and Conquer” Approach
Division is the most straightforward way to propagate Microlepia platyphylla and is best done in early spring when the plant is just starting to push new growth. Here’s how you can create new ferns from an established one:
- Prepare your tools: You’ll need a sharp, clean knife or pair of shears, a fresh potting mix specifically designed for ferns, and appropriately sized pots.
- Gently remove the fern: Carefully lift the fern from its pot and gently loosen the soil around the roots.
- Divide the rhizome: Look for natural divisions in the plant’s rhizome (the underground stem from which the fronds grow). Using your sharp tool, carefully separate the rhizome into sections, ensuring each section has a good amount of roots and at least one healthy frond.
- Pot your divisions: Plant each division in a pot filled with moist fern mix, ensuring the crown of the plant (where the fronds meet the roots) is level with the soil surface.
- Water and watch: Water your newly potted divisions thoroughly, allowing excess water to drain. Place them in a location with bright, indirect light and maintain consistent moisture, misting the fronds regularly.
2. Spores – The “Patience is a Virtue” Method
For the more adventurous gardener, propagating Microlepia platyphylla through spores offers a rewarding challenge. This method takes more time and finesse, but the payoff of witnessing the entire life cycle of a fern is truly remarkable.
- Spore collection: On the underside of mature fronds, you’ll find small, brown structures called sporangia, which contain the spores. Once the sporangia look plump and begin to release a dusty powder when lightly tapped, they’re ready for collection. Cut a frond with mature sporangia and place it in a paper bag.
- Spore sowing: Sprinkle the collected spores thinly and evenly over a tray filled with moistened, sterile seed starting mix. Do not bury the spores. Cover the tray with plastic wrap to maintain high humidity and place it in a warm, shaded location.
- Germination and beyond: Germination can take several weeks to a few months. Once the gametophytes emerge (tiny, heart-shaped structures), mist them regularly and ensure they receive adequate indirect light. As they grow, you can thin them out. Once the young ferns develop, carefully transplant them into individual pots.
Caring for your Propagated Ferns:
Microlepia platyphylla thrives in humid environments with indirect light and consistently moist, well-draining soil. Avoid allowing the soil to dry out completely, and fertilize every 4-6 weeks during the growing season with a balanced, diluted liquid fertilizer.
By mastering these propagation techniques, you can cultivate your own thriving collection of Microlepia platyphylla. So, embrace your inner plant parent, roll up your sleeves, and get ready for a rewarding journey of fern propagation!