Spreading Sunshine: How to Propagate the Charming Micropus Supinus
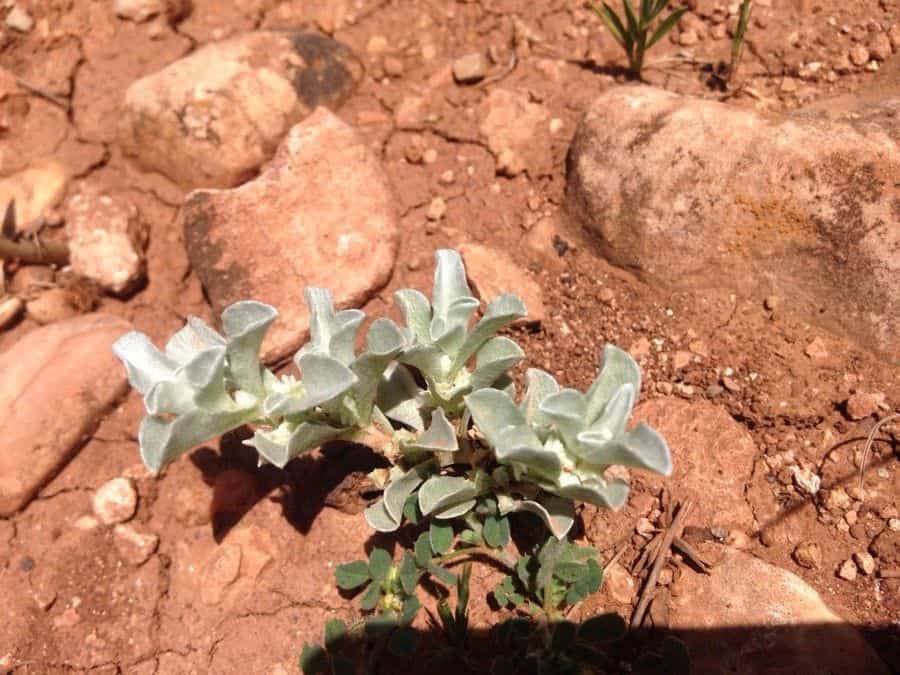
Micropus supinus, also known as cottonweed or dwarf cottonplant, is a delightful groundcover known for its delicate silver-green foliage and tiny, cotton-like flowers. This low-maintenance plant adds a touch of whimsy and texture to gardens, borders, and even containers. If you’re looking to expand your collection or share the charm of Micropus supinus with fellow plant lovers, propagation is surprisingly easy! Let’s delve into the two main methods:
Method 1: Seed Propagation
Seed Collection: The best time to collect Micropus supinus seeds is in the late summer or early fall when the fluffy seed heads have dried completely. Gently rub the seed heads between your fingers to release the tiny, brown seeds.
Seed Starting Mix: Choose a well-draining seed starting mix or create your own by combining equal parts peat moss, perlite, and vermiculite.
Sowing the Seeds: Scatter the seeds thinly over the surface of the moistened seed starting mix. You don’t need to bury them, as light aids in germination. Mist the seeds gently with water.
Providing the Right Environment: Place the seed tray in a warm, bright location, out of direct sunlight. Maintaining a temperature between 65-75°F (18-24°C) is ideal for germination.
Moisture is Key: Keep the seed starting mix consistently moist but not waterlogged. A spray bottle is helpful for providing a gentle mist.
- Germination: You should start seeing tiny seedlings emerge within 1-3 weeks. Once they have developed a few sets of true leaves, you can thin them out to provide adequate space for growth.
Method 2: Cuttings
Timing is Everything: The best time to take cuttings is in the spring or early summer when the plant is actively growing.
Taking the Cutting: Using a clean, sharp knife or pair of scissors, take a 3-4 inch cutting from a healthy stem tip. Remove the lower leaves, leaving 2-3 sets of leaves at the top.
Encouraging Root Development: Dip the cut end of the stem in rooting hormone powder (optional, but beneficial) and gently tap off any excess.
Planting the Cutting: Insert the cutting into a pot filled with a well-draining potting mix. Make sure the bottom node (where the leaves were removed) is buried in the soil.
Creating a Humid Environment: To promote successful rooting, create a mini greenhouse by covering the pot with a clear plastic bag or using a humidity dome. This will help retain moisture.
- Patience is Key: Keep the cuttings in a warm, bright location, out of direct sunlight. Maintain consistent moisture in the potting mix. Rooting typically takes 2-4 weeks.
Caring for your Micropus Supinus
Once your Micropus supinus plants are established, whether from seed or cuttings, they are relatively low-maintenance. Provide them with well-draining soil, moderate watering, and plenty of sunlight. These resilient plants tolerate drought conditions and can even thrive in poor soil.
Propagating Micropus supinus is an enjoyable and rewarding experience for both beginner and seasoned gardeners alike. By following these simple steps, you’ll be able to enjoy the charm and texture of this lovely plant for years to come!