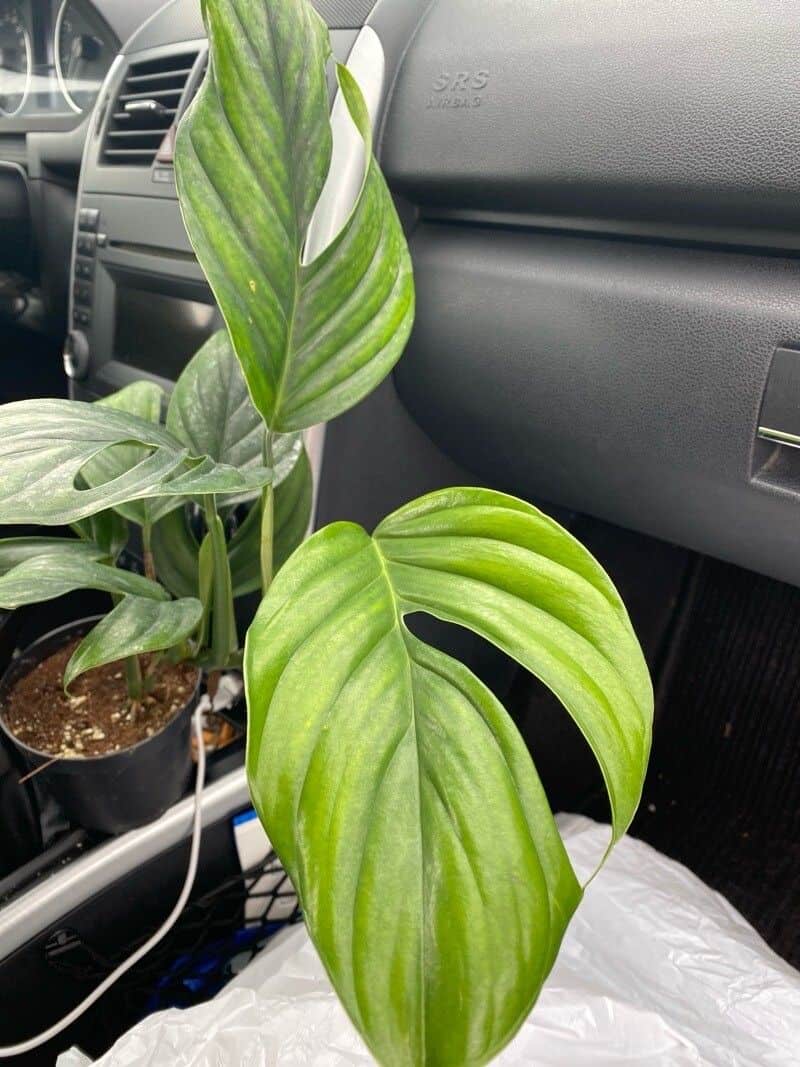
Unleash Your Inner Plant Parent: Propagating Your Monstera Pinnatipartita
The Monstera pinnatipartita, with its dramatic, split-leaf foliage, is a showstopper in any plant collection. And the best part? This beauty is surprisingly easy to propagate, allowing you to multiply your collection or share your love for this plant with friends. Ready to channel your inner plant parent and propagate your Monstera pinnatipartita? Let’s dive into the how-to!
Understanding the Basics
Before we jump into techniques, it’s helpful to grasp the concept of propagation. Essentially, it’s the process of creating new plants from existing ones. For Monstera pinnatipartita, we’ll focus on two popular methods: stem cuttings and air layering.
Method 1: Stem Cuttings – A Classic Approach
Stem cuttings are the most common and beginner-friendly method. Here’s how it’s done:
Gather your tools: You’ll need clean, sharp pruning shears or a sharp knife, a clean jar or glass, and a well-draining potting mix.
Take the cutting: Select a healthy stem with at least one node (the small bump where leaves emerge) and ideally an aerial root. Make a clean cut just below the node.
Prepare the cutting: Remove any leaves from the bottom node of the cutting, leaving a few leaves at the top.
Root in water (optional): You can choose to root your cutting in water or directly in soil. For water propagation, place the cutting in a jar with the node submerged. Change the water every few days.
Plant in soil: Once roots develop (about 2-4 weeks in water), pot the cutting in a well-draining potting mix, burying the node. If planting directly in soil, keep the soil consistently moist but not soggy.
- Patience is key: Place your newly potted cutting in a bright, indirect light location and maintain humidity. New growth indicates successful rooting!
Method 2: Air Layering – For a Larger, Established Plant
Air layering is ideal if you want to propagate a larger section of your Monstera pinnatipartita or if you’re having difficulty with water or soil propagation.
Choose your spot: Select a healthy stem with at least two nodes.
Make an incision: Carefully make an upward, shallow cut about an inch long on the stem, just below a node.
Encourage rooting: Insert a toothpick or sphagnum moss into the cut to keep it open.
Wrap with moss: Wrap the cut area with damp sphagnum moss, ensuring it’s tightly secured with plastic wrap or a rooting hormone powder.
Monitor and pot: After a few weeks, roots should start to appear through the moss. Once a good root system develops, cut the stem below the rooted section and pot it as you would a stem cutting.
Tips for Success:
- Use a well-draining potting mix specifically formulated for aroids.
- Provide bright, indirect light for your cuttings and newly potted plants.
- Maintain a humid environment by using a humidity tray or misting regularly.
- Be patient! Propagation takes time, so don’t be discouraged if you don’t see results immediately.
Propagating your Monstera pinnatipartita is a rewarding experience that allows you to expand your plant family and deepen your connection with these fascinating plants. With a bit of patience and these techniques, you’ll be well on your way to becoming a propagation pro in no time!