
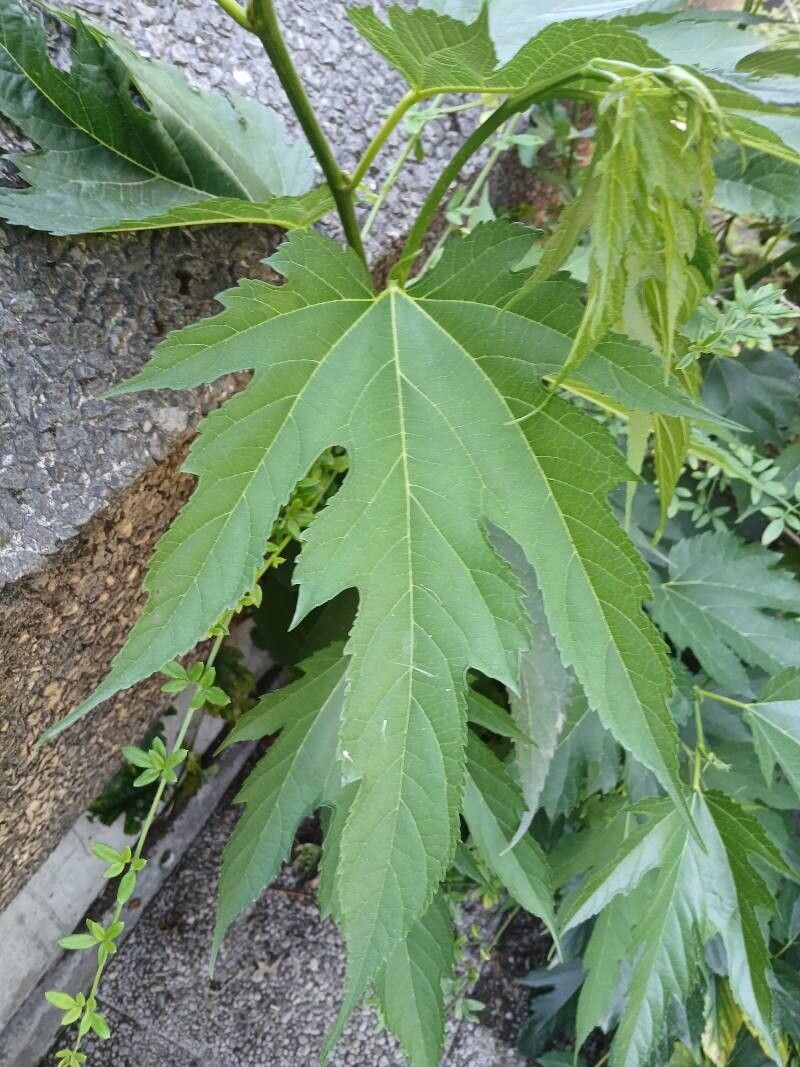
Mastering the Mulberry: Propagating Morus indica for Fruit and Fun
The Morus indica, more commonly known as the Mulberry tree, is a rewarding and relatively easy-to-grow tree celebrated for its delicious fruit and attractive foliage. Whether you dream of harvesting juicy mulberries for jams and pies or simply desire the shade of this fast-growing tree, understanding how to propagate Morus indica opens up a world of possibilities.
Why Propagate?
Propagation, the process of creating new plants from existing ones, offers a multitude of benefits. Not only is it a budget-friendly way to expand your plant collection, but it also allows you to share your love of gardening with others. For the Morus indica specifically, propagation allows you to control the variety, ensuring you get the desired fruit size, color, and taste.
Methods for Mulberry Magic
Fortunately, the Morus indica is incredibly versatile and can be propagated in several ways:
1. Seeds:
- Process: Collect ripe mulberries and extract the tiny seeds by crushing the fruit in water. Sow these seeds in a seed-starting mix, keeping them consistently moist. Germination takes roughly 2-4 weeks.
- Pros: Simplest and most accessible method, especially for beginners.
- Cons: Seedlings may not inherit the exact characteristics of the parent plant, leading to variations in fruit quality.
2. Cuttings:
- Process: Take hardwood cuttings (mature, dormant stems about 6-8 inches long) during late fall or winter. Dip the cut end in rooting hormone and plant it in a well-draining mix. Keep the soil moist, and roots should develop in a few weeks.
- Pros: Preserves the genetic makeup of the parent plant, ensuring consistent fruit quality.
- Cons: Requires more specific timing and care compared to seeds.
3. Grafting:
- Process: This method involves joining a cutting (scion) from the desired variety onto a compatible rootstock. While slightly more advanced, it offers the benefits of both seeds and cuttings.
- Pros: Combines the desirable traits of different varieties, such as disease resistance and fruit quality.
- Cons: Requires practice and knowledge of grafting techniques.
4. Air Layering:
- Process: This technique involves wounding a branch and encouraging root development while still attached to the parent tree. After roots form, the branch is removed and planted.
- Pros: High success rate and allows for propagation of larger branches.
- Cons: Can be more time-consuming and complex than other methods.
Nurturing Your New Mulberry Plants
Regardless of the method you choose, newly propagated Morus indica require attentive care:
- Sunlight: Ensure at least 6 hours of direct sunlight for optimal growth.
- Watering: Keep the soil consistently moist but avoid waterlogging, which can lead to root rot.
- Fertilizing: Feed with a balanced fertilizer throughout the growing season.
- Pruning: Prune regularly to maintain shape, improve air circulation, and remove dead or diseased branches.
Reap the Rewards
With some patience and dedication, propagating your own Morus indica is a truly gratifying experience. As you watch your new trees flourish and eventually bear their own delicious fruit, you’ll be grateful for the time and effort invested in expanding your home orchard or garden. So, roll up your sleeves, choose your method, and embark on the rewarding journey of Morus indica propagation!