Banishing Bites Naturally: Propagating Mosquitoxylum Jamaicense at Home
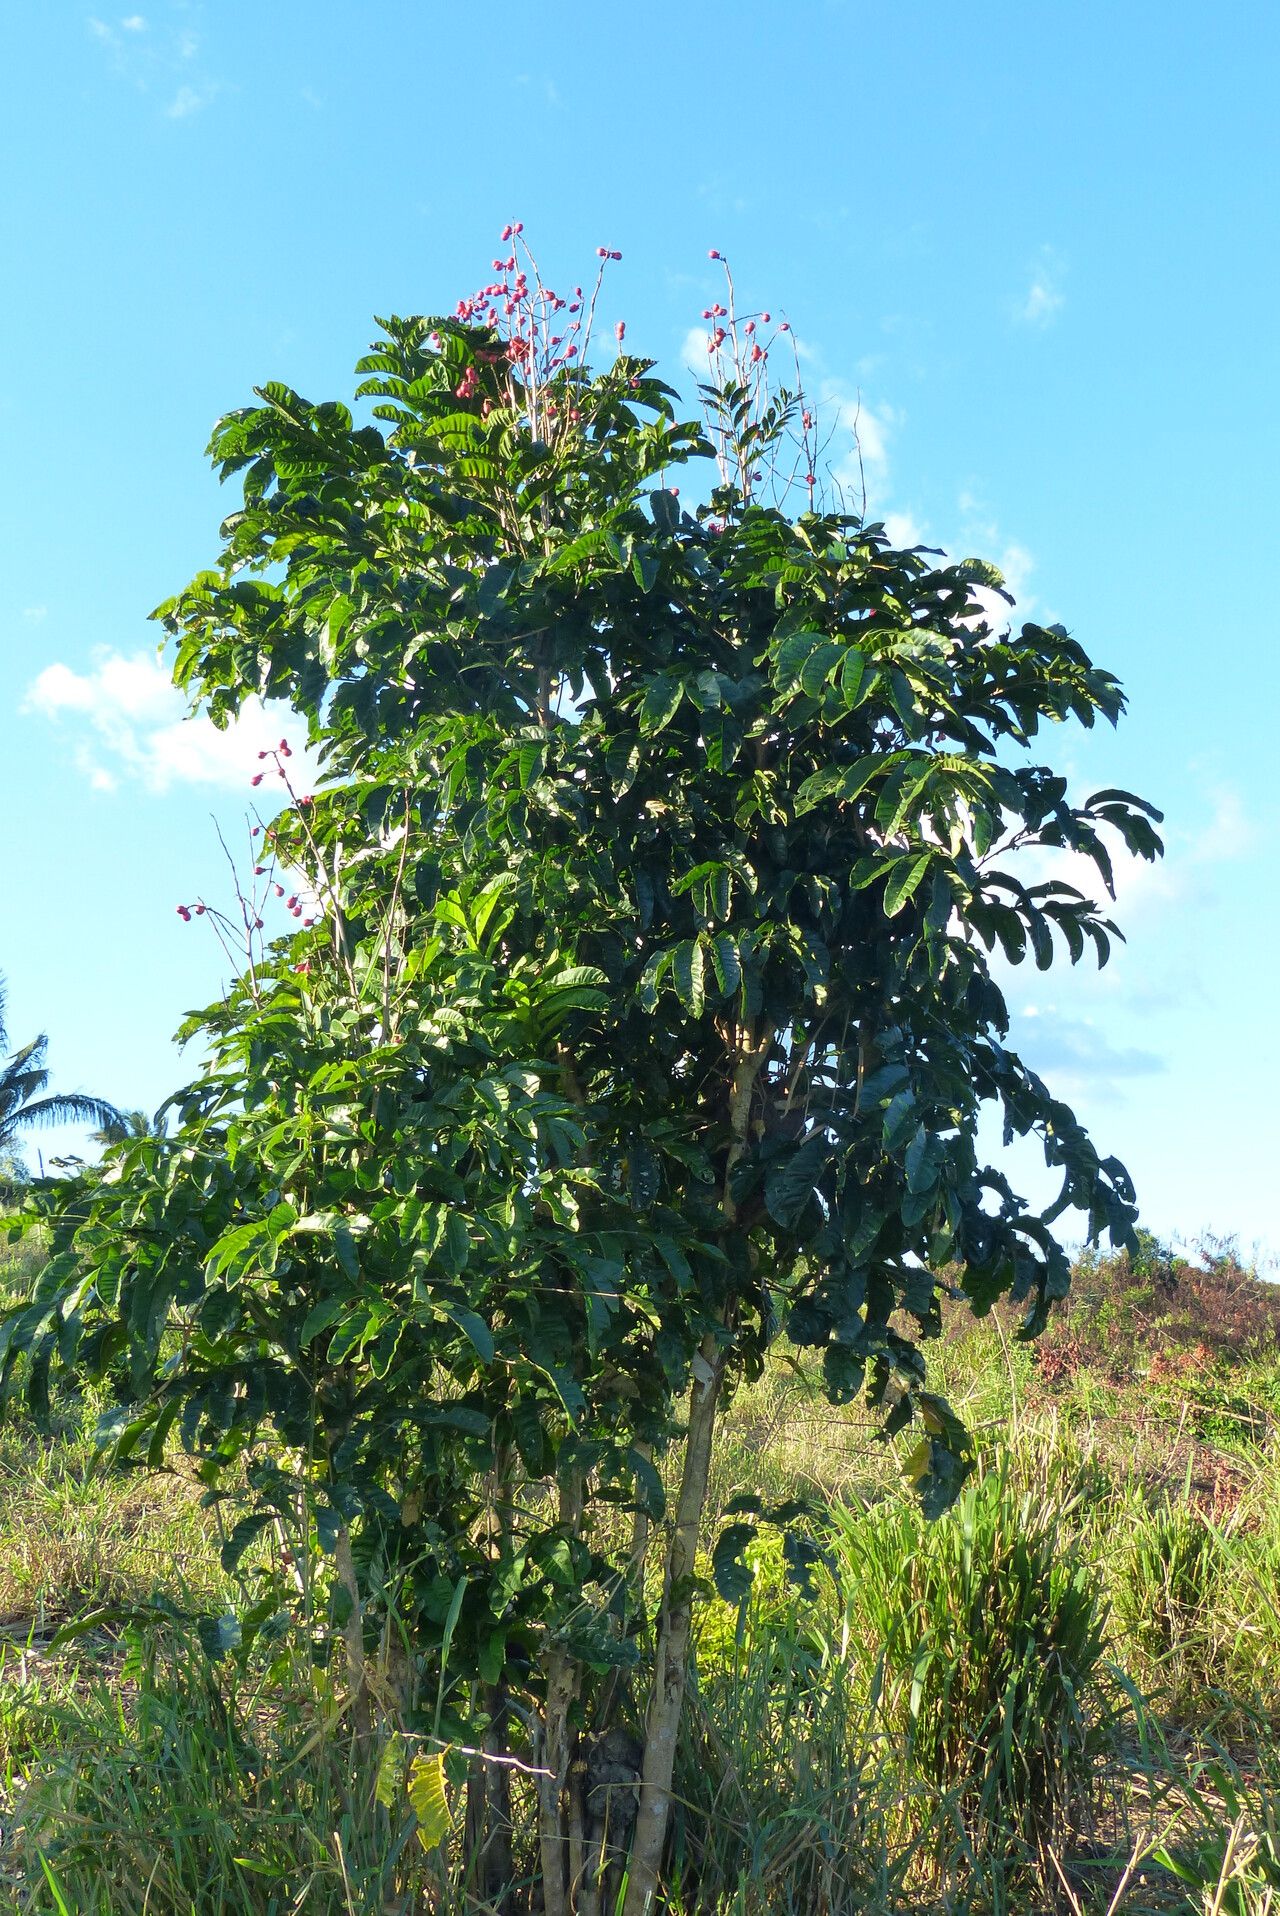
Looking for a natural way to keep those pesky mosquitoes at bay? Tired of chemical-laden repellents? Let me introduce you to Mosquitoxylum jamaicense, more commonly known as the Mosquito Plant. This tropical beauty not only adds vibrant greenery to your space but also releases a delightful, lemony scent that mosquitoes find incredibly offensive.
And the best part? Propagating Mosquitoxylum jamaicense is surprisingly easy! With a little patience and the right know-how, you can easily multiply your mosquito-repelling arsenal right from home.
Two Common Methods:
1. Stem Cuttings: This method offers rapid results and is best attempted during the plant’s active growing season (spring and summer). Here’s how:
- Gather your tools: Sharp pruning shears or a clean knife, a small pot, well-draining potting mix, and rooting hormone (optional but beneficial).
- Take the cutting: Select a healthy, non-flowering stem about 4-6 inches long. Make a clean cut just below a leaf node (the bump where leaves emerge). Remove the leaves from the bottom inch of the cutting.
- Prepare the cutting: Dip the cut end in rooting hormone (this encourages root development) and gently tap off any excess.
- Pot your cutting: Make a small hole in your prepared potting mix and carefully insert the cutting. Firm the soil around the base.
- Provide humidity: Cover the pot with a clear plastic bag or a humidity dome to create a mini greenhouse effect.
- Placement and Care: Place the pot in a bright location out of direct sunlight. Keep the soil consistently moist but not waterlogged.
- Signs of Success: You should see new growth within a few weeks, indicating that roots have developed. Once the cutting is well-established, you can transplant it to a larger pot.
2. Air Layering: This method, while a bit more involved, is ideal for propagating larger, more established plants.
- Choose a branch: Select a healthy, mature branch that is at least 1/2 inch in diameter.
- Make the cut: Using a sharp, sterilized knife, make a 1-inch upward cut about 12-18 inches from the branch tip.
- Apply rooting hormone: Dust the cut area with rooting hormone.
- Wrap with Sphagnum Moss: Soak a handful of sphagnum moss in water and gently squeeze out any excess. Wrap the moss around the cut area, ensuring it completely covers the wound.
- Secure the Wrap: Use clear plastic wrap to tightly seal the moss in place. Secure both ends with tape or twist ties.
- Maintain Moisture: Keep the moss consistently moist by misting it regularly. You may need to re-moisten the moss every few days.
- Root Development: After several weeks, check for root development by carefully unwrapping the plastic. Once you see a healthy network of roots, you can cut the branch below the root ball and pot it up.
Words of Wisdom:
- Patience is key! Propagation takes time, so don’t be discouraged if you don’t see immediate results.
- Provide optimal conditions: Choose a bright location with indirect sunlight, maintain consistent moisture, and ensure good air circulation for your new propagations.
By following these simple steps, you’ll be well on your way to cultivating a fragrant and effective mosquito deterrent that will keep your home and garden buzzing with life – minus the unwelcome bites!