Unlocking the Secrets of Moullava Spicata: A Propagation Primer
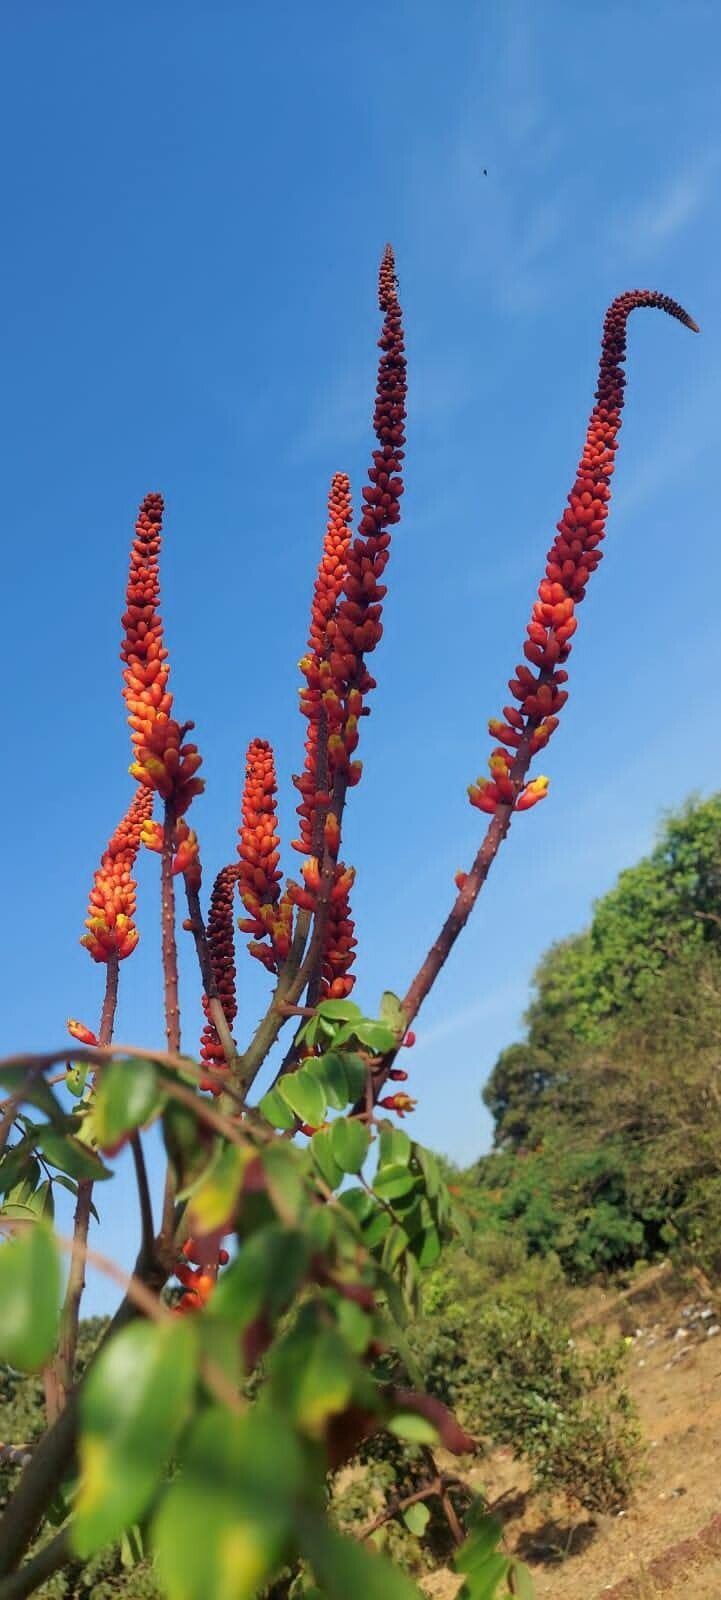
Moullava spicata, with its delicate blooms and enchanting fragrance, is a true garden gem. But did you know that multiplying your own Moullava magic is easier than you think? Propagation, the process of creating new plants from existing ones, opens a world of possibilities for expanding your garden and sharing the joy of these beautiful plants.
While Moullava spicata might sound like a complicated botanical name, propagating it doesn’t require a green thumb wizard. This guide will walk you through two primary methods – seed starting and taking cuttings – to help you cultivate a thriving collection.
Method 1: Sowing the Seeds of Success
For those who enjoy the journey from tiny seed to flourishing plant, starting Moullava spicata from seed is a rewarding experience. Here’s how:
- Seed Collection: After the flowers fade, Moullava spicata produces small seed pods. Allow these pods to dry completely on the plant before collecting the seeds.
- Sowing Time: The ideal time to sow Moullava spicata seeds is in late winter or early spring.
- Preparing the Potting Mix: Use a well-draining seed starting mix. Moisten the mix before filling small pots or seed trays.
- Sowing the Seeds: Sprinkle a few seeds on the surface of the potting mix and lightly press them down. Moullava spicata seeds need light to germinate, so avoid burying them too deep.
- Creating a Humid Environment: Cover the pots or trays with a plastic dome or wrap to trap moisture and maintain humidity. Place them in a warm, bright location, but out of direct sunlight.
- Germination Patience: Germination can take several weeks. Keep the potting mix consistently moist but not waterlogged.
- Thinning the Seedlings: Once the seedlings have a few sets of true leaves, thin them out to leave the strongest one in each pot.
Method 2: Cuttings – A Faster Path to New Plants
If you’re seeking a quicker propagation method, taking cuttings is the way to go:
- Timing is Key: The best time to take cuttings is in the spring or early summer, when the plant is actively growing.
- Choosing Healthy Stems: Select healthy, non-flowering stems that are about 4-6 inches long.
- Making the Cut: Use a sharp, sterilized knife or pruning shears to make a clean cut just below a leaf node (the point where a leaf emerges from the stem).
- Prepping the Cutting: Remove the leaves from the bottom inch or two of the stem.
- Encouraging Root Development: Dip the cut end of the stem in rooting hormone (optional, but helpful).
- Planting the Cutting: Insert the cutting into a pot filled with a well-draining potting mix, burying the bottom node.
- Nurturing the Cutting: Water the cutting well and cover the pot with a clear plastic bag or humidity dome to maintain moisture. Place in a bright location out of direct sunlight.
- Rooting Success: After a few weeks, gently tug on the cutting. Resistance indicates successful rooting.
A Garden Abloom with Moullava Spicata
Propagation allows you to cultivate a garden brimming with the captivating charm of Moullava spicata. Whether you choose the rewarding journey of starting from seed or prefer the efficiency of taking cuttings, you’ll be treated to a symphony of delicate blooms and delightful fragrance. So go ahead, unlock the secrets of Moullava spicata propagation, and share the beauty of this enchanting plant with the world!