Unveiling the Secrets of Mutisia Hamata Propagation: A Guide to Multiplying this Marvelous Climber
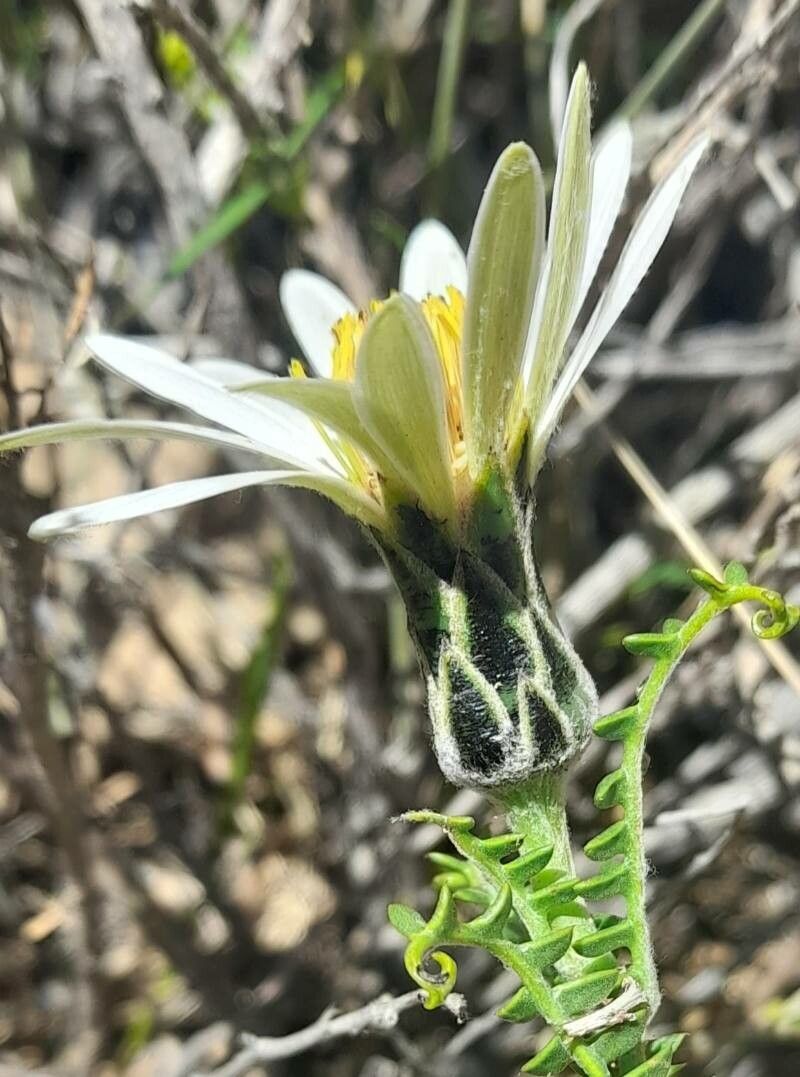
Mutisia hamata, also known as the “Yellow Mutisia” or “Chilean Sunshine Vine,” is a fascinating climber boasting vibrant orange, daisy-like flowers that bring a touch of exotic beauty to any garden. While admiring its unique charm is one thing, wouldn’t it be wonderful to have more of these stunning plants gracing your outdoor space? Let’s unlock the secrets of Mutisia hamata propagation and learn how to multiply this captivating climber.
Two Paths to Propagation:
Successfully propagating Mutisia hamata involves understanding its preferred methods, mainly seeds and cuttings. Each approach has its nuances and success rates, so let’s explore them in detail.
1. The Art of Growing Mutisia Hamata from Seeds:
- Sourcing Seeds: Acquiring Mutisia hamata seeds can be a bit of a treasure hunt. Specialty online retailers are often your best bet, but you might get lucky finding them at local nurseries specializing in unusual climbers.
- Sowing Time: Spring is the ideal time for sowing Mutisia hamata seeds, offering the warmth and sunlight these seeds crave to germinate.
- Sowing Process:
- Use a well-draining seed starting mix and sow the seeds shallowly, about ¼ inch deep.
- Mist the soil gently, ensuring it remains consistently moist but not waterlogged.
- Cover the seed tray with a propagator lid or plastic wrap to retain warmth and humidity.
- Patience is Key: Germination can be a bit tardy, often taking 4-8 weeks. Maintaining a consistent temperature around 65-75°F (18-24°C) is crucial during this period.
- Transplanting Triumphs: Once seedlings develop a few true leaves, they are ready to be carefully transplanted into individual pots.
2. The Efficiency of Mutisia Hamata Cuttings:
Propagating Mutisia hamata from cuttings is generally considered a faster and more reliable method. Here’s a step-by-step guide:
- Timing is Everything: Late spring or early summer, when the plant is actively growing, is the optimal time for taking cuttings.
- Selecting the Right Cuttings:
- Choose healthy, non-flowering stems that are about 4-6 inches long.
- Preparing the Cuttings:
- Using a sharp, sterilized knife or pruning shears, make a clean cut just below a leaf node.
- Remove the lower leaves, leaving 2-3 leaves at the top.
- Dip the cut end in rooting hormone (optional but recommended).
- Potting Your Cuttings:
- Plant the cuttings in a well-draining potting mix, burying at least one leaf node.
- Water gently and cover the pot with a plastic bag or humidity dome to maintain moisture.
- Rooting and Growth:
- Within a few weeks, the cuttings should develop roots.
- Once you see new growth, you can gradually acclimate the plants to outdoor conditions before transplanting them to their permanent locations.
Nurturing Your New Mutisia Hamata Plants:
Regardless of your chosen propagation method, providing your new Mutisia hamata plants with proper care is vital for their success. They thrive in full sun to partial shade and well-drained soil. Regular watering, especially during dry spells, is crucial, but be sure to avoid waterlogged conditions.
By following these propagation techniques, you can unlock the captivating world of Mutisia Hamata. Whether starting from seed or cuttings, the rewards of nurturing these unique climbers are well worth the effort. So, embrace your green thumb and enjoy the vibrant beauty these plants bring to your landscape.