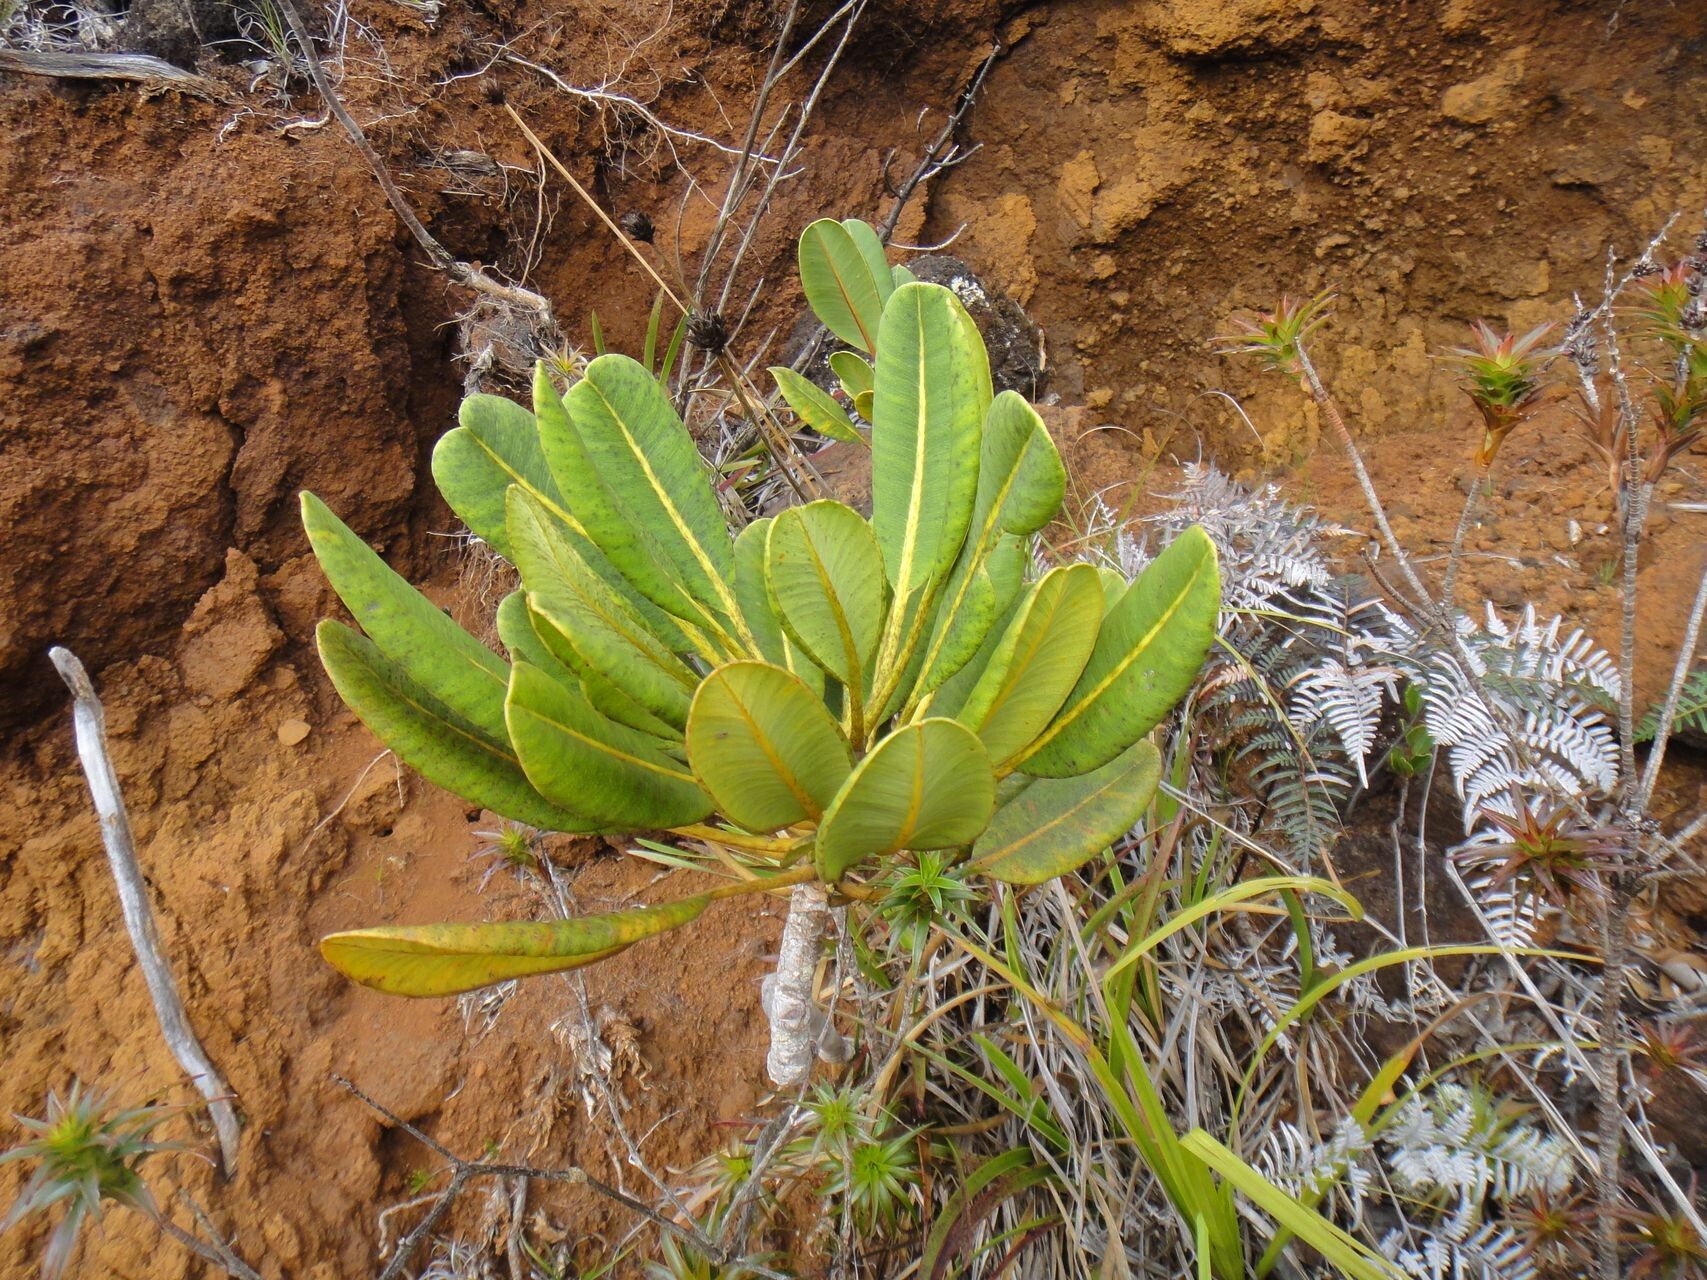
From Snipping to Thriving: How to Propagate Myodocarpus crassifolius (The “Polka Dot Plant”)
The Myodocarpus crassifolius, more commonly known as the “Polka Dot Plant”, is a charming houseplant with its striking, speckled leaves. But did you know that you can easily turn a single cutting into a whole new plant? Propagation is a fun and rewarding way to expand your collection and share the beauty of this unique species with others. Let’s delve into the world of Polka Dot Plant propagation, exploring the various techniques and tips for success.
From Snipping to Rooting: Methods of Propagation
The Polka Dot Plant can be propagated through stem cuttings and air layering. Here’s a breakdown of each method:
1. Stem Cuttings:
- Timing: The best time for this is during spring or summer when the plant is actively growing.
- Selection: Choose healthy, non-flowering stems, ideally about 4-6 inches long. Look for stems that are firm and have at least two sets of leaves.
- Preparation: Use sharp, clean pruning shears to make a clean cut just below a node (the area where a leaf grows from the stem). Remove the lower leaves to expose the stem beneath.
- Rooting: Dip the cut end of the stem in rooting hormone (optional) and gently insert it into a pot filled with a well-draining potting mix.
- Care: Keep the soil consistently moist, but not soggy. You can cover the pot with a plastic bag or dome to increase humidity. Rooting may take 4-6 weeks.
2. Air Layering:
- Timing: This method works best during the active growing season.
- Selection: Choose a healthy branch about 6-8 inches long.
- Preparation: Carefully scrape a small area of bark on the stem, exposing the cambium layer. Surround the scraped area with moist sphagnum moss and secure it with plastic wrap.
- Roots: Regularly mist the moss to keep it moist. Roots will develop within a few weeks.
- Separation: Once roots have emerged, cut the rooted section below the moss and plant it in a pot with fresh potting mix.
The Importance of Clean Tools and Fresh Potting Mix
To prevent infections and disease, always sterilize your tools before taking cuttings. Similarly, using a clean, fresh, well-draining potting mix is essential to promote healthy root development. A mix of peat moss, vermiculite, and perlite is generally recommended.
Nurturing Your New Polka Dot Plant
As your new cuttings and air-layered plants develop roots, they will need consistent care:
- Light: Provide bright, indirect light. Avoid direct sunlight, which can scorch the leaves.
- Watering: Keep the soil consistently moist, but not wet. Allow the top inch of soil to dry out between waterings.
- Humidity: Polka Dot Plants thrive in slightly humid environments. You can create this by grouping them with other plants or by using a pebble tray with water.
Patience and Success:
Propagation requires some patience. It may take a few weeks for your cuttings to root, but once they do, you’ll be rewarded with a fresh batch of Polka Dot Plants to enjoy.
With these easy-to-follow steps and a little patience, you can easily propagate your own Polka Dot Plants and create a vibrant tropical atmosphere in your home or garden.