
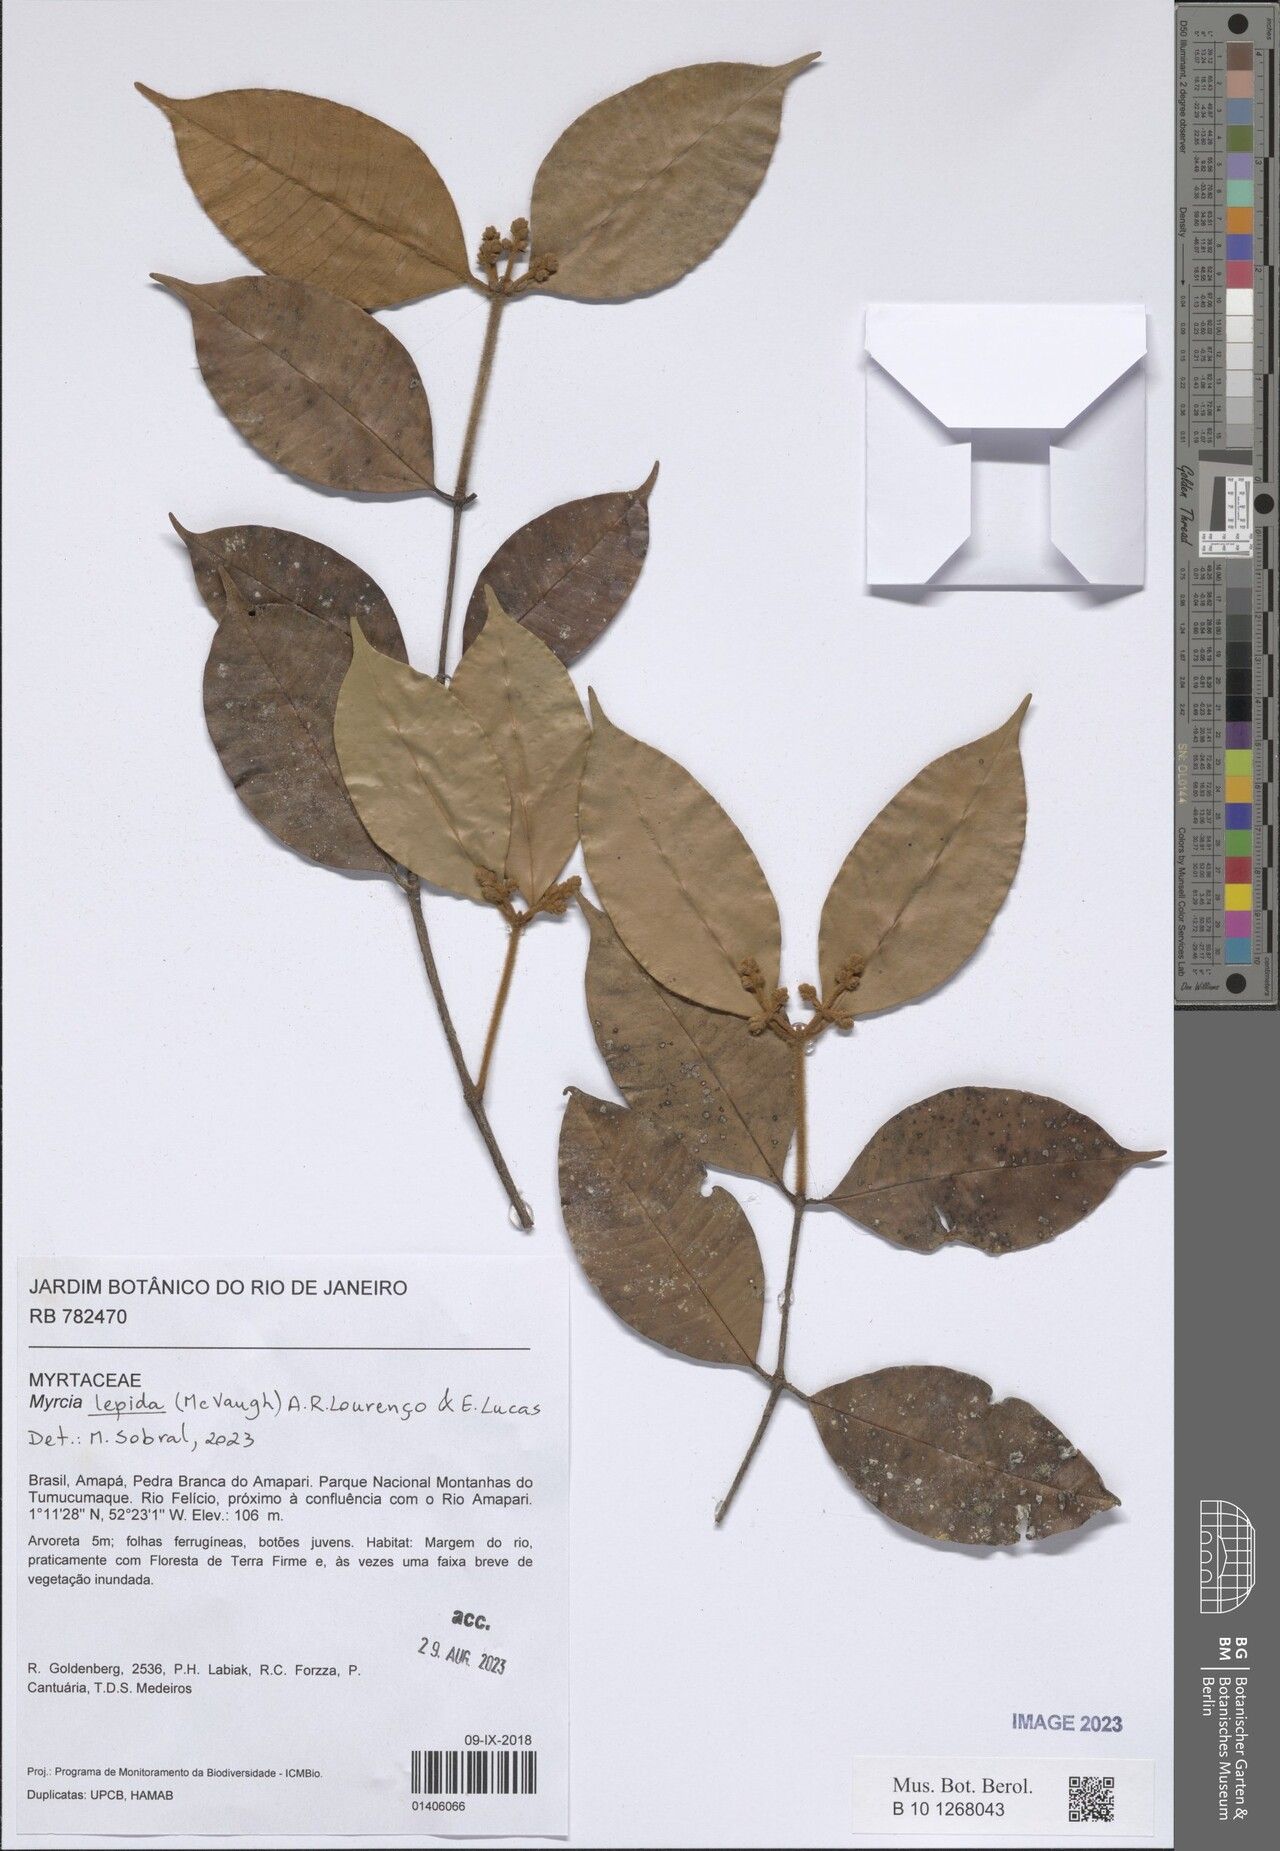
Unveiling the Secrets of Myrcia Lepida Propagation: From Seed to Stunning Shrub
Myrcia lepida, also known as the goiaba da serra or mountain guava, is a captivating Brazilian native with glossy leaves, delicate white flowers, and sweet, aromatic fruits. While lesser-known than its common guava cousin, this evergreen shrub is gaining popularity for its ornamental appeal and culinary potential.
If you’re enchanted by the charm of Myrcia lepida and dream of welcoming it into your garden, understanding its propagation methods is key. While a tad more demanding than some, propagating this tropical beauty is achievable with patience and the right techniques. Let’s explore the two primary methods:
1. Seed Propagation: A Rewarding Journey of Patience
Propagating Myrcia lepida from seed offers an exciting challenge and a deeper connection to the plant’s life cycle. Here’s a step-by-step guide:
- Seed Collection and Preparation: Source fresh, ripe fruits directly from a healthy Myrcia lepida plant. Extract the seeds from the pulp and rinse them thoroughly to remove any clinging flesh. Allow the seeds to air dry completely before storing them in a cool, dark place.
- Sowing the Seeds: Moisten a seed-starting mix that’s well-draining and slightly acidic (similar to what you’d use for azaleas or camellias). Sow the seeds about half an inch deep and mist them gently.
- Providing Optimal Conditions: Place the seed tray in a warm, brightly lit location but out of direct sunlight. A consistent temperature between 70-80°F is ideal for germination.
- Germination Period: Be patient, as Myrcia lepida seeds can take anywhere from a few weeks to a couple of months to germinate.
- Transplanting Seedlings: Once seedlings develop a few sets of true leaves and are a few inches tall, they can be carefully transplanted into individual pots filled with a well-draining potting mix.
2. Semi-Hardwood Cuttings: A Faster Path to Success
Propagating from semi-hardwood cuttings offers a quicker and often more reliable method, especially for those eager to see faster results:
- Taking the Cuttings: During the active growing season (spring to early summer), select healthy, non-flowering stems. Cut 4-6 inch sections just below a node using a sharp, sterilized knife or pruning shears.
- Preparing the Cuttings: Remove the lower leaves from each cutting, leaving a few leaves at the top. Dip the cut end in rooting hormone powder to encourage faster root development.
- Planting the Cuttings: Fill small pots with a well-draining rooting mix. Make a small hole in the center of each pot and gently insert the cutting, ensuring the bottom node is buried.
- Encouraging Root Development: Cover the pots with a clear plastic bag or place them in a propagator to create a warm, humid environment. Mist regularly and ensure the soil remains consistently moist but not waterlogged.
- Transplanting Rooted Cuttings: In approximately 6-8 weeks, check for root development by gently tugging on the cuttings. Once rooted, carefully transplant them to larger pots or directly into your garden.
Essential Care Tips for Success:
- Sunlight: Myrcia lepida thrives in bright, indirect light. Avoid exposing young plants to harsh afternoon sun, as it can scorch their delicate leaves.
- Watering: Maintain consistently moist soil, allowing the top inch to dry out between waterings. Overwatering can lead to root rot, so proper drainage is crucial.
- Humidity: Recreate the humid conditions of their native habitat by misting regularly or placing a pebble tray filled with water near the plants.
- Fertilizing: Feed your Myrcia lepida with a balanced, diluted fertilizer every 4-6 weeks during the growing season to support healthy growth and flowering.
Propagating Myrcia lepida is a rewarding endeavor for plant enthusiasts willing to embrace its unique needs. With patience, dedication, and a touch of green magic, you can cultivate these enchanting shrubs and enjoy their beauty and bounty for years to come.