Unleashing the Power of Propagation: A Beginner’s Guide to Multiplying Myriopus Candidulus
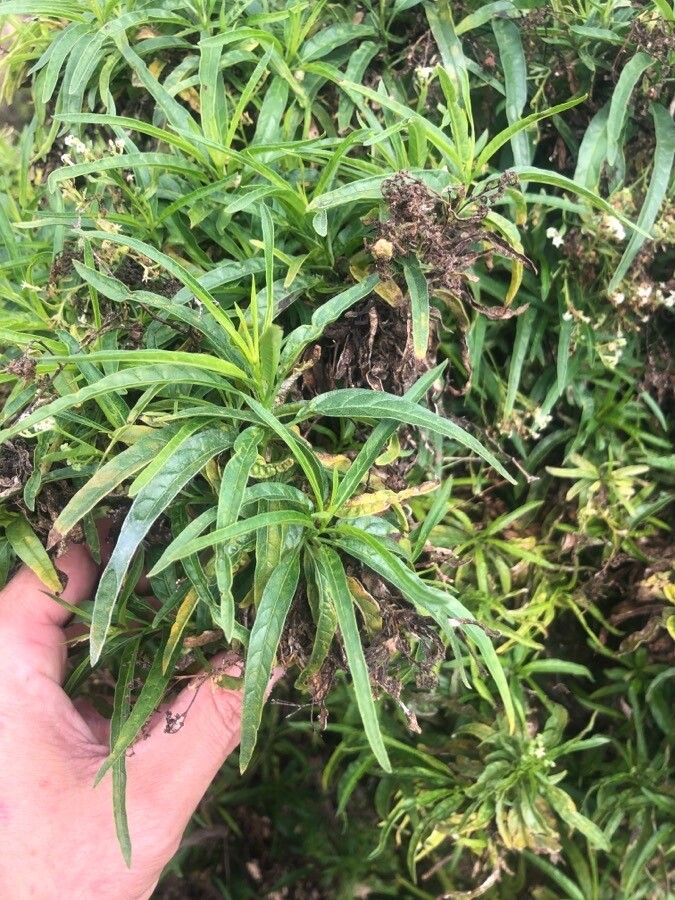
Myriopus candidulus, also known as the “Milkweed Vine” for its milky sap, boasts stunning white flowers and lush foliage, making it a popular addition to gardens. But did you know that you can easily propagate this beauty, creating more of this exquisite plant for yourself and others?
This article is your gateway to understanding the various methods of propagating Myriopus candidulus, empowering you to grow your own thriving collection or share the joy with your garden-loving friends.
The Magic of Propagation: Growing New Plants from Existing Ones
Propagation is the art of creating new plants from existing ones. This allows you to multiply your collection and even share the love with other gardening enthusiasts. There are two primary methods for Myriopus candidulus:
- Stem Cuttings: This simple technique involves taking a healthy stem cutting, removing the leaves near the base, and rooting it in a suitable medium.
- Layering: This method involves bending a stem down and burying a portion of it into the soil, creating a new daughter plant that can be separated once it establishes roots.
Let’s Dive into the Details:
Stem Cuttings: A Straightforward Approach
- Selection is Key: Choose healthy, non-flowering stems with a good number of nodes (where leaves grow). The ideal length for your cuttings is about 4-6 inches.
- Preparation is Essential: Use a sharp knife or pruning shears to make a clean cut just below a node. To encourage root growth, use a rooting hormone powder or gel on the cut end.
- Nurturing New Roots: Place the cut end of your stem into a pot filled with a well-draining rooting medium (think perlite or a mix of peat moss and vermiculite). Keep the medium consistently moist, but not soggy.
- Time for Patience: Cover the cutting with a plastic dome or bag to create a humid environment, and provide bright, indirect light. Allow the cutting to root for several weeks, checking for new growth.
Layering: A Low-Maintenance Option
- Identify a Suitable Stem: Select a flexible stem that can be easily bent and buried.
- Make an Incision: Using a sharp knife, make a light horizontal cut about a third of the way through the stem at a node. The cut should be just deep enough to disrupt the vascular tissue but not sever it.
- Burying the Stem: Bend the treated stem down to the soil and secure it in place with a small rock, wire, or a twist tie. Cover the incised area with soil, making sure that the tip of the stem remains above ground.
- Providing Care: The buried part of the stem will develop new roots. Keep the soil moist and wait for a few months for the new plant to emerge. Once established, you can sever the rooted portion from the parent plant.
Tips for Success:
- Timing is everything: The best time to propagate Myriopus candidulus is during the spring or summer when the plant is actively growing.
- Maintain humidity: High humidity is vital for successful rooting. You can use a humid dome, plastic wrap, or a misting bottle to create a humid environment.
- Provide adequate light: Bright, indirect light is ideal for promoting root growth.
- Be patient: The rooting process can take anywhere from a few weeks to a few months.
Conclusion: Your Journey to Green Abundance
Propagating Myriopus candidulus is an enjoyable and rewarding experience. Whether you choose stem cuttings or layering, you’ll discover the magic of multiplying your plants and expanding your green oasis. Embrace the process and enjoy the journey of nurturing new life in your garden. With a little care, patience, and the right techniques, you’ll be on your way to a beautiful and thriving collection of Myriopus candidulus.