From Tiny Twig to Lush Landscape: Propagating Your Own Myrsine Lessertiana
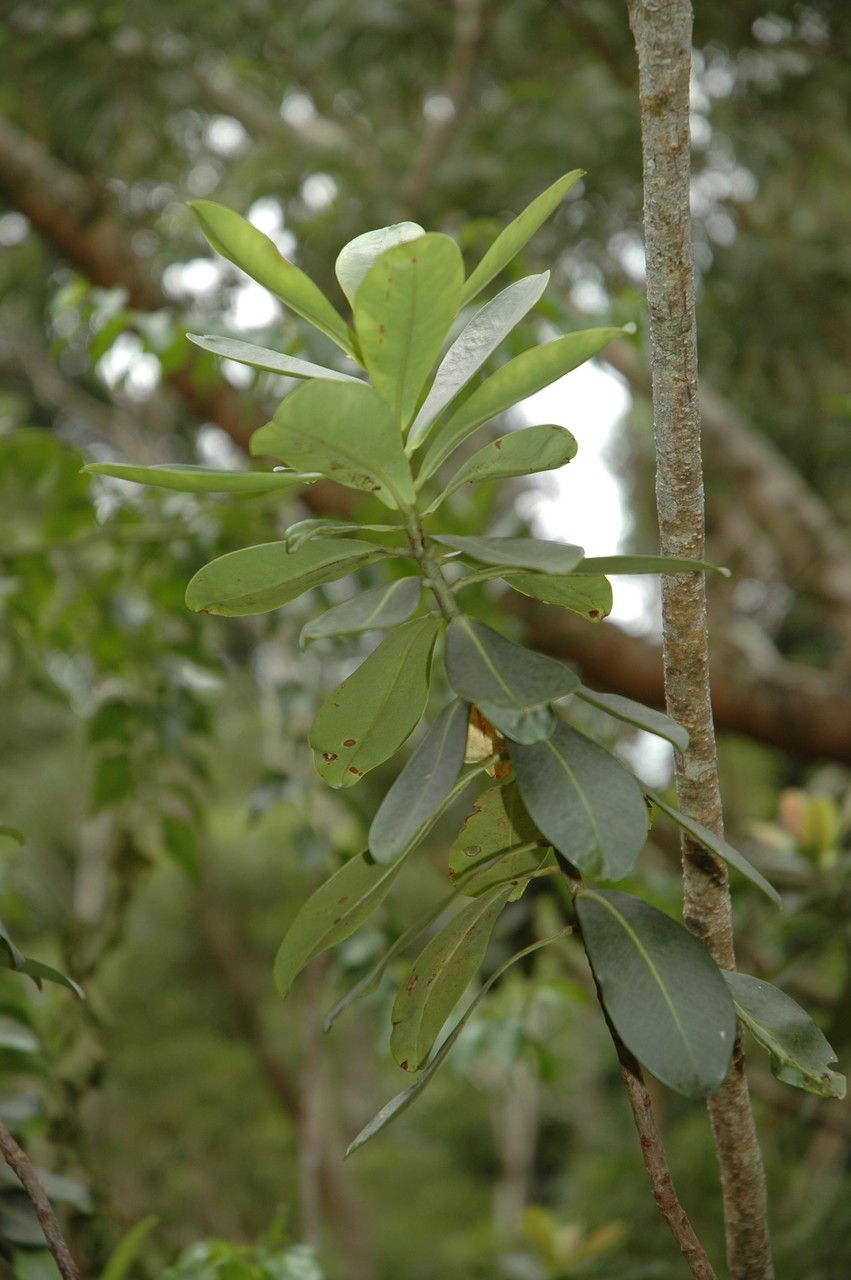
The Myrsine lessertiana, also known as the Australian Boxwood, is a popular choice for low-maintenance landscaping and indoor greenery. Its dense, evergreen foliage adds a touch of sophistication to any space, and its compact growth habit makes it perfect for container gardening or accent planting. But what if you want to expand your Myrsine collection without breaking the bank? The answer: propagation!
Propagation is the process of creating new plants from existing ones, and it’s an incredibly rewarding experience for any plant enthusiast. With Myrsine lessertiana, you can easily propagate new plants from cuttings, unlocking the potential for multiple thriving specimens from just one parent plant.
The Magic of Cuttings
The most common method for propagating Myrsine lessertiana is through stem cuttings. Here’s a simple step-by-step guide to get you started:
- Choose the Right Cuttings: Select healthy, non-flowering stems from your Myrsine plant. Look for stems that are about 4-6 inches long and have at least two sets of leaves.
- Make the Cut: Use a sharp, clean knife or pair of shears to make a clean, angled cut just below a leaf node. Remove the leaves from the bottom inch or two of the stem.
- Preparation is Key: After cutting, you can dip the end of the stem in a rooting hormone powder or solution. This helps stimulate root growth.
- The Growing Medium: Potting mix, peat moss, or a mixture of both works well for rooting Myrsine cuttings. Fill a container with the chosen medium and make small holes to insert the cuttings.
- Planting the Cutting: Place the cuttings in the holes you’ve prepared, ensuring the bottom 1-2 inches are covered with the medium. Gently pat the soil around the cuttings to secure them.
- Environment is Crucial: Maintain a humid environment to promote root development. Cover the cuttings with a clear plastic dome, bag, or a humidity tent. Place the container in a warm, bright location, but avoid direct sunlight.
- Patience is Key: Root development takes time. The process can take anywhere from a few weeks to a couple of months.
Signs of Success
Keep an eye on your cuttings. You’ll know they’re rooting when you see new growth emerging from the top of the stem. Once the roots are established, the cuttings can be transplanted into individual pots filled with well-draining potting mix.
Beyond Cuttings: Other Propagation Methods
While cuttings are the most common method, you can also try other propagation methods for Myrsine lessertiana, including:
- Air Layering: This method involves cutting a ring of bark from a stem and wrapping it with moist sphagnum moss. New roots will form within the moss, and you can eventually detach the new plant from the parent stem.
- Seed Propagation: While not as common, you can propagate Myrsine lessertiana from its seeds. However, it may take longer to see results. Seeds can be started in a seed tray filled with seed-starting mix.
Tips for Success
- Fresh Cuttings: Always use freshly cut cuttings, as the chance of successful rooting decreases over time.
- Hygiene: Sterilize your cutting tools to prevent the spread of diseases.
- Proper Lighting: Myrsine lessertiana enjoys bright, indirect light. While it’s important to maintain a humid environment during the rooting process, avoid direct sunlight, which can damage young cuttings.
- Watering: Be mindful of over-watering, which can cause root rot. Allow the soil to dry slightly between waterings.
Conclusion
Propagating Myrsine lessertiana is a rewarding and easy way to expand your plant collection. By following these simple steps, you can create a thriving jungle of your very own Australian Boxwoods, bringing a lush touch of nature to your home, garden, or indoor spaces. So get your hands dirty and embrace the joy of propagation!